My Garage
My Account
Cart
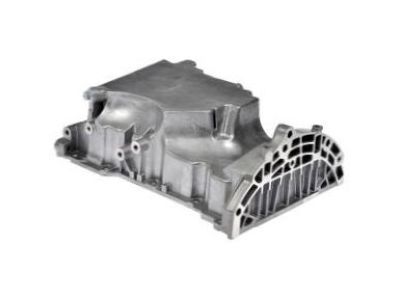
Genuine GMC Terrain Oil Pan
Oil Drain Pan- Select Vehicle by Model
- Select Vehicle by VIN
Select Vehicle by Model
orMake
Model
Year
Select Vehicle by VIN
For the most accurate results, select vehicle by your VIN (Vehicle Identification Number).
12 Oil Pans found
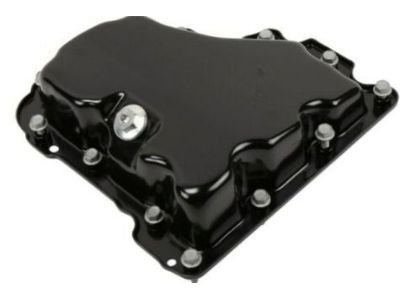
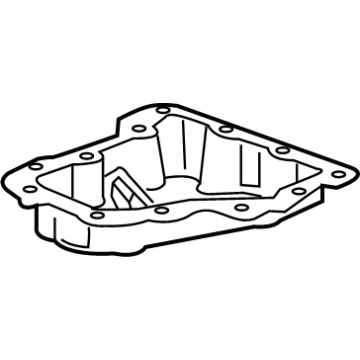
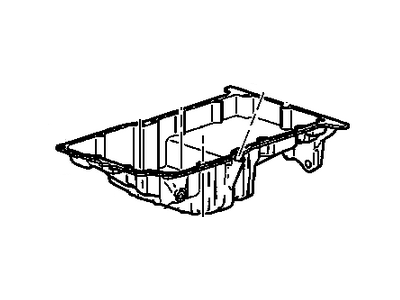
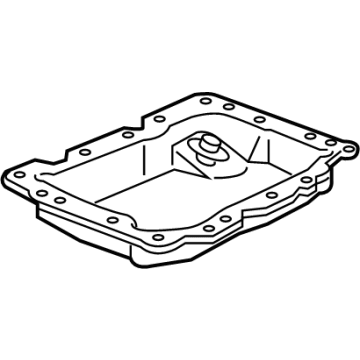
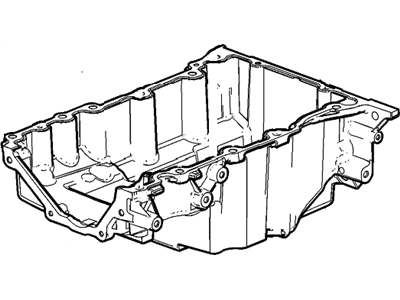
GMC Terrain Pan Assembly, Lower Oil
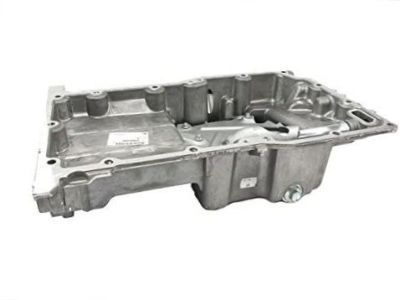
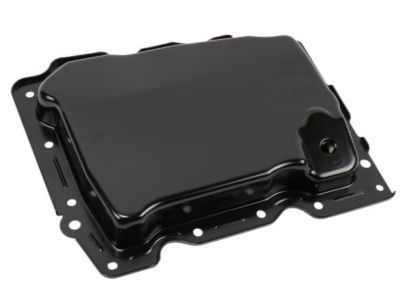
Part Number: 12637773$37.98 MSRP: $65.49You Save: $27.51 (43%)Ships in 1-2 Business DaysGMC Terrain Oil Pan
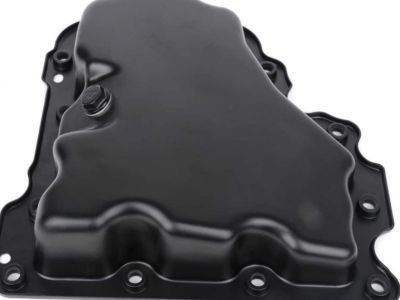
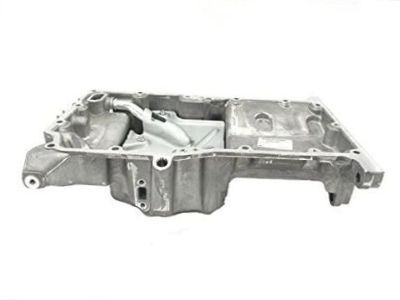
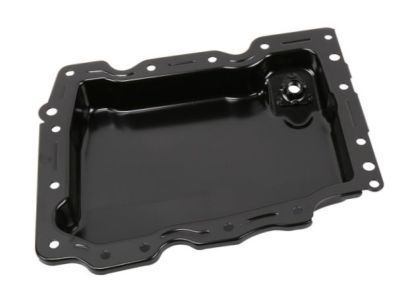
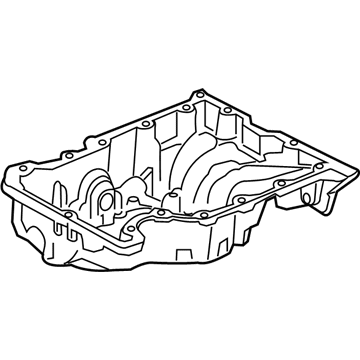
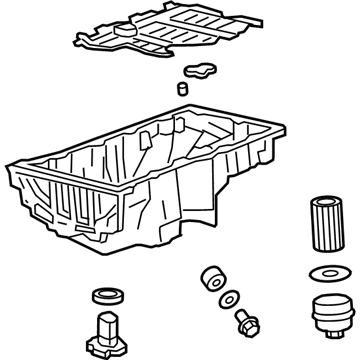
Part Number: 12601240$154.90 MSRP: $267.21You Save: $112.31 (43%)Ships in 1-2 Business DaysGMC Terrain Pan, Lower Oil
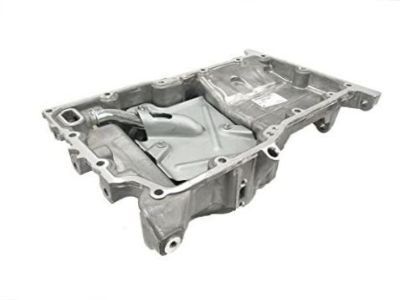
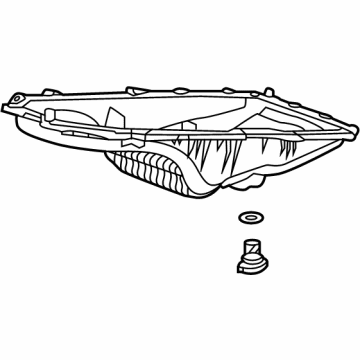
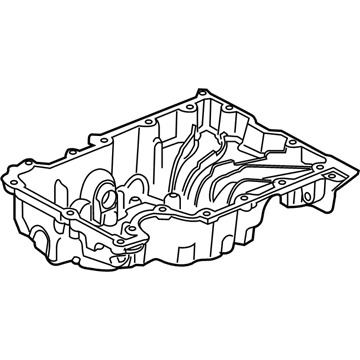
Part Number: 12676340$25.50 MSRP: $42.19You Save: $16.69 (40%)Ships in 1-2 Business DaysGMC Terrain Oil Pan Assembly
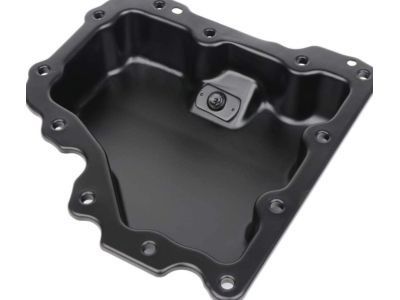
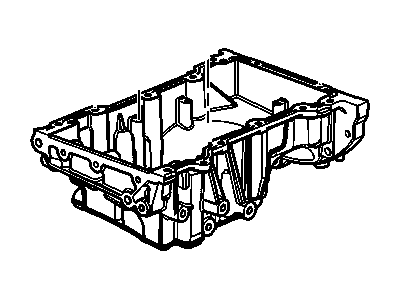
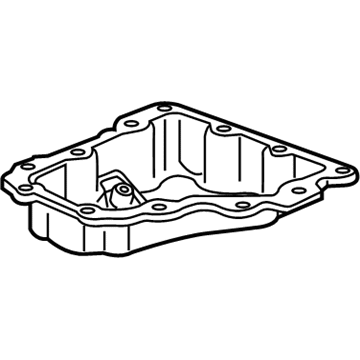
Part Number: 12666371$179.63 MSRP: $297.31You Save: $117.68 (40%)Ships in 1-2 Business DaysGMC Terrain Pan Assembly, Upper Oil
Part Number: 12686797$93.02 MSRP: $159.06You Save: $66.04 (42%)Ships in 1-3 Business DaysGMC Terrain Pan Assembly, Lwr Oil
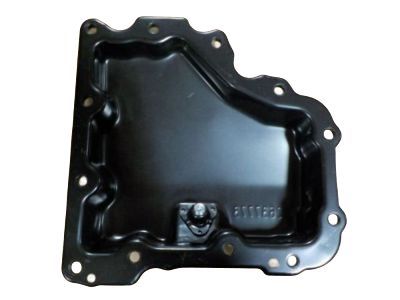
Part Number: 12717172$24.78 MSRP: $39.52You Save: $14.74 (38%)Ships in 1-3 Business DaysGMC Terrain Pan Assembly, Oil (W/Engine Oil Level Sensor)
Part Number: 55596705$146.44 MSRP: $233.57You Save: $87.13 (38%)GMC Terrain Pan Assembly, Upper Oil
Part Number: 12686793$79.62 MSRP: $131.77You Save: $52.15 (40%)Ships in 1-3 Business DaysGMC Terrain PAN ASM,OIL
Part Number: 28289985$114.99 MSRP: $183.36You Save: $68.37 (38%)Ships in 1-3 Business Days
GMC Terrain Oil Pan
The Oil Pan used in the GMC Terrain cars is essentially an oil tank that is used to hold the engine oil and efficiently circulate it around the engine in order to maintain its necessary temperature or cooling system for the parts of the engine. The GMC Terrain's Oil Pan then uses a wet sump system to collect oil at the bottom of the engine, from where it is pulled by an oil pickup tube through the oil pump and circulated in the engine then dropped back to the Oil Pan. This design ensures that there is always available oil which is very crucial to the operation of any engine. Traditionally there have been stamped steel oil pans for GMC Terrain but the current generation vehicles incorporate durability and efficiency as per the requirements and hence there are casting aluminum engines to replace stamped steel. The change to these materials is due to enhanced lightweight designs which offer improved solutions to the capacity of the vehicle.
Each OEM GMC Terrain Oil Pan we offer is competitively priced and comes with the assurance of the manufacturer's warranty for the part. Furthermore, we guarantee the speedy delivery of your orders right to your doorstep. Our hassle-free return policy is also in place for your peace of mind.
GMC Terrain Oil Pan Parts Questions & Experts Answers
- Q: How to remove and install an oil pan in 3.0L and 3.6L V6 engine on GMC Terrain?A:The steps to follow so as to remove the oil pan involve lifting the vehicle by using the jack and placing it on the jackstand. Then take out the engine torque mounts, then the fasteners for the splash shield and the shield itself. Discharge the engine oil and also remove the oil filter. On 3.6L models, a fixture that bolsters the top of the engine, and is bolted to it in a way that will support its weight, should be in place. Remove the Exhaust Manifold and the catalytic converter and take out the pipes that are connecting the two. Unbolt and pull out the air conditioning compressor and next take the timing chain front cover also. Now, the mounting bolts of the oil pan has to be taken off and then, at the right points, the oil pan has to be lifted. After the removal of bolts fitted at the base of oil pan, the oil pickup can be taken out and if the pickup seal has been removed, then, it must be replaced. For installation, clean the oil pan and the engine block, examine the oil pump pickup for crack and obstruction. Replace the oil seal on the oil pump pickup, replace the pickup and secure with the fasteners. Bend two parallel studs from M8 x1.25 mm bolts having head using the bolt holes labelled 1 and 2 for orientation and screw them into the oil pan. Squash on a 3mm-wide strip of oxygen sensor-safe RTV sealant over the oil pan mating face and over the four corners where front and rear covers join the block. Place the oil pan and fasten the bolts just enough till loose, then remove the aligning studs and fasten the oil pan bolts in proper sequence with the standard torque, a special case for the two bolts accepting the rear main oil seal housing. Last processes are similar to the removal processes but in the opposite order; new oil filter is installed, correct type and amount of oil is added and the engine is started and checked for any leakage.
