My Garage
My Account
Cart
Genuine Pontiac Engine Mount
Engine Motor Mount- Select Vehicle by Model
- Select Vehicle by VIN
Select Vehicle by Model
orMake
Model
Year
Select Vehicle by VIN
For the most accurate results, select vehicle by your VIN (Vehicle Identification Number).
292 Engine Mounts found
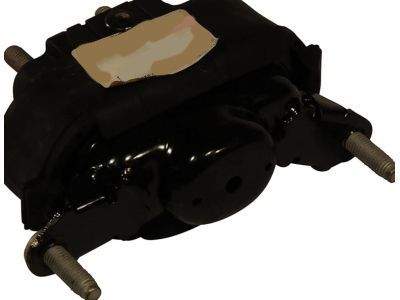
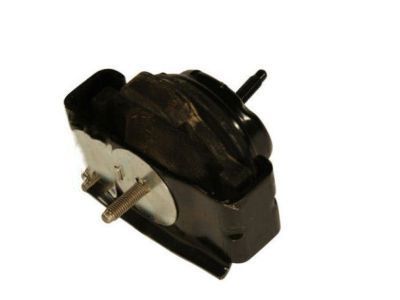
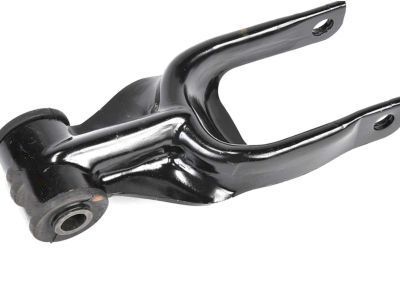
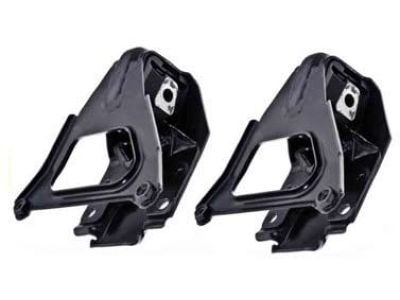
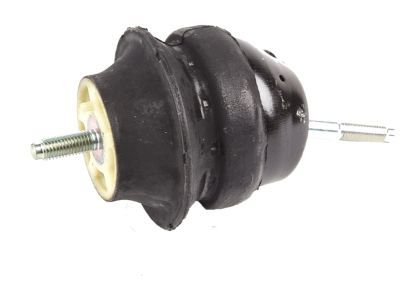
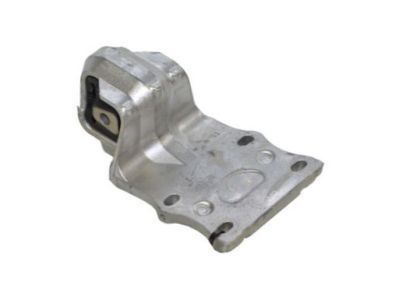
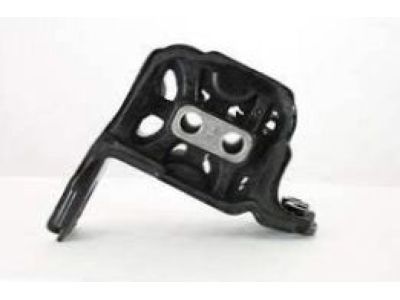
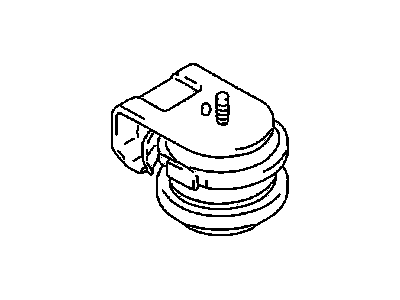
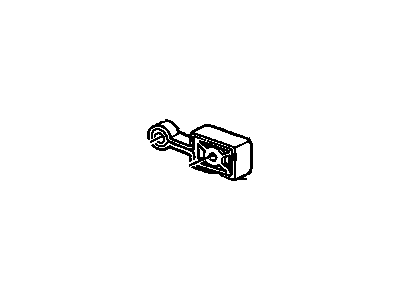
Pontiac Mount Assembly, Engine
Part Number: 22708433$121.61 MSRP: $193.56You Save: $71.95 (38%)Ships in 1-2 Business DaysProduct Specifications- Other Name: MOUNT, Engine Mount Dampening; Front Mount, Motor Mount, Mount
- Replaces: 22631724, 15141228
- Product Specifications
- Other Name: MOUNT, Engine Mounting; Front Mount, Motor Mount, Mount
- Replaces: 00459021, 14066861, 14039437, 459021, 97102453
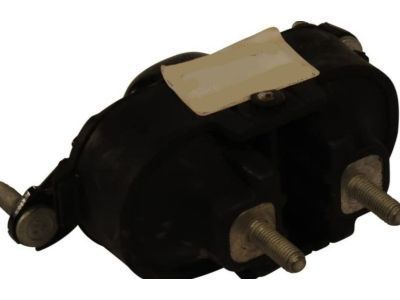
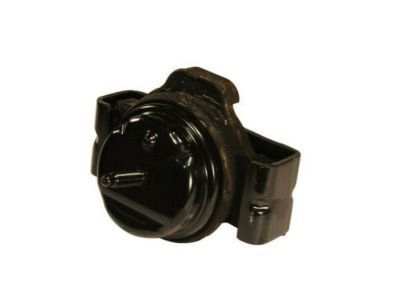
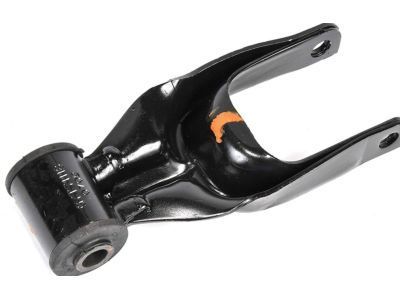
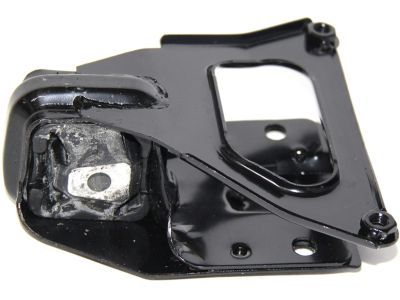
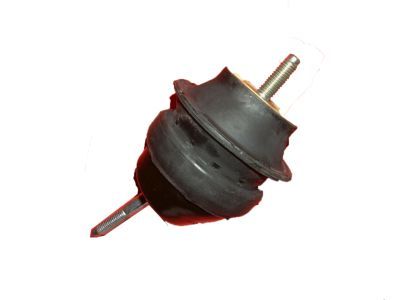
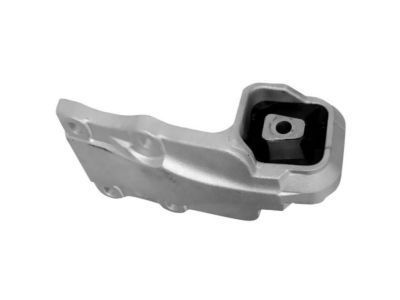
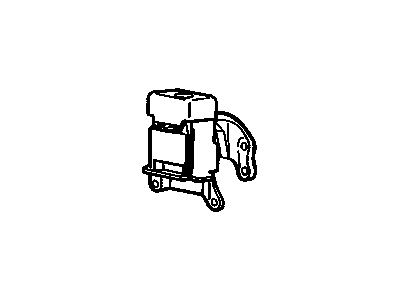
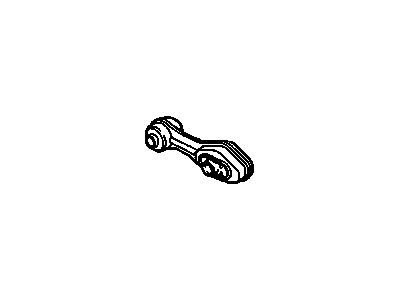
Pontiac Mount Assembly, Engine Front
Part Number: 10351213$53.64 MSRP: $80.43You Save: $26.79 (34%)Ships in 1-2 Business DaysProduct Specifications- Other Name: MOUNT, Engine Mounting; Front Mount, Mount
- Position: Front
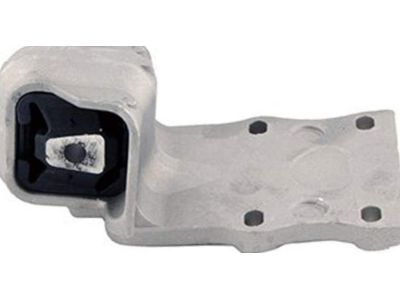
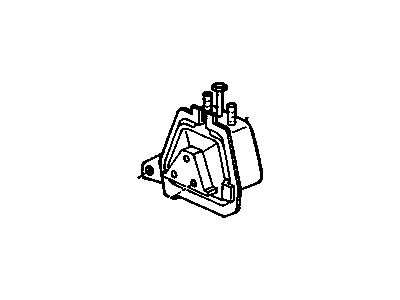
Pontiac Strut Assembly, Engine Mount
Part Number: 10420009$45.12 MSRP: $77.17You Save: $32.05 (42%)Ships in 1-2 Business DaysProduct Specifications- Other Name: STRUT, Engine Mounting; Strut, Strut Mount
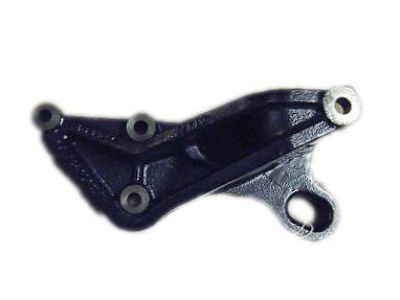
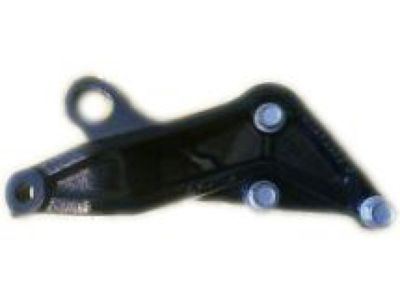
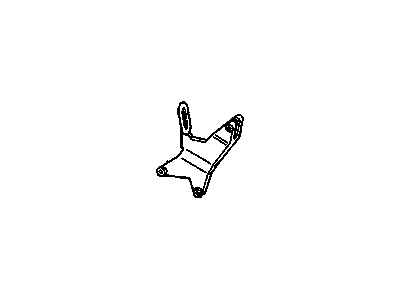
Pontiac Bracket, Engine Mount Strut & Engine Lift
Part Number: 12594433$30.47 MSRP: $61.44You Save: $30.97 (51%)Product Specifications- Other Name: BRACKET, Engine Mounting
- Replaces: 10154776, 12570320
Pontiac Bracket Assembly, Engine Mount Strut
Part Number: 10271462$204.25 MSRP: $325.75You Save: $121.50 (38%)Ships in 1-2 Business DaysProduct Specifications- Other Name: BRACKET, Engine Mounting
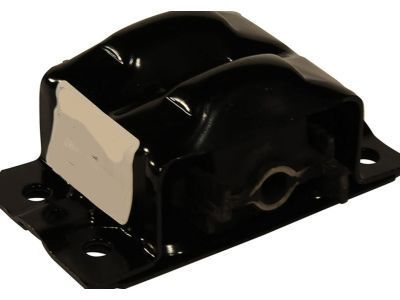
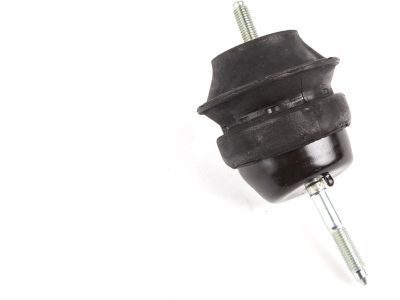
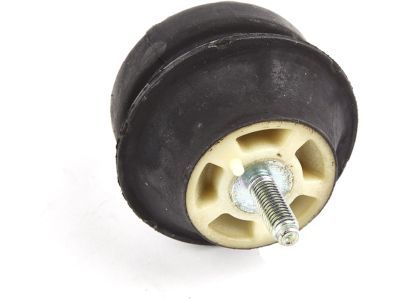
Pontiac Engine Mount
Part Number: 92276824$134.37 MSRP: $214.29You Save: $79.92 (38%)Ships in 1-3 Business DaysProduct Specifications- Other Name: MOUNT,ENG; Motor Mount, Mount
- Replaces: 92213358, 92237649, 92420540, 92228915
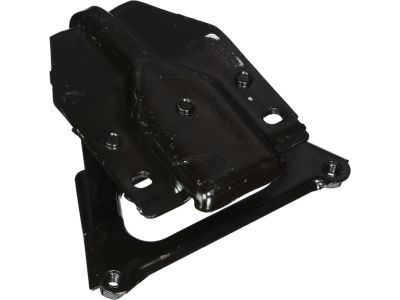
Pontiac Bracket Assembly, Engine Mount Strut
Part Number: 10274661$176.57 MSRP: $301.93You Save: $125.36 (42%)Ships in 1-3 Business DaysProduct Specifications- Other Name: BRACKET, Engine Mounting; Strut Bracket, Strut Front Bracket
- Product Specifications
- Other Name: MOUNT, Engine Mounting
Pontiac Mount Assembly, Engine Rear
Part Number: 10447321$105.54 MSRP: $182.86You Save: $77.32 (43%)Ships in 1-2 Business DaysProduct Specifications- Other Name: MOUNT, Engine Mount Dampening; Rear Mount
- Position: Rear
- Replaces: 10420010
- Product Specifications
- Other Name: BRACKET, Engine Mounting
Pontiac Mount
Part Number: 14039405$31.13 MSRP: $44.74You Save: $13.61 (31%)Ships in 1-2 Business DaysProduct Specifications- Other Name: Motor Mount
Pontiac Engine Mount Assembly
Part Number: 22548823$58.46 MSRP: $117.90You Save: $59.44 (51%)Ships in 1-2 Business DaysProduct Specifications- Other Name: MOUNT, Engine Mount Dampening; Motor Mount, Mount, Rear Mount
Pontiac Mount Asm, Engine Front (LH) (N00 & L73 / L75)
Part Number: 90250437$38.37 MSRP: $77.36You Save: $38.99 (51%)Product Specifications- Other Name: MOUNT, Engine Mounting; Front Mount, Transmission Mount
- Position: Front Driver Side
- Product Specifications
- Other Name: MOUNT, Engine Mounting; Motor Mount, Mount, Mount Assembly
- Replaces: 22113004, 22146450, 22112457, 22112674, 22112675, 22145771, 22171575, 22113003, 22145869
- Product Specifications
- Other Name: MOUNT, Engine Mount Dampening; Cylinder Block, Front Mount
- Position: Front
- Product Specifications
- Other Name: BRACKET, Engine Mounting
- Product Specifications
- Other Name: STRUT, Engine Mount Dampening; Mount, Strut, Torque Strut
Pontiac Strut Assembly, Engine Mount *Green
Part Number: 22596573$20.09 MSRP: $40.52You Save: $20.43 (51%)Product Specifications- Other Name: STRUT, Engine Mount Dampening; Strut, Torque Strut
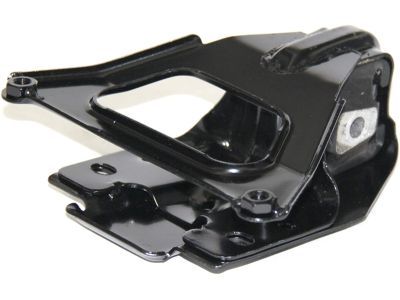
Pontiac Bracket,Engine Mount Frame Side
Part Number: 14036332$21.75 MSRP: $43.86You Save: $22.11 (51%)Product Specifications- Other Name: BRACKET, Engine Mounting; Engine Bracket, Mount Bracket, Strut Bracket
| Page 1 of 15 |Next >
1-20 of 292 Results
Pontiac Engine Mount
If you're searching for OEM Pontiac Engine Mounts, look no further. Our website boasts an extensive inventory of genuine Pontiac Engine Mounts, all available at competitive prices online. Every part we offer comes with a manufacturer's warranty. In addition, we provide a straightforward return policy and rapid delivery services, making your shopping experience a breeze.
Pontiac Engine Mount Parts Questions & Experts Answers
- Q: How to replace hard, split, or separated Engine Mount in four cylinder engine on Pontiac Firebird?A:If the rubber mounts are hard, cracked or separated from the metal backing, they have to be replaced, this can be done with the engine/transmission still in situ. For removal of front mounts the throughbolt and nut have to be removed and the hoist or jack can be used to lift the engine with the help of wood placed under the oil pan. In its turn, it is necessary to take out the mount and frame bracket assembly from the crossmember, place the new mount, throughbolt and locknut and tighten all the bolts to the required torque. As for the rear mount, therefore, loosen the crossmember-to-mount bolts and accordingly elevate the transmission using a jack. Third, take out the mount-to-transmission bolts, and then take out the mount. To do that, it is necessary to install the new mount, lower the transmission and align the crossmember-to-mount bolts before one tightens all engaged bolts to the required degree of torque.
- Q: How should engine mounts be checked and replaced to prevent damage or wear on driveline components in 2.3L four cylinder (Quad-4) engine on Pontiac Grand Prix?A:Damaged or worn engine mounts rarely get much consideration; even so, when they are damaged or have worn, it is crucial to replace them swiftly to avoid wear of shaking at driveline parts. To check the mounts, lift the engine a little off the mounts, take the load off them and make sure that the car is jacked up and safely standing on jack stands. If there is no special support fixture available place a jack under the engine oil pan and put a large piece of wood between the jack and the engine, just lifting the engine off the mounts slightly. Servicing any part of the vehicle should not be done when the vehicle is merely raised by a jack as this is dangerous as part of the body is left under the engine. Look closely at the mounts for indications of cracked, hard rubber or the fact that the metal plates have separated and use a large screwdriver or pry bar to check to see if there is any play between the mount plates and the engine or frame; if there is, lower the engine and tighten of the mount fasteners. Rubber preservative can help cure this problem and one can apply it to the product in order slow the rate of deterioration. As to the replacement of the part, you have to first unfasten the negative battery cable and then lose the bolt of the upper torque strut bracket, in addition, turn the lockout feature of the Theftlock audio system, if present. The torque strut-to-body mount bolts and the torque strut must be unbolted and then the new torque strut installed before tightening the bolts before the negative battery cabel is reattached. For the lower mount, unconnect the negative battery terminal, undo the nuts around the engine mount below the frame mounting bracket, lift the engine from the mount, and undo the nuts that hold the mount to the bracket so as to take out the mount out of the vehicle. Engines are levers that can be installed in the reverse sequence of their removal and this is done carefully by tightening all the nuts before reconnecting the negative battery cable.
- Q: How to replace Engine Mount and Motor And Transmission Mount in four cylinder engine on Pontiac Fiero?A:Rubber engine mounts are an element of the engine/transaxle assembly in the car and if rubber mounts are hardened, cracked or separated from the metal base they should be replaced. To replace the engine mount, support the engine with a jack, remove the forward torque reaction strut bolt, securely lift the vehicle with jack stands and remove the engine mount to cradle nuts and the upper mount to the engine support bracket bolts but not the support bracket from the engine. Upon the elimination of the current engine mount, the new mount should be fitted and the mount to the engine bracket and the mount to the chassis bolts should be tightened to the prescribed torque before lowering the vehicle as well as reinstallation of the forward torque reaction strut bolt. For earlier model vehicles with an automatic transaxle: raise the vehicle, support the engine and transaxle, remove mount-to-cradle nuts and support bracket and replace forward transaxle mount and tighten requisite nuts. For the rear transaxle mount, lower the cradle after having undone the rear cradle to chassis bolts, install the new mount then tighten nuts on the cradle to chassis bolts. Engine and transaxle support bracket and mount may be combined as a single very large unit from some later model vehicles; loosen the required bolts and nuts; replace the mount; and then tighten all the components as per the torque specifications. For manual transaxle mounts, lift the car and support the engine and transaxle, unbolt the forward torque reaction strut bolt and at the same time the front and rear mounts can be unbolted at the same time so that you can install a new set of mounts and tighten the bolts to the right torque. And for the engine torque reaction strut: both the strut bolts are to be removed, the front strut bolt is then to be slackly screwed onto the bushing, the engine is then moved back to fit the rear strut bolt and then both bolts are to be tightened to specification.
Related Pontiac Parts
Browse by Model
6000 Engine Mount Aztek Engine Mount Bonneville Engine Mount Fiero Engine Mount Firebird Engine Mount G3 Engine Mount G5 Engine Mount G6 Engine Mount G8 Engine Mount GTO Engine Mount Grand Am Engine Mount Grand Prix Engine Mount J2000 Engine Mount LeMans Engine Mount Montana Engine Mount Parisienne Engine Mount Phoenix Engine Mount Pursuit Engine Mount Safari Engine Mount Solstice Engine Mount Sunbird Engine Mount Sunfire Engine Mount Sunrunner Engine Mount T1000 Engine Mount Torrent Engine Mount Trans Sport Engine Mount Vibe Engine Mount
