My Garage
My Account
Cart
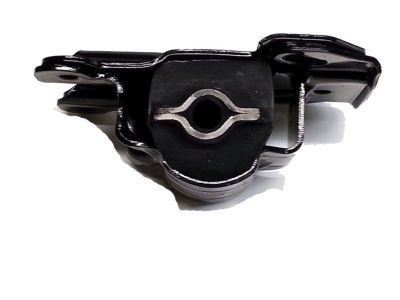
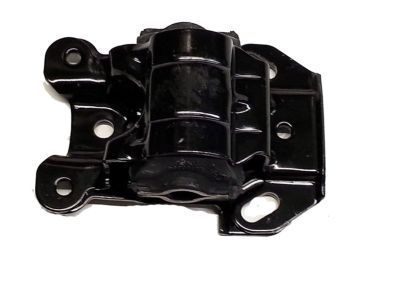
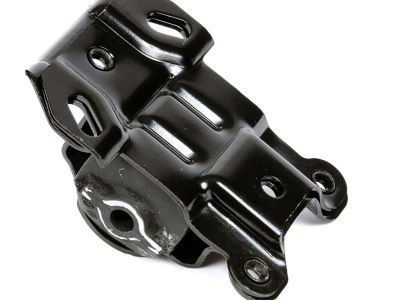
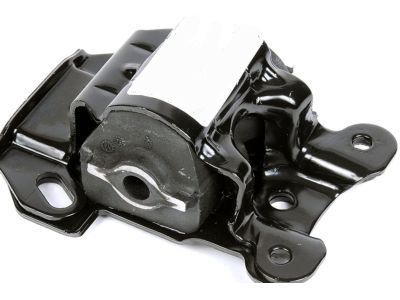
Genuine Pontiac Grand Prix Engine Mount
Engine Motor Mount- Select Vehicle by Model
- Select Vehicle by VIN
Select Vehicle by Model
orMake
Model
Year
Select Vehicle by VIN
For the most accurate results, select vehicle by your VIN (Vehicle Identification Number).
44 Engine Mounts found
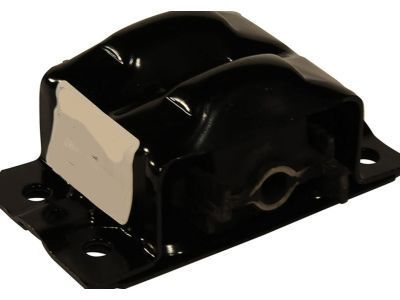
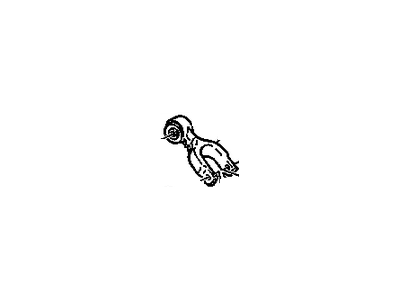
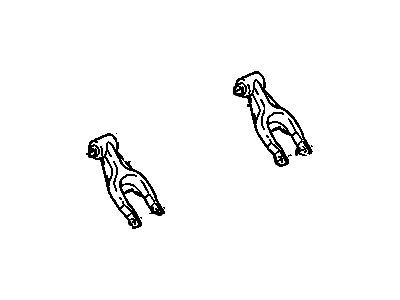
Pontiac Grand Prix Strut Assembly, Engine Mount
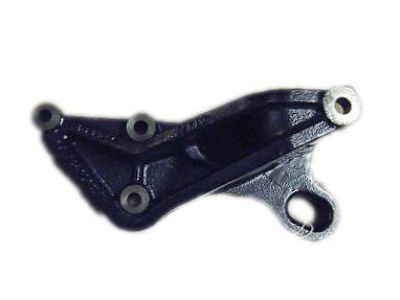
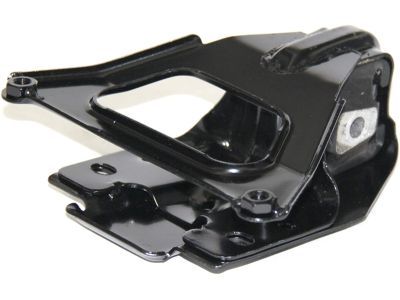
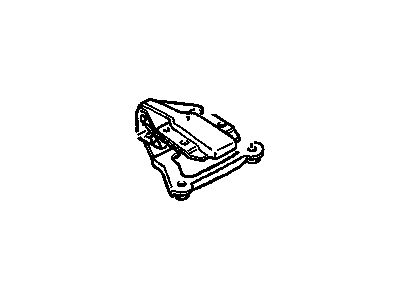
Part Number: 10420009$45.12 MSRP: $77.17You Save: $32.05 (42%)Ships in 1-2 Business DaysPontiac Grand Prix Bracket, Engine Mount Strut & Engine Lift
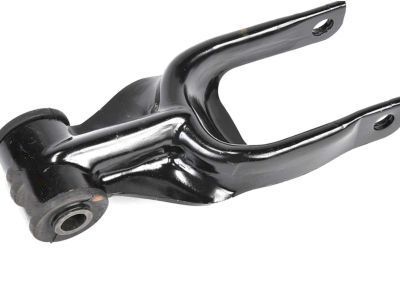
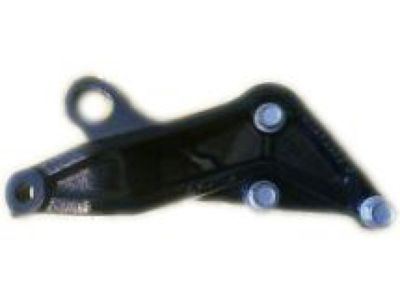
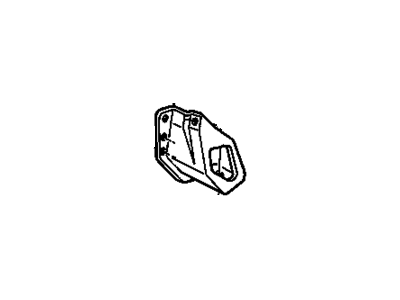
Part Number: 12594433$30.47 MSRP: $61.44You Save: $30.97 (51%)Pontiac Grand Prix Bracket Assembly, Engine Mount Strut
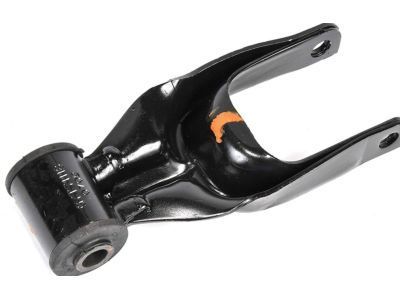
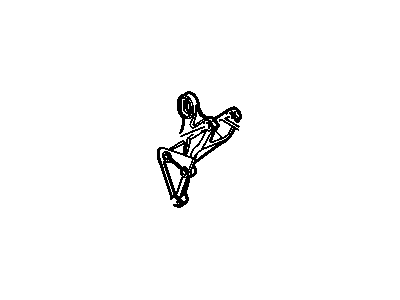
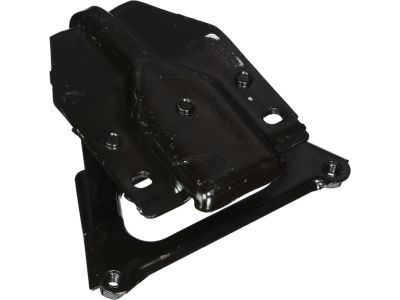
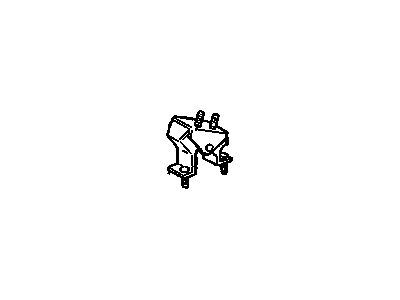
Part Number: 10271462$204.25 MSRP: $325.75You Save: $121.50 (38%)Ships in 1-2 Business DaysPontiac Grand Prix Mount Assembly, Engine *White
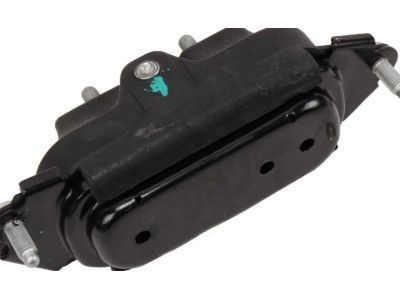
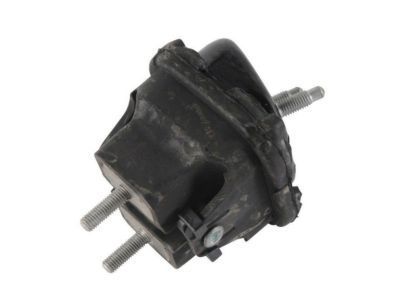
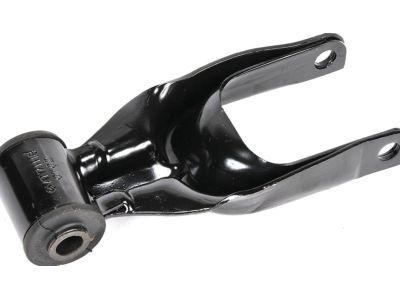
Part Number: 10448575$69.31 MSRP: $118.53You Save: $49.22 (42%)Ships in 1-3 Business DaysPontiac Grand Prix Engine Mount
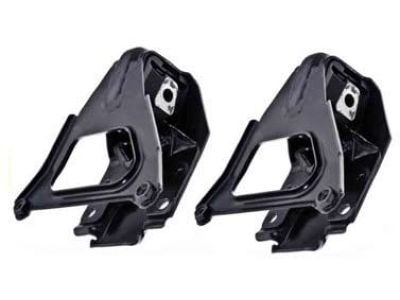
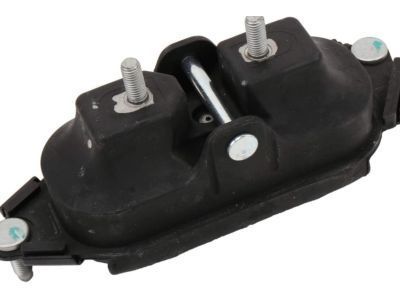
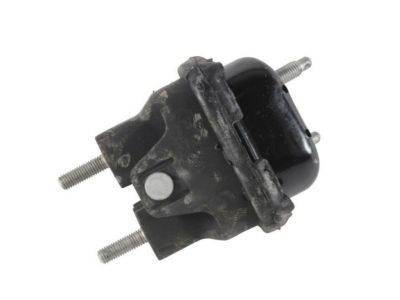
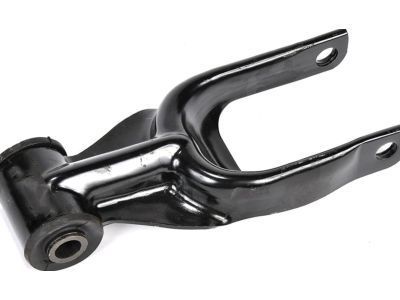
Part Number: 22188284$51.71 MSRP: $88.43You Save: $36.72 (42%)Ships in 1-2 Business DaysPontiac Grand Prix Mount Assembly, Engine Front
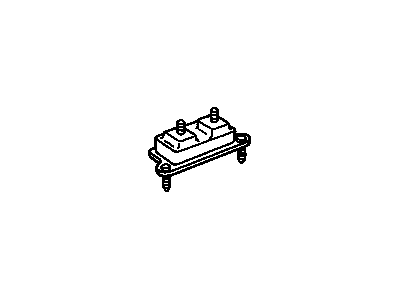
Part Number: 10348601$100.81 MSRP: $172.39You Save: $71.58 (42%)Ships in 1-2 Business DaysPontiac Grand Prix Mount Assembly, Engine Rear
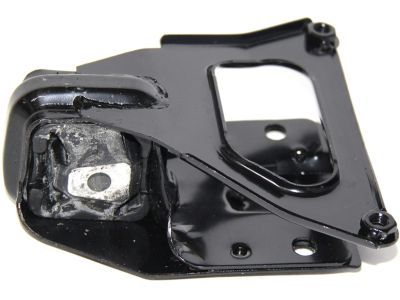
Part Number: 10447321$105.54 MSRP: $182.86You Save: $77.32 (43%)Ships in 1-2 Business DaysPontiac Grand Prix Bracket, Engine Mount Strut
Part Number: 10110480$24.65 MSRP: $44.33You Save: $19.68 (45%)Pontiac Grand Prix Bracket, Engine Mount Strut
Part Number: 10114751$13.05 MSRP: $17.11You Save: $4.06 (24%)Pontiac Grand Prix Strut Assembly, Engine Mount *Yellow
Part Number: 22112737$49.86 MSRP: $100.52You Save: $50.66 (51%)Pontiac Grand Prix Bracket, Engine Mount Strut
Part Number: 10232891$137.10 MSRP: $195.31You Save: $58.21 (30%)Ships in 1-2 Business DaysPontiac Grand Prix Bracket, Engine Front Mount
Part Number: 10345832$59.30 MSRP: $93.31You Save: $34.01 (37%)Ships in 1-3 Business DaysPontiac Grand Prix Bracket Assembly, Engine Mount Strut
Part Number: 10306033$53.33 MSRP: $89.95You Save: $36.62 (41%)Ships in 1-2 Business Days
| Page 1 of 3 |Next >
1-20 of 44 Results
Pontiac Grand Prix Engine Mount
Each OEM Pontiac Grand Prix Engine Mount we offer is competitively priced and comes with the assurance of the manufacturer's warranty for the part. Furthermore, we guarantee the speedy delivery of your orders right to your doorstep. Our hassle-free return policy is also in place for your peace of mind.
Pontiac Grand Prix Engine Mount Parts Questions & Experts Answers
- Q: What are the steps involved in checking and replacing engine mounts in 3.4L V6 engine on Pontiac Grand Prix?A:There are four mounts connecting the drivetrain to the chassis, two at the Timing Chain end (one front and one rear), one at the transaxle end, and one upper mount linking the engine torque strut to the body near the top of the radiator. Engine mounts typically do not require attention, but any broken or deteriorated mounts should be replaced immediately to prevent damage or wear on the driveline components. To check the mounts, the engine must be raised slightly to relieve weight from them. Begin by raising the vehicle and securely supporting it on jack stands, then position a jack under the engine oil pan with a large block of wood in between. Carefully raise the engine just enough to take the weight off the mounts, ensuring no part of the body is placed under the engine when it is only supported by a jack. Inspect the mount insulators for movement; if any is noted, lower the engine and tighten the mount fasteners. Applying rubber preservative to the insulators can help slow deterioration. For replacement, disconnect the negative battery cable and raise the vehicle on jack stands if not already done, ensuring that the lockout feature of the Delco Theftlock audio system is turned off. For all mounts except the right rear engine mount, raise the engine slightly, remove the bolts or nuts securing the mount to the engine and chassis brackets, then raise the engine further to remove the old mount and insert the new one, followed by lowering the engine and tightening the nuts to specifications. The right rear engine mount replacement is more complex, requiring the removal of the hood and the use of a three-bar engine support from above, along with raising and supporting the front of the vehicle on jack stands. The engine cooling fan must be removed, the engine torque strut disconnected, the right drive axle removed, and the right ball joint disconnected at the control arm. After removing the nuts from the right engine mount, which connects the transaxle-to-engine brace to the front subframe, raise the engine to replace the mount, ensuring that installation follows the reverse order of removal, using thread-locking compound on the mount bolts and tightening them securely to specifications.
Related Pontiac Grand Prix Parts
Browse by Year
2008 Engine Mount 2007 Engine Mount 2006 Engine Mount 2005 Engine Mount 2004 Engine Mount 2003 Engine Mount 2002 Engine Mount 2001 Engine Mount 2000 Engine Mount 1999 Engine Mount 1998 Engine Mount 1997 Engine Mount 1996 Engine Mount 1995 Engine Mount 1994 Engine Mount 1993 Engine Mount 1992 Engine Mount 1991 Engine Mount 1990 Engine Mount 1989 Engine Mount 1988 Engine Mount 1987 Engine Mount 1986 Engine Mount 1985 Engine Mount
