My Garage
My Account
Cart
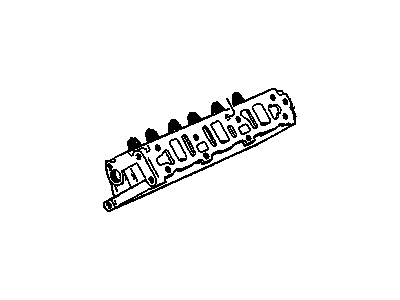
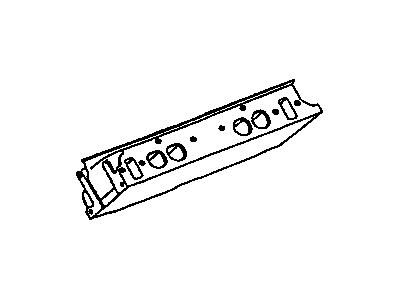
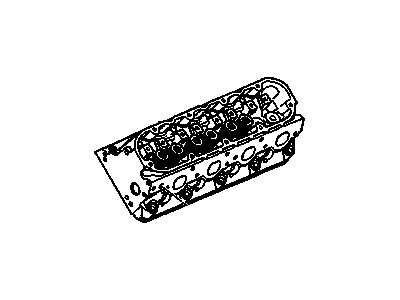
Genuine Pontiac Firebird Cylinder Head
Head- Select Vehicle by Model
- Select Vehicle by VIN
Select Vehicle by Model
orMake
Model
Year
Select Vehicle by VIN
For the most accurate results, select vehicle by your VIN (Vehicle Identification Number).
9 Cylinder Heads found
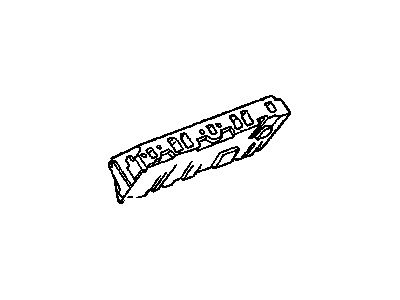
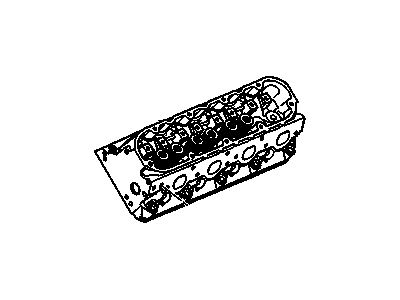
Pontiac Firebird Cylinder Head
Each OEM Pontiac Firebird Cylinder Head we offer is competitively priced and comes with the assurance of the manufacturer's warranty for the part. Furthermore, we guarantee the speedy delivery of your orders right to your doorstep. Our hassle-free return policy is also in place for your peace of mind.
Pontiac Firebird Cylinder Head Parts Questions & Experts Answers
- Q: How to remove and reinstall the cylinder head in four cylinder engine on Pontiac Firebird?A:Remove the Intake Manifold and the Exhaust Manifold. Remove the bolts securing the alternator bracket to the cylinder head. If equipped, unbolt the air conditioner compressor and swing it out of the way for clearance. Disconnect all electrical and vacuum lines from the cylinder head, labeling them for easier reinstallation. Remove the upper radiator hose, disconnect the spark plug wires, and remove the spark plugs, ensuring to label the wires. Remove the rocker arm cover, breaking the gasket seal if necessary by striking the cover with your hand or a rubber hammer without prying between sealing surfaces. When disassembling the valve mechanisms, keep all components separate for reinstallation, using a numbered cardboard box or rack corresponding to the engine cylinders. Remove each rocker arm nut and separate the rocker arms and pivots from the cylinder head. Remove the pushrods, organizing them for reinstallation in their original locations. If the ignition coil is mounted separately from the distributor, disconnect the wires and remove the coil. Loosen each cylinder head mounting bolt one turn at a time in reverse of the tightening sequence until they can be removed, noting the length and position of each bolt for correct reinstallation. Lift the head off the engine, using a hammer and block of wood to tap the head if it is stuck, and place it on a block of wood to prevent damage to the gasket surface. Remove the cylinder head gasket. If a new cylinder head is being installed, transfer all external parts from the old head to the new one. Clean the gasket surfaces on the cylinder head and engine block thoroughly, avoiding damage. Ensure the threads of the head bolts and the threaded holes in the engine block are clean by running a tap through the holes. Place the gasket in position over the engine block dowel pins and carefully lower the cylinder head onto the engine, over the dowel pins and the gasket. Coat the threads of the Number 9 and 10 cylinder head bolts and the point where the head and bolt meet with a sealing compound, then install the bolts finger tight. Tighten each bolt a little at a time in the specified sequence until the proper torque reading is obtained, checking in a front-to-rear sequence to ensure none of the bolts have been overlooked. The remaining installation steps follow the reverse order of removal.
Related Pontiac Firebird Parts
Browse by Year
2002 Cylinder Head 2001 Cylinder Head 2000 Cylinder Head 1999 Cylinder Head 1998 Cylinder Head 1997 Cylinder Head 1996 Cylinder Head 1995 Cylinder Head 1994 Cylinder Head 1993 Cylinder Head 1992 Cylinder Head 1991 Cylinder Head 1990 Cylinder Head 1989 Cylinder Head 1988 Cylinder Head 1987 Cylinder Head 1986 Cylinder Head 1985 Cylinder Head 1984 Cylinder Head 1983 Cylinder Head 1982 Cylinder Head
