My Garage
My Account
Cart
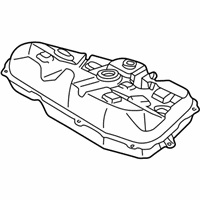
Genuine Pontiac Fuel Tank
Gas Tank- Select Vehicle by Model
- Select Vehicle by VIN
Select Vehicle by Model
orMake
Model
Year
Select Vehicle by VIN
For the most accurate results, select vehicle by your VIN (Vehicle Identification Number).
62 Fuel Tanks found
- Product Specifications
- Other Name: TANK, Fuel; Fuel Tank
- Replaces: 25947829
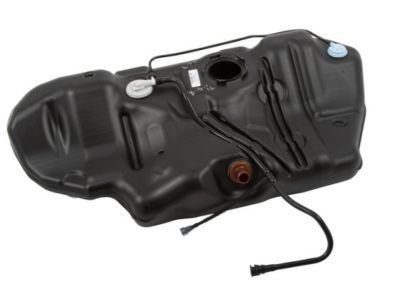
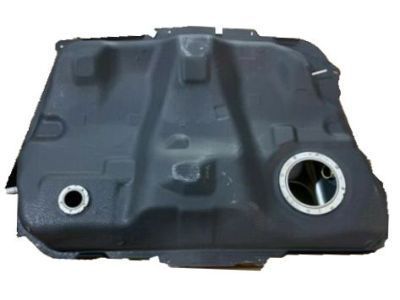
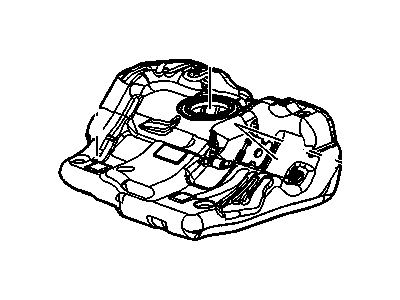
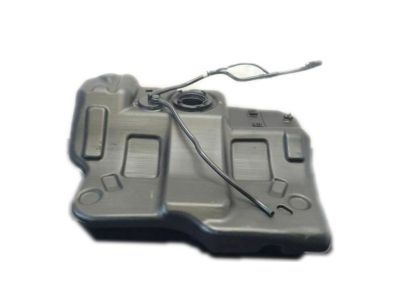
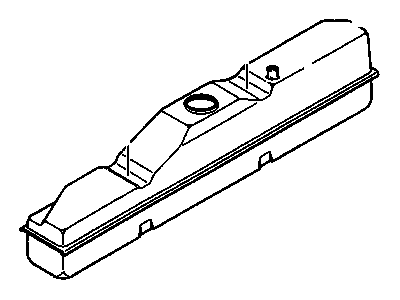
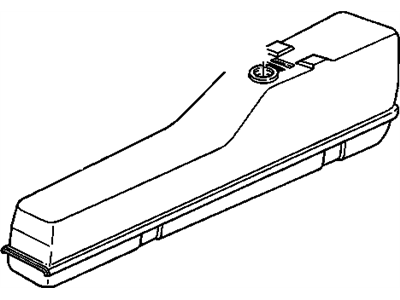
Pontiac Fuel Tank
Part Number: 19184091$548.54 MSRP: $827.37You Save: $278.83 (34%)Ships in 1-3 Business DaysProduct Specifications- Other Name: TANK, Fuel; Fuel Tank
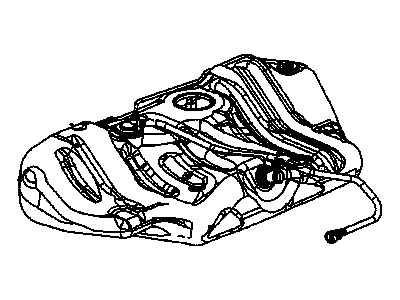
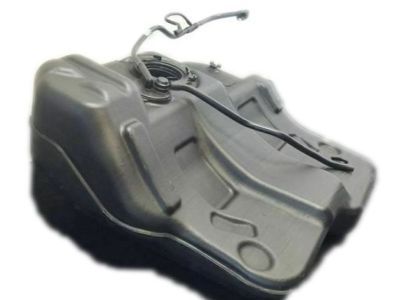
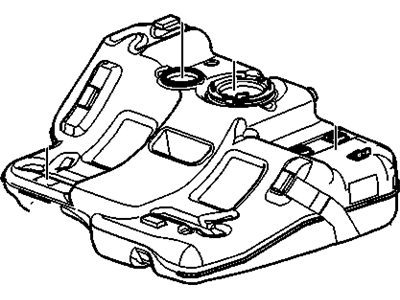
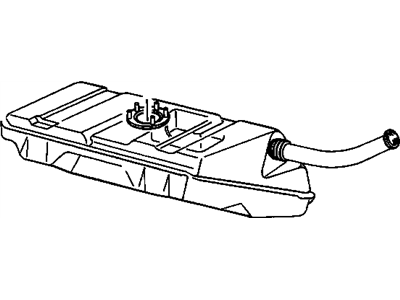
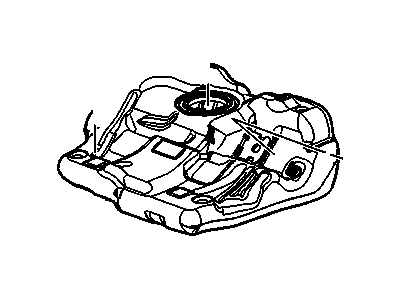
Pontiac Fuel Tank
Part Number: 20873514$657.54 MSRP: $991.77You Save: $334.23 (34%)Ships in 1-3 Business DaysProduct Specifications- Other Name: TANK, Fuel; Fuel Tank
- Replaces: 22677577, 15779886, 15907606, 25823170
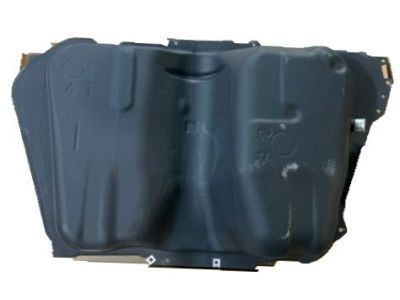
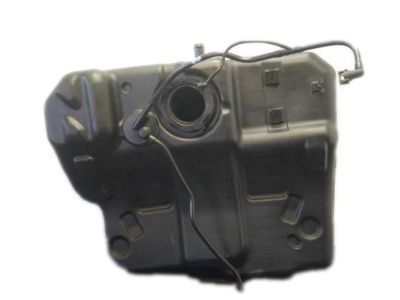
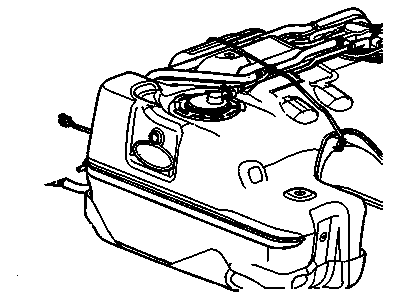
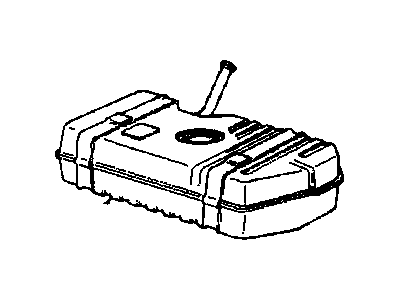
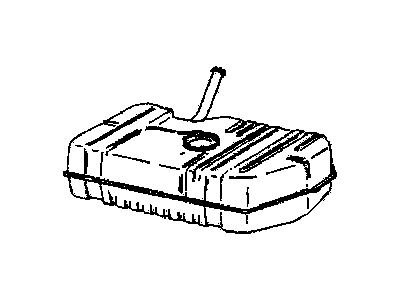
Pontiac Tank Assembly, Fuel
Part Number: 20971850$667.24 MSRP: $1006.41You Save: $339.17 (34%)Ships in 1-3 Business DaysProduct Specifications- Other Name: TANK, Fuel; Fuel Tank
- Replaces: 15861963
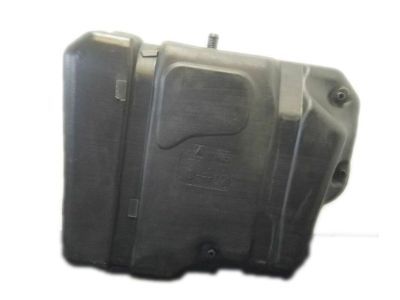
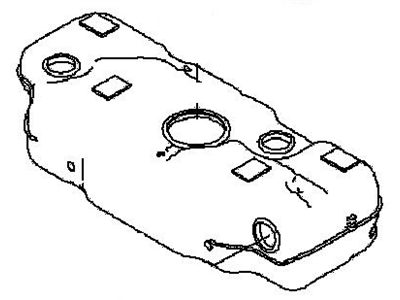
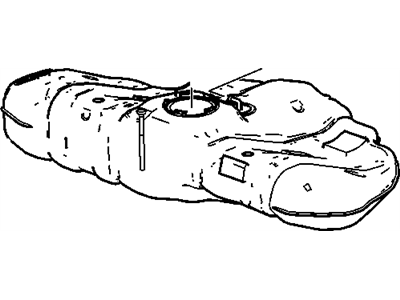
Pontiac Tank Assembly, Fuel
Part Number: 22878267$1095.95 MSRP: $1653.35You Save: $557.40 (34%)Ships in 1-3 Business DaysProduct Specifications- Other Name: TANK, Fuel; Fuel Tank
- Replaces: 22738313, 20827317, 25800687
- Product Specifications
- Other Name: TANK, Fuel
- Product Specifications
- Other Name: TANK, Fuel; Fuel Tank
- Product Specifications
- Other Name: TANK, Fuel; Fuel Tank
- Replaces: 96494162
- Product Specifications
- Other Name: TANK, Fuel; Fuel Tank
- Product Specifications
- Other Name: TANK, Fuel; Fuel Tank
- Replaces: 10326024, 88896031
- Product Specifications
- Other Name: TANK, Fuel
- Product Specifications
- Other Name: TANK, Fuel Tank
- Product Specifications
- Other Name: TANK, Fuel; Fuel Tank
- Replaces: 22704610, 22667845, 22729902, 22689611, 22628436, 22704609, 22622079, 22689612
- Product Specifications
- Other Name: TANK, Fuel; Fuel Tank, Tank
- Product Specifications
- Other Name: TANK, Fuel; Fuel Tank
- Product Specifications
- Other Name: TANK, Fuel; Fuel Tank
- Product Specifications
- Other Name: TANK, Fuel
- Product Specifications
- Other Name: TANK, Fuel; Fuel Tank
- Product Specifications
- Other Name: TANK, Fuel; Fuel Tank
- Product Specifications
- Other Name: TANK, Fuel Tank; Fuel Tank
| Page 1 of 4 |Next >
1-20 of 62 Results
Pontiac Fuel Tank
If you're searching for OEM Pontiac Fuel Tanks, look no further. Our website boasts an extensive inventory of genuine Pontiac Fuel Tanks, all available at competitive prices online. Every part we offer comes with a manufacturer's warranty. In addition, we provide a straightforward return policy and rapid delivery services, making your shopping experience a breeze.
Pontiac Fuel Tank Parts Questions & Experts Answers
- Q: How to remove and install a fuel tank on Pontiac Firebird?A:Begin by removing the cable from the negative battery terminal, ensuring to disable the anti-theft feature on models with a Delco LoeII audio system. Next, take off the filler cap from the fuel tank and drain all fuel into a clean container, using a siphon through the filler neck or draining via the fuel line to the carburetor or fuel injection unit, as there are no drain plugs. Raise the vehicle and support it securely on jackstands, then disconnect the exhaust pipe from the rear of the catalytic converter and allow the exhaust system to hang over the rear axle assembly after disconnecting the rear exhaust pipe hanger. Remove the exhaust pipe and muffler heat shields, followed by the fuel filler neck shield. Proceed to remove the rear suspension track bar and its brace, then disconnect the fuel gauge wiring harness connector. Detach the tank ventilator hose, fuel vapor hose, and fuel feed and return hoses from the sender assembly by loosening the hose clamps and pulling the hoses off the fittings. Remove the fuel line retaining bracket on the left side and the brake line clip from the bracket. Position a floor jack under the rear axle assembly and raise it just enough to relieve the weight off the axle, then disconnect the lower ends of the rear shock absorbers. If applicable, remove the rear stabilizer bar from the frame, then lower the jack enough to allow for the removal of the rear coil springs. Remove the fuel tank supporting strap bolts and take out the fuel tank by rotating the front down and sliding it to the right, ensuring that the brake lines and cables are not stretched or damaged. The installation process is the reverse of removal, and once completed, check all lines, hoses, and fittings for leaks.
- Q: How to clean the Fuel Tank on Pontiac G6?A:The fuel tank is made of plastic and cannot be repaired, therefore, can only be replaced. If there is a need to remove sediment from the bottom of the tank, it is recommended to have the fuel tank steam-cleaned. Prior to cleaning, the fuel pump/level sensor module and all EVAP system components should be removed. It is important to allow ample time for the tank to air-dry before it is returned to service.
- Q: What precautions should be taken when repairing the fuel tank or filler neck on Pontiac Vibe?A:You should know that any repairs to the fuel tank or filler neck should be carried out by a professional. Also, after cleaning and flushing the fuel system, explosive fumes can remain and ignite during the repair of the tank. If the fuel tank is removed from the vehicle, it should not be placed in an area where sparks or open flames could ignite the fumes coming out of the tank. Extra caution is needed inside garages where a gas-type appliance is located.
Related Pontiac Parts
Browse by Model
6000 Fuel Tank Aztek Fuel Tank Bonneville Fuel Tank Fiero Fuel Tank Firebird Fuel Tank G3 Fuel Tank G5 Fuel Tank G6 Fuel Tank G8 Fuel Tank GTO Fuel Tank Grand Am Fuel Tank Grand Prix Fuel Tank J2000 Fuel Tank LeMans Fuel Tank Montana Fuel Tank Parisienne Fuel Tank Pursuit Fuel Tank Safari Fuel Tank Solstice Fuel Tank Sunbird Fuel Tank Sunfire Fuel Tank Sunrunner Fuel Tank Torrent Fuel Tank Trans Sport Fuel Tank Vibe Fuel Tank
