My Garage
My Account
Cart
Genuine Pontiac Grand Prix Rack And Pinion
Steering Rack And Pinion- Select Vehicle by Model
- Select Vehicle by VIN
Select Vehicle by Model
orMake
Model
Year
Select Vehicle by VIN
For the most accurate results, select vehicle by your VIN (Vehicle Identification Number).
13 Rack And Pinions found
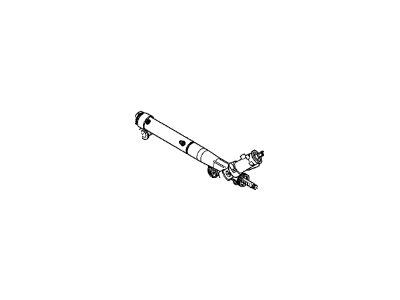
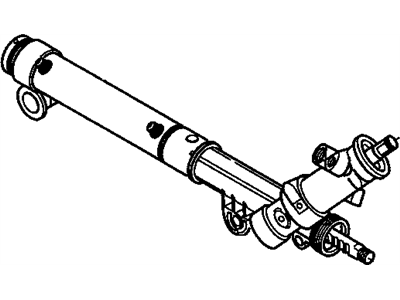
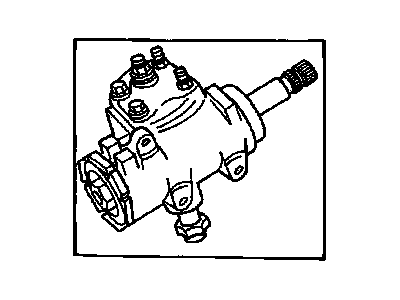
Pontiac Grand Prix Steering Gear Kit (Remanufacture)
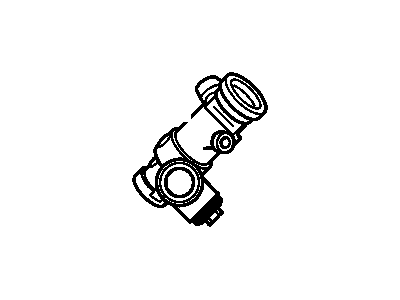
Part Number: 26079911$170.65 MSRP: $320.00You Save: $149.35 (47%)Ships in 1-2 Business DaysPontiac Grand Prix Gear Kit, Steering (Partial) (Remanufacture)
Part Number: 26047207$330.96 MSRP: $624.46You Save: $293.50 (47%)Ships in 1-2 Business Days
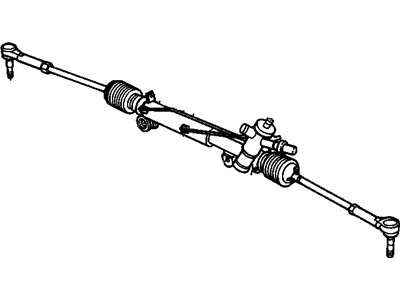
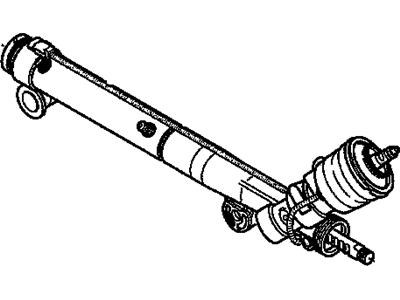
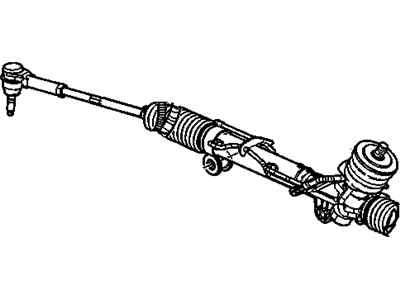
Pontiac Grand Prix Rack And Pinion
The Steering Rack fits in Pontiac Grand Prix car and works by rotating the steering wheel's movement into the lateral movement of the front wheels. Using a rack and pinion technique, it comprises of the pinion gear that is screwed on the steering column and the rack gear that is enclosed in a metal casing to shift the wheels once the steering wheels are twirled. The models include mainly power assisted rack and pinion steering, making it easier and much more responsive for the Grand Prix models. While the previous models may have incorporated manually operated racks, the contemporary models utilize hydraulic help in which fluid is helpful in moving the rack. Closely related, the multiple forms of each gear design may differ in how well they work, for instance, straight gears are normally recommended for their smoothness and the amount of wear they generate. Altogether, Steering Rack in Pontiac Grand Prix automobile play an essential role in providing logical control to the steering of automobile and its maintenance is significant, as any problem such as leak or worn gear can lead to losing control over the automobile.
Each OEM Pontiac Grand Prix Rack And Pinion we offer is competitively priced and comes with the assurance of the manufacturer's warranty for the part. Furthermore, we guarantee the speedy delivery of your orders right to your doorstep. Our hassle-free return policy is also in place for your peace of mind.
Pontiac Grand Prix Rack And Pinion Parts Questions & Experts Answers
- Q: How to remove the rack and pinion assembly on Pontiac Grand Prix?A:Before the removal of the rack and pinion assembly, make sure the cable is disconnected from the negative terminal of the battery and that in case of Theft lock audio system check and make sure the lockout feature is switched off. Models with the 3.4L V6 engine require the air cleaner and duct assembly to be taken out. Remove the front wheel nuts, lift the vehicle off the ground with the jack and place jackstands, engage the parking brake; block the rear wheels. Both front wheels, and right side engine splash shield shall be removed in case of having 3.4L V6 engine. Pin the Steering Wheel in the straight ahead position, with the upper steering shaft assembly wide spline positioned at the 12 o clock position and ignition switch in the lock position to avoid the air bag damage. At the end of the steering column, unbolt the boot and take time to reveal the flange and steering coupler assembly then proceed to marking the coupler and steering column shaft, remove the pinch bolt to leave the steering column hanging free from the power steering input shaft. Disconnect the electrical connection of power steering idle speed switch and in the models equipped with the 3.4L V6 engine-remove the exhaust engine pipe and catalytic converter. Disconnect the tie-rod ends from the steering arms and position the rear of the subframe assembly on a jack and remove rear bolts and while undoing the front bolts slightly lower the rear of around five inches down. First of remove the heat shield from the rack and pinion and then the use of screw driver unscrew the fluid pipe clip from the rack. Place the drain pan beneath the vehicle, remove the pressure and return hoses to the rack and pinion, and plug such connections so as not to lose the fluids. Disconnect the through-bolts and nuts securing the rack and pinion, and then raise the rack and pinion out of the mounts and manoeuvre it through the left side wheel opening. For installation, pass the rack and pinion assembly through the left wheel opening and place it in position in the mounts as shown in Fig.7-4-11, then engage the through-bolts and nuts and tighten. Extend the pressure and return lines to the rack and pinion where you can bolt the line retainer; next bolt on the heat shield. Lift up the subframe and position it properly, bolt it securely, fasten the nuts on the connecting ends of the tie rod and steering arm and fit new cotters. In the case where the exhaust system was taken off, fit it back as needed. Also focus the conical cap of the rack and pinion onto the coupler groove of the steering column shaft, and screw the coupler and tighten the pinch bolt kindly such that the shaft fits. Put in the front wheels, then lower the car and torque the lug nuts. Connect the negative battery cable tighten the hose connecting the Power Steering Pump to the reservoir, fill the p/s pump with the correct fluid, bleed the system and check fluid level for leaks. Last but not the least have the front end alignment checked by a dealer service department or an alignment shop.
Related Pontiac Grand Prix Parts
Browse by Year
2008 Rack And Pinion 2007 Rack And Pinion 2006 Rack And Pinion 2005 Rack And Pinion 2004 Rack And Pinion 2003 Rack And Pinion 2002 Rack And Pinion 2001 Rack And Pinion 2000 Rack And Pinion 1999 Rack And Pinion 1998 Rack And Pinion 1997 Rack And Pinion 1996 Rack And Pinion 1995 Rack And Pinion 1994 Rack And Pinion 1993 Rack And Pinion 1992 Rack And Pinion 1991 Rack And Pinion 1990 Rack And Pinion 1989 Rack And Pinion 1988 Rack And Pinion 1987 Rack And Pinion 1986 Rack And Pinion 1985 Rack And Pinion 1984 Rack And Pinion 1983 Rack And Pinion 1982 Rack And Pinion
