My Garage
My Account
Cart
Genuine Pontiac Piston
Engine Pistons- Select Vehicle by Model
- Select Vehicle by VIN
Select Vehicle by Model
orMake
Model
Year
Select Vehicle by VIN
For the most accurate results, select vehicle by your VIN (Vehicle Identification Number).
144 Pistons found
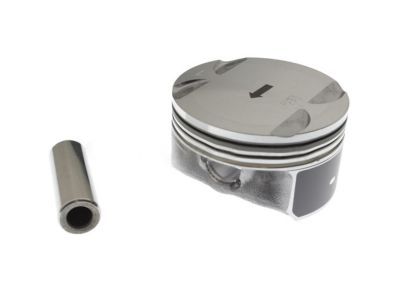
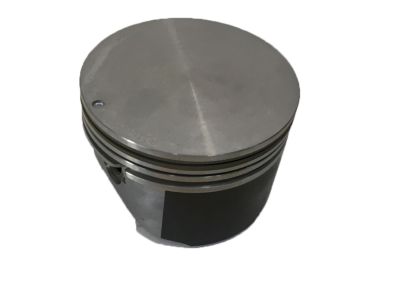
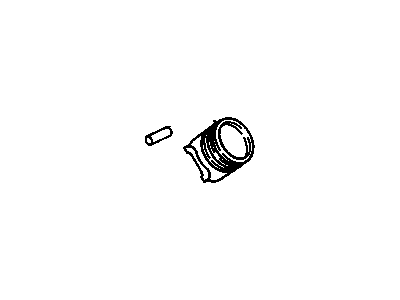
Pontiac Piston Kit
Part Number: 12646457$52.80 MSRP: $127.82You Save: $75.02 (59%)Ships in 1-3 Business DaysProduct Specifications- Other Name: PISTON KIT, Engine Piston; Piston
- Replaces: 12608531, 12631102, 19180835, 89018112
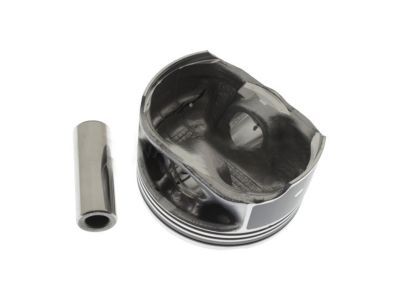
Pontiac Piston Asm,(W/ Pinion)
Part Number: 89060486$43.24 MSRP: $71.58You Save: $28.34 (40%)Ships in 1-2 Business DaysProduct Specifications- Other Name: PISTON, Engine Piston; Piston
- Replaces: 89017577
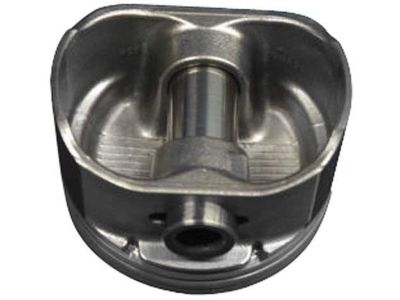
Pontiac Piston Asm,(W/ Pinion)
Part Number: 89018065$33.82 MSRP: $61.20You Save: $27.38 (45%)Ships in 1-2 Business DaysProduct Specifications- Other Name: PISTON, Engine Piston; Piston
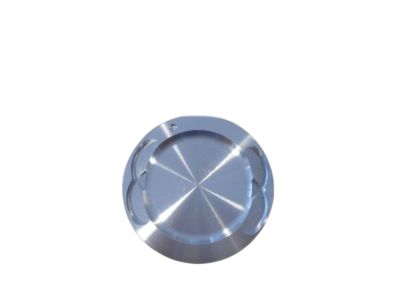
Pontiac Piston, (W/Pinion)
Part Number: 19207287$60.21 MSRP: $145.79You Save: $85.58 (59%)Ships in 1-3 Business DaysProduct Specifications- Other Name: PISTON, Engine Piston; Piston
- Replaces: 19168089
- Product Specifications
- Other Name: PISTON, Engine Piston; Piston
- Replaces: 89017578
Pontiac Piston Assembly, (W/ Connect Rod)
Part Number: 12578021$50.12 MSRP: $101.06You Save: $50.94 (51%)Product Specifications- Other Name: PISTON, Engine Piston; Piston
- Replaces: 12578023, 24508727, 24508302, 10217820, 12564668, 12564669
Pontiac Piston Asm
Part Number: 96476298$11.25 MSRP: $17.70You Save: $6.45 (37%)Ships in 1-3 Business DaysProduct Specifications- Other Name: PISTON, Engine Piston; Piston
Pontiac Piston Assembly, (W/ Pinion)
Part Number: 12578023$50.12 MSRP: $101.06You Save: $50.94 (51%)Product Specifications- Other Name: PISTON, Engine Piston; Piston
- Replaced by: 12578021
Pontiac Piston Assembly, (W/ Connect Rod)
Part Number: 12575630$200.16 MSRP: $312.14You Save: $111.98 (36%)Ships in 1-2 Business DaysProduct Specifications- Other Name: PISTON, Engine Piston; Piston
Pontiac Piston Kit, (Includes Rings) Std
Part Number: 12455573$65.88 MSRP: $132.83You Save: $66.95 (51%)Product Specifications- Other Name: PISTON, Engine Piston; Piston, Piston Assembly
- Replaces: 14094013
Pontiac Piston Assembly, (W/ Pinion)
Part Number: 12564669$50.12 MSRP: $101.06You Save: $50.94 (51%)Product Specifications- Other Name: PISTON, Engine Piston; Piston
- Replaced by: 12578021
- Product Specifications
- Other Name: PISTON, Engine Piston; Piston
- Product Specifications
- Other Name: PISTON, Engine Piston; Piston
- Product Specifications
- Other Name: PISTON, Engine Piston; Piston
Pontiac Piston Assembly, (W/Pinion, Std)
Part Number: 12537198$61.92 MSRP: $124.87You Save: $62.95 (51%)Product Specifications- Other Name: PISTON, Engine Piston; Piston
Pontiac Piston & Pinion Assembly, 3.8L S/C (.020 Oversize)
Part Number: 24503975$107.35 MSRP: $193.07You Save: $85.72 (45%)Product Specifications- Other Name: PISTON KIT, Engine Piston
Pontiac PISTON, Engine Piston
Part Number: 364704$46.09 MSRP: $66.23You Save: $20.14 (31%)Ships in 1-2 Business DaysPontiac Piston Asm,(W/ Pinion)
Part Number: 89018108$128.90 MSRP: $213.33You Save: $84.43 (40%)Ships in 1-2 Business DaysProduct Specifications- Other Name: PISTON, Engine Piston; Piston
Pontiac PISTON ASM,(W/PIN)
Part Number: 19434034$149.64 MSRP: $238.65You Save: $89.01 (38%)Ships in 1-2 Business DaysProduct Specifications- Replaces: 10159436
- Product Specifications
- Other Name: PISTON, Engine Piston; Piston
| Page 1 of 8 |Next >
1-20 of 144 Results
Pontiac Piston
If you're searching for OEM Pontiac Pistons, look no further. Our website boasts an extensive inventory of genuine Pontiac Pistons, all available at competitive prices online. Every part we offer comes with a manufacturer's warranty. In addition, we provide a straightforward return policy and rapid delivery services, making your shopping experience a breeze.
Pontiac Piston Parts Questions & Experts Answers
- Q: What steps should be taken before removing the piston and connecting rod assemblies on Pontiac Firebird?A:Prior to removing the piston and connecting rod assemblies, position the engine upright. Use a ridge reamer to completely eliminate the ridge at the top of each cylinder, following the manufacturer's instructions, as failing to do so may result in piston breakage. Once all cylinder wear ridges are removed, turn the engine upside-down. Before removing the connecting rods, check the endplay by mounting a dial indicator aligned with the crankshaft and touching the side of the number one cylinder connecting rod cap. Push the connecting rod forward to zero the dial indicator, then push it to the rear and note the reading; this distance indicates the endplay, which should not exceed the service limit, necessitating a new connecting rod if it does. Alternatively, use feeler gauges between the connecting rod and crankshaft throw to measure endplay. Check for identification marks on the connecting rods and caps, marking them if necessary. Loosen each connecting rod cap nut about half a turn, then remove the number one connecting rod cap and bearing insert without dropping the insert. To protect the crankshaft journal and cylinder wall, slip a short length of plastic or rubber hose over each connecting rod cap bolt before pushing the connecting rod/piston assembly out through the top of the engine, using a wooden tool to push on the upper bearing insert. If resistance is encountered, ensure all ridge material has been removed. Repeat this process for the remaining cylinders, and after removal, reassemble the connecting rod caps and bearing inserts in their respective rods, installing the cap nuts finger tight to prevent accidental damage to the bearing surfaces.
- Q: What steps should be taken before removing the piston and connecting rod assemblies on Pontiac Fiero?A:Prior to removing the piston and connecting rod assemblies, position the engine upright. Use a ridge reamer to completely eliminate the ridge at the top of each cylinder, following the manufacturer's instructions, as failure to do so may result in piston breakage. Once the cylinder wear ridges are removed, turn the engine upside-down. Before removing the connecting rods, check the end play by mounting a dial indicator aligned with the crankshaft and touching the side of the number one connecting rod cap. Push the connecting rod backward to zero the dial indicator, then push it forward to check the reading; the distance moved indicates the end play, and if it exceeds the service limit, a new connecting rod is necessary. Alternatively, feeler gauges can be used to measure the end play by inserting them between the connecting rod and crankshaft throw until the play is eliminated, with the total thickness equating to the end play. Inspect the connecting rods and caps for identification marks; if absent, use a small punch to create indentations for identification. Loosen each connecting rod cap nut about half a turn, remove the number one connecting rod cap and bearing insert without dropping the insert, and protect the crankshaft journal and cylinder wall by slipping short lengths of plastic or rubber hose over the connecting rod cap bolts before pushing the connecting rod/piston assembly out through the top of the engine with a wooden tool. If resistance is encountered, ensure all ridge material has been removed from the cylinder. Repeat this process for the remaining cylinders, and after removal, reassemble the connecting rod caps and bearing inserts in their respective rods, installing the cap nuts finger tight to prevent accidental damage to the bearing surfaces.
- Q: What steps should be taken before installing the piston and connecting rod assemblies on Pontiac Grand Prix?A:When bolting the piston and connecting rods it is necessary to check that the cylinder walls are free from dirt, each cylinder top edge should be chamfered and the crankshaft in position. Take off the cap of the number one connecting rod and be sure to have it noted from the marks that were made as the cap was being removed in the process should it be required again later then clean the bearing surfaces using a lint free cloth. Do not touch the new bearing inserts with fingers so as not to expose them to contamination. My first step is to as clean the back side of the new upper bearing insert and place it in the connecting rod in such a manner that the tab will fit in to the recess without having to hammer it in. Do the same for the lower bearing insert in the rod cap being careful not to compromise the cleanliness of the area. Align the three gaps in the pistons at possibilities of 120 degrees, apply a thin layer of engine oil on the pistons and the rings and then to install the piston into the cylinders, you need to use the piston ring compressor. Turn the crankshaft until the number one connecting rod journal aligns with the bottom dead centre and lubricate the cylinder walls. Swing the piston/connecting rod assembly into the cylinder bore-the notch or arrow on the piston should be oriented towards the front of the engine-and tap it home gently whilst slotting the connecting rod onto the crank journal. After the installation is complete it is important to check the oil clearance of the connecting rod bearing by using Plastigage and make sure that the alignment is well done on the cap and the rod. After that, turn the nuts until they reach the designed torque, in three-quarter turns, and thereafter unbolt the rod cap in such a manner that doesn't affect the Plastigage. Use the width of the crushed Plastigage to obtain the oil clearance and in case it's out of range look for dirt or oil contamination then recheck the journal diameter. Remove any Plastigage from the rod journal and bearing face, then coat them with moly-base grease or engine assembly lube; put the connecting rod and cap back on and fasten nuts to the proper torque. The next step is to follow one and the same procedure with other pistons and connecting rods and to pay attention to their orientation and the marks on the pistons. Following the installation of all assemblies, rotate the crankshaft and look for binding, and the last one is the connect rod small end clearance check to the specification, if it does not meet the requirements, resize the rods.
Related Pontiac Parts
Browse by Model
6000 Piston Aztek Piston Bonneville Piston Fiero Piston Firebird Piston G3 Piston G5 Piston G6 Piston G8 Piston GTO Piston Grand Am Piston Grand Prix Piston J2000 Piston LeMans Piston Montana Piston Parisienne Piston Pursuit Piston Safari Piston Solstice Piston Sunbird Piston Sunfire Piston Sunrunner Piston Torrent Piston Trans Sport Piston Vibe Piston
