My Garage
My Account
Cart
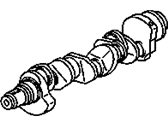
Genuine Pontiac Crankshaft
Crank Shaft- Select Vehicle by Model
- Select Vehicle by VIN
Select Vehicle by Model
orMake
Model
Year
Select Vehicle by VIN
For the most accurate results, select vehicle by your VIN (Vehicle Identification Number).
57 Crankshafts found
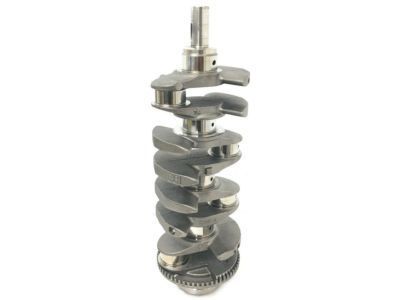
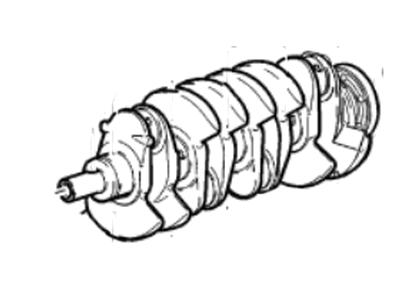
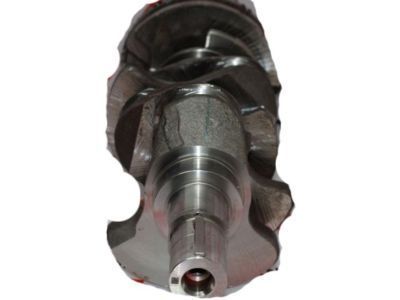
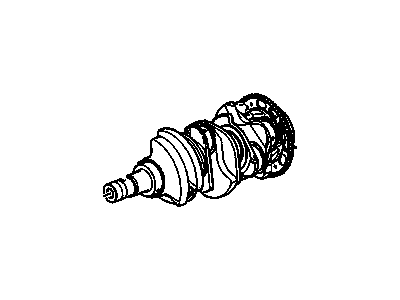
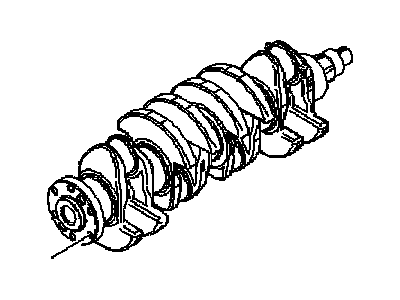
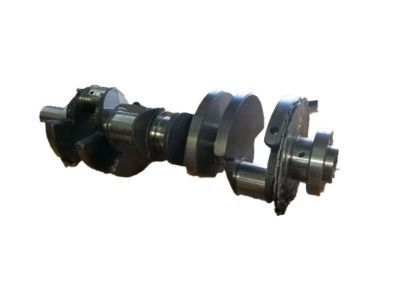
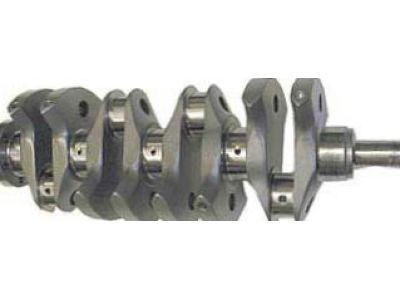
Pontiac Crankshaft Assembly
Part Number: 12578164$685.29 MSRP: $1134.22You Save: $448.93 (40%)Ships in 1-3 Business DaysProduct Specifications- Other Name: Crankshaft Asm; Crankshaft
- Replaces: 12578182, 12623302
- Product Specifications
- Other Name: Crankshaft Asm ; Crankshaft, Engine; Crankshaft
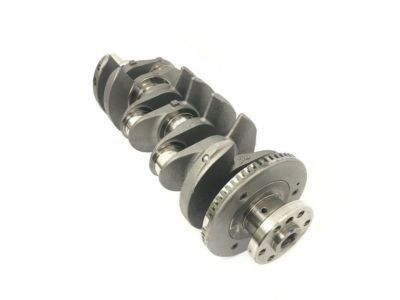
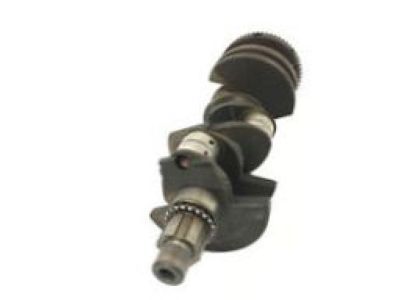
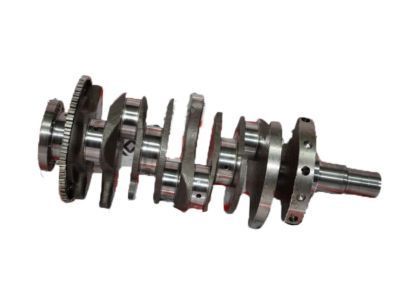
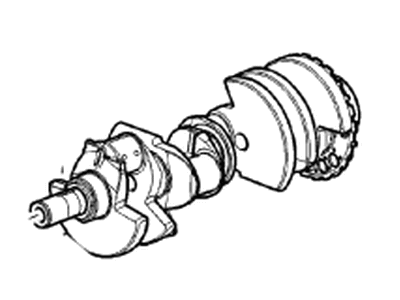
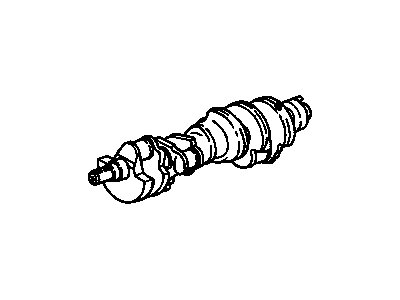
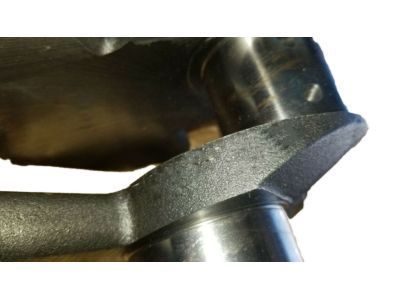
Pontiac Engine Crankshaft
Part Number: 12623074$564.05 MSRP: $933.17You Save: $369.12 (40%)Ships in 1-3 Business DaysProduct Specifications- Other Name: Crankshaft Asm ; Crankshaft, Engine; Crankshaft
- Replaces: 12571127, 12601939, 12621351, 12621353
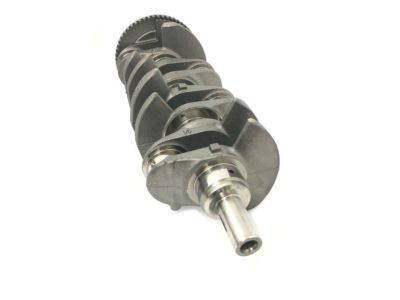
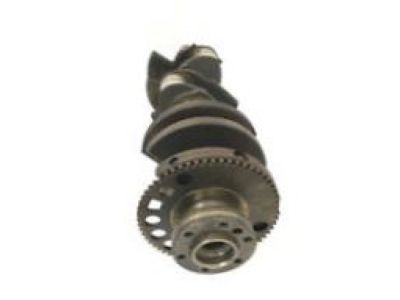
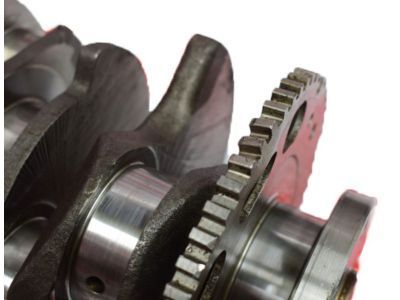
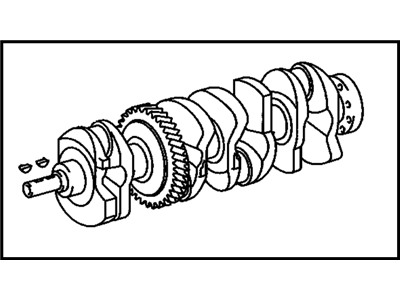
Pontiac CRANKSHAFT ASM,.
Part Number: 19431873$461.48 MSRP: $763.62You Save: $302.14 (40%)Ships in 1-3 Business DaysProduct Specifications- Replaces: 12685659, 12597569, 12584997
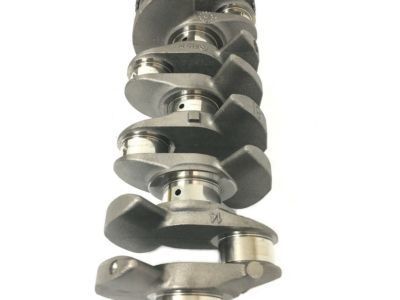
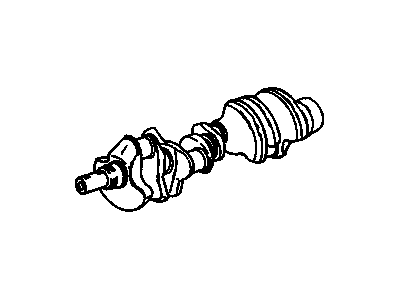
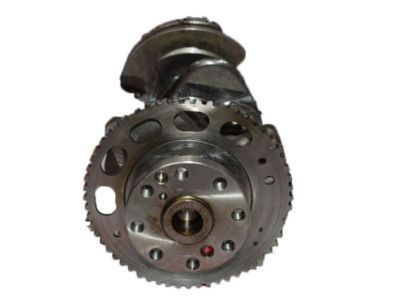
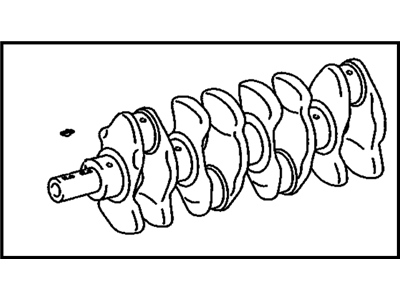
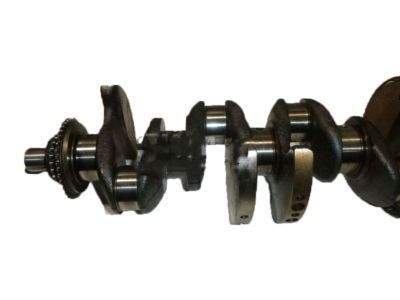
Pontiac Engine Crankshaft
Part Number: 12598044$359.11 MSRP: $567.58You Save: $208.47 (37%)Ships in 1-3 Business DaysProduct Specifications- Other Name: Crankshaft Asm ; Crankshaft, Engine; Crankshaft
Pontiac Engine Crankshaft
Part Number: 14088526$555.37 MSRP: $670.13You Save: $114.76 (18%)Ships in 1-3 Business DaysProduct Specifications- Other Name: Crankshaft, Engine; Crankshaft
- Replaces: 14088527
Pontiac Engine Crankshaft
Part Number: 96385403$365.80 MSRP: $605.46You Save: $239.66 (40%)Ships in 1-3 Business DaysProduct Specifications- Other Name: Crankshaft, Engine; Crankshaft
Pontiac Crankshaft Assembly
Part Number: 12587041$297.55 MSRP: $492.49You Save: $194.94 (40%)Ships in 1-3 Business DaysProduct Specifications- Other Name: Crankshaft Asm ; Crankshaft, Engine; Crankshaft
- Replaces: 12623307
Pontiac Engine Crankshaft
Part Number: 55569767$484.62 MSRP: $772.90You Save: $288.28 (38%)Ships in 1-3 Business DaysProduct Specifications- Other Name: Crankshaft, Engine; Crankshaft
- Replaces: 55559199
Pontiac Engine Crankshaft
Part Number: 10243070$745.12 MSRP: $1233.22You Save: $488.10 (40%)Ships in 1-3 Business DaysProduct Specifications- Other Name: Crankshaft, Engine; Crankshaft
- Replaced by: 12691722
Pontiac Engine Crankshaft
Part Number: 19185340$306.60 MSRP: $668.35You Save: $361.75 (55%)Ships in 1-2 Business DaysProduct Specifications- Other Name: Crankshaft, Engine; Crankshaft
Pontiac Engine Crankshaft
Part Number: 12619107$480.30 MSRP: $766.05You Save: $285.75 (38%)Ships in 1-3 Business DaysProduct Specifications- Other Name: Crankshaft Asm ; Crankshaft, Engine; Crankshaft
- Replaces: 12621578, 12589347
Pontiac Engine Crankshaft
Part Number: 88972184$105.36 MSRP: $781.96You Save: $676.60 (87%)Ships in 1-2 Business DaysProduct Specifications- Other Name: Crankshaft, Engine; Crankshaft
Pontiac Engine Crankshaft
Part Number: 19185565$347.30 MSRP: $548.91You Save: $201.61 (37%)Ships in 1-2 Business DaysProduct Specifications- Other Name: Crankshaft, Engine; Crankshaft
- Product Specifications
- Other Name: Crankshaft Asm ; Crankshaft, Engine; Crankshaft
- Product Specifications
- Other Name: Crankshaft Asm ; Crankshaft, Engine; Crankshaft
- Product Specifications
- Other Name: Crankshaft, Engine; Crankshaft
- Product Specifications
- Other Name: Crankshaft, Engine; Crankshaft
- Product Specifications
- Other Name: Crankshaft Asm (.25 Mm Us) (Remanufacture) ; Crankshaft, Engine
- Replaces: 24575223
- Product Specifications
- Other Name: Crankshaft Asm; Crankshaft
- Replaces: 12556307
| Page 1 of 3 |Next >
1-20 of 57 Results
Pontiac Crankshaft
If you're searching for OEM Pontiac Crankshafts, look no further. Our website boasts an extensive inventory of genuine Pontiac Crankshafts, all available at competitive prices online. Every part we offer comes with a manufacturer's warranty. In addition, we provide a straightforward return policy and rapid delivery services, making your shopping experience a breeze.
Pontiac Crankshaft Parts Questions & Experts Answers
- Q: How to check the end play of a crankshaft before removing it on Pontiac Fiero?A:It is advisable to inspect the end play when an overhaul of the crankshaft is to be done by mounting a dial indicator such that the stem is parallel to the crankshaft and touching one of the crank throws. Rotate the crankshaft to the rear and set the dial indicator at zero, rotate the crankshaft forward and read a value of the end play. If it go beyond the said limit, then check the thrust surfaces of wear; if there is none, then new main bearings may rectify the problem. Incase one cannot find a dial indicator, use feeler gauges, pull the crankshaft towards the front and ease the gauges in between the crankshaft and the thrust main bearing to get the clearance. Remove the main bearing cap bolts an eighth turn at the time until they could be pulled out by hand and the caps are often numbered from front to rear, thus these marks are useful for the proper positioning of the cap bolts. If unlabeled they can be marked by the use of a stamping die or a center punch. As mentioned earlier most of the caps are marked with a cast-in arrow symbol that points to the front direction. Tap the caps lightly with a soft-face hammer to provide the required clearance and you can easily lift the caps off using the bolts and ensure that the bearing inserts are not dropped when doing so. Lastly, remove the crankshaft from the engine and it is recommended to do it with help, then put back the bearing caps to their positions on the head of the engine, tighten the bolts with fingers only.
- Q: What steps must be taken to remove the crankshaft from the engine after it has been taken out on Pontiac Grand Prix?A:The crankshaft can only be removed after the engine has been taken out of the vehicle, assuming that the flywheel or driveplate, crankshaft balancer/vibration damper, timing chain, timing gear, oil pan, oil pump, and piston/connecting rod assemblies have already been detached. For Quad-4 engines, the rear main oil seal housing must be unbolted and separated from the block prior to crankshaft removal. Before proceeding, check the endplay by mounting a dial indicator with the stem aligned with the crankshaft and touching one of the crank throws. Push the crankshaft to the rear and zero the dial indicator, then pry it to the front and check the reading; the movement indicates the endplay. If it exceeds the specified limit, inspect the crankshaft thrust surfaces for wear, and if none is found, new main bearings may resolve the issue. If a dial indicator is unavailable, feeler gauges can be used by prying the crankshaft to the front and measuring the clearance between it and the thrust main bearing. Ensure the main bearing caps are marked for their locations, numbered consecutively from front to rear, and if not, mark them appropriately. Loosen the main bearing cap bolts gradually until they can be removed by hand, noting any stud bolts for proper reinstallation. Gently tap the caps with a soft-face hammer to separate them from the engine block, using the bolts as levers if necessary, and take care not to drop the bearing inserts. Finally, lift the crankshaft out of the engine, ideally with assistance due to its weight, and with the bearing inserts in place, return the caps to their original positions on the engine block and tighten the bolts finger tight.
- Q: How to check the endplay of a crankshaft before removal on Pontiac Firebird?A:Before removing the crankshaft, check the endplay by mounting a dial indicator with the stem aligned with the crankshaft and touching one of the crank throws. Push the crankshaft to the rear and zero the dial indicator, then pry the crankshaft to the front and check the reading; the distance moved indicates the endplay. If it exceeds specifications, inspect the thrust surfaces for wear, and if no wear is found, new main bearings may resolve the issue. If a dial indicator is unavailable, use feeler gauges by prying the crankshaft to the front and slipping the gauges between the crankshaft and the thrust main bearing to measure clearance. Loosen the main bearing cap bolts a quarter turn at a time until they can be removed by hand, ensuring the caps are marked for their locations, typically numbered from front to rear. If unmarked, use stamping dies or a center punch to label them. Gently tap the caps with a soft-faced hammer to separate them from the engine block, using the bolts as levers if necessary, and avoid dropping the bearing insert. For models with a one-piece seal retainer, remove the retainer and seal. Carefully lift the crankshaft out of the engine, ideally with assistance due to its weight, and with the bearing inserts in place, return the caps to their respective locations on the engine block and tighten the bolts finger tight.
Related Pontiac Parts
Browse by Model
6000 Crankshaft Aztek Crankshaft Bonneville Crankshaft Fiero Crankshaft Firebird Crankshaft G3 Crankshaft G5 Crankshaft G6 Crankshaft G8 Crankshaft GTO Crankshaft Grand Am Crankshaft Grand Prix Crankshaft LeMans Crankshaft Montana Crankshaft Parisienne Crankshaft Phoenix Crankshaft Pursuit Crankshaft Safari Crankshaft Solstice Crankshaft Sunbird Crankshaft Sunfire Crankshaft Sunrunner Crankshaft Torrent Crankshaft Trans Sport Crankshaft Vibe Crankshaft
