My Garage
My Account
Cart
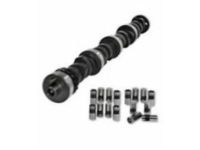
Genuine Pontiac Camshaft
Cam- Select Vehicle by Model
- Select Vehicle by VIN
Select Vehicle by Model
orMake
Model
Year
Select Vehicle by VIN
For the most accurate results, select vehicle by your VIN (Vehicle Identification Number).
113 Camshafts found
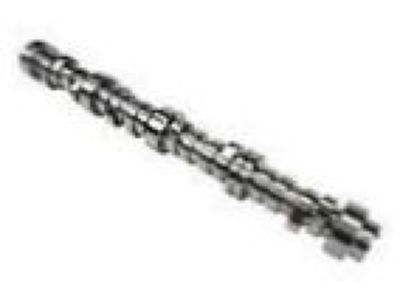
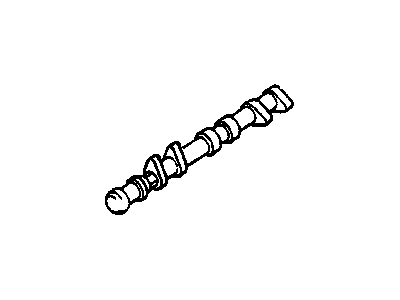
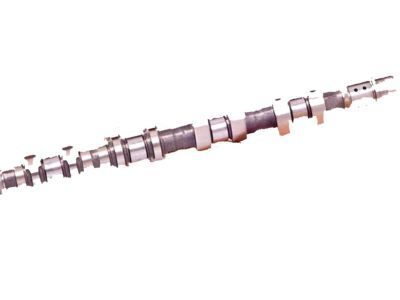
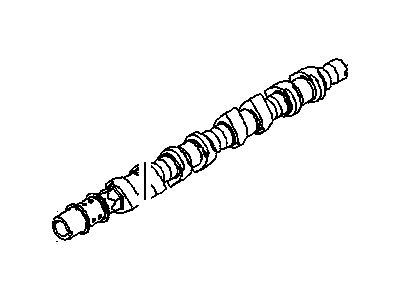
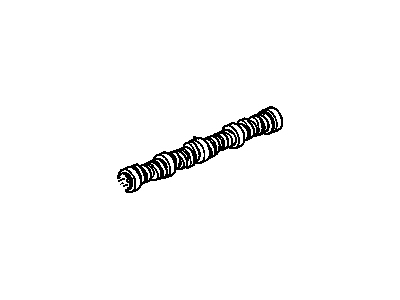
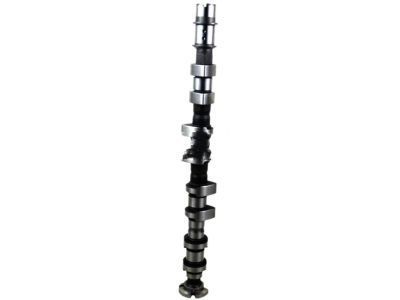
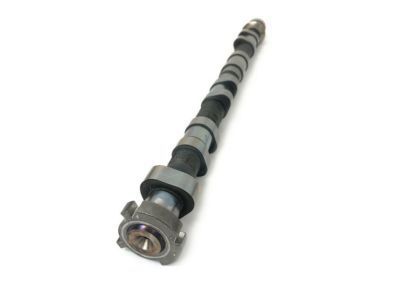
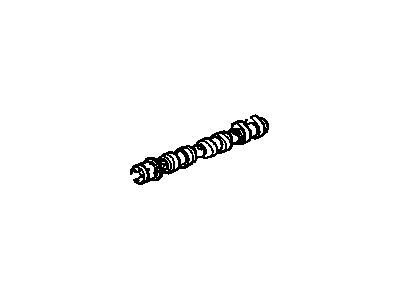
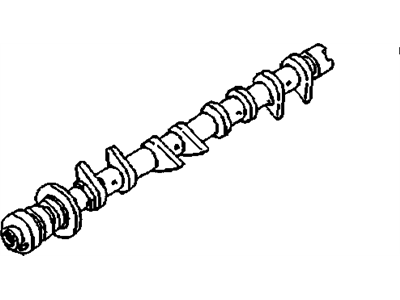
Pontiac Camshaft Assembly
Part Number: 12625436$405.90 MSRP: $700.20You Save: $294.30 (43%)Ships in 1-2 Business DaysProduct Specifications- Other Name: CAMSHAFT, Engine; Camshaft
- Replaces: 12593207
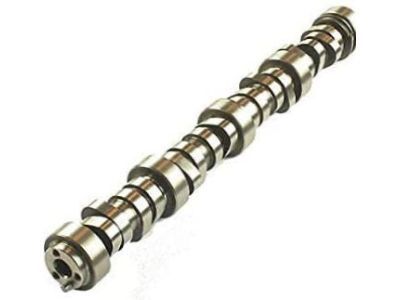
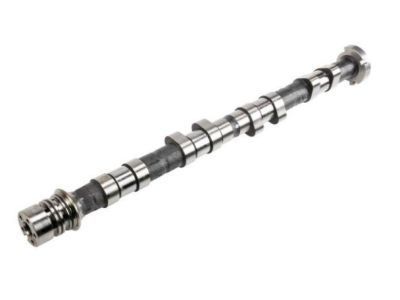
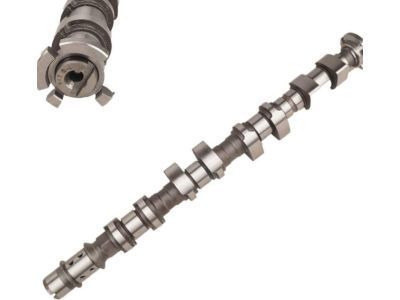
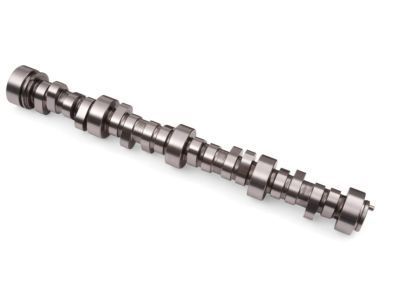
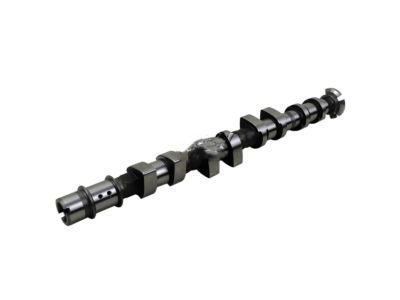
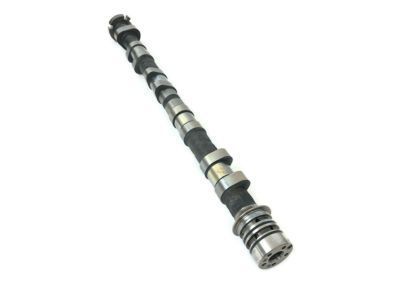
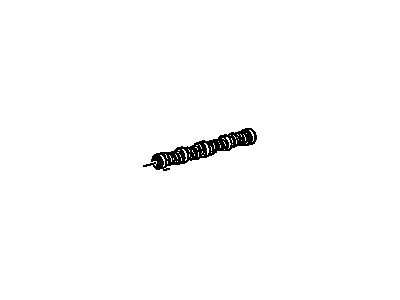
Pontiac Exhaust Camshaft Assembly
Part Number: 12604896$97.65 MSRP: $168.48You Save: $70.83 (43%)Ships in 1-3 Business DaysProduct Specifications- Other Name: CAMSHAFT, Engine; Camshaft, Valve Cover
- Product Specifications
- Other Name: CAMSHAFT, Engine; Camshaft
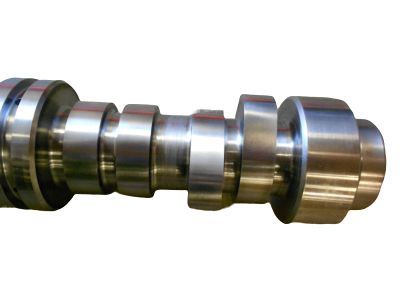
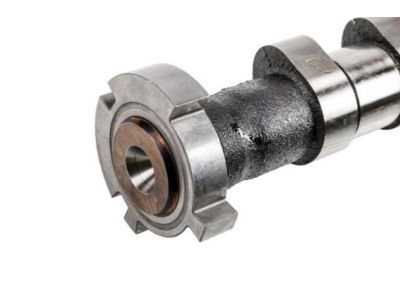
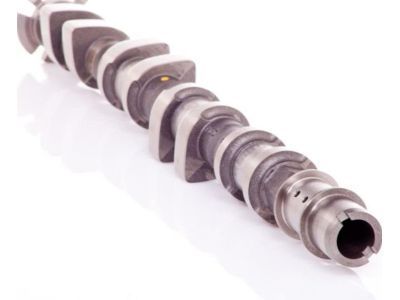
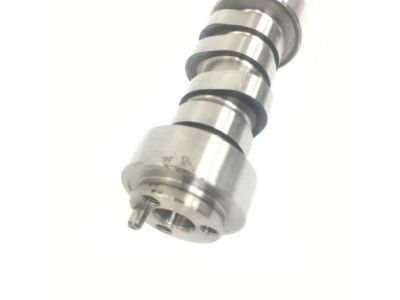
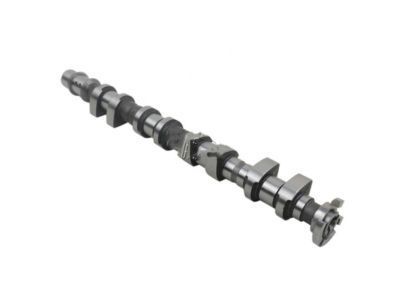
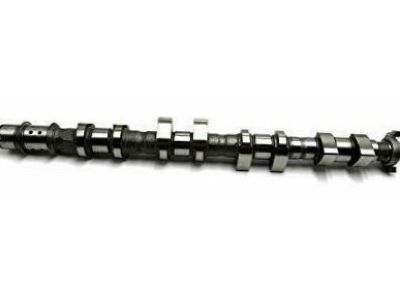
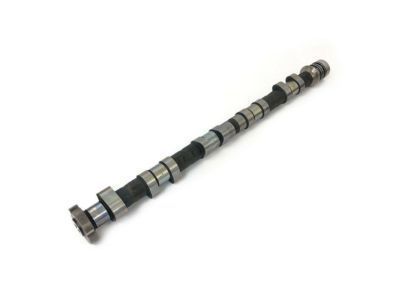
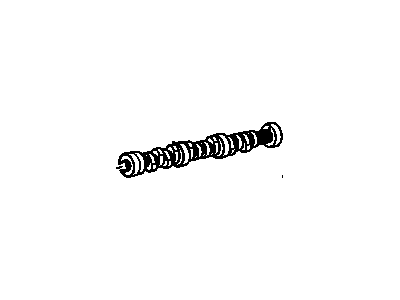
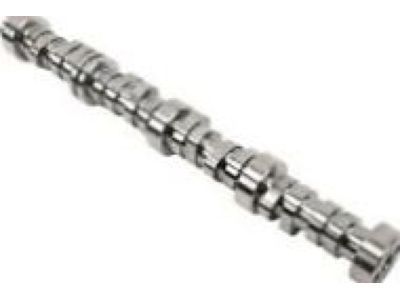
Pontiac Camshaft Assembly
Part Number: 12561721$493.28 MSRP: $816.41You Save: $323.13 (40%)Ships in 1-3 Business DaysProduct Specifications- Other Name: CAMSHAFT, Engine; Camshaft
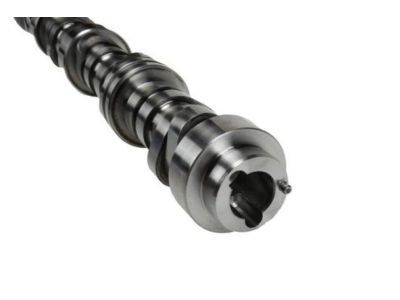
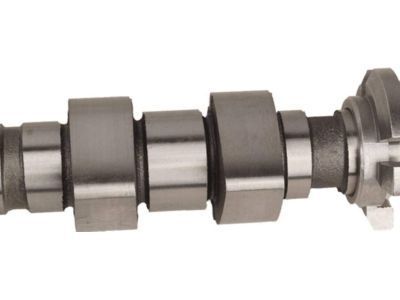
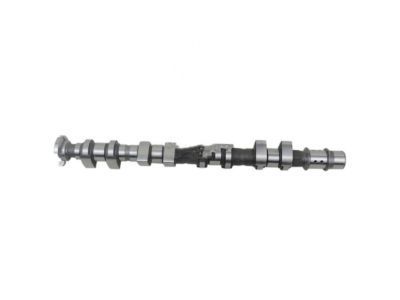
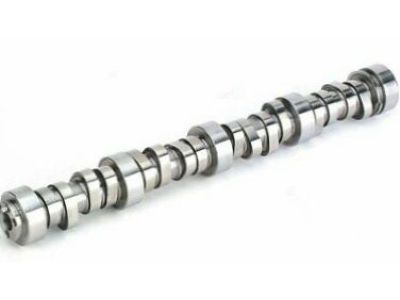
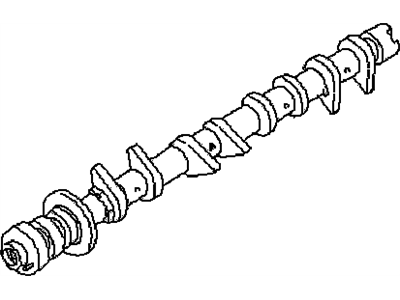
Pontiac Camshaft,Intake
Part Number: 55561747$141.43 MSRP: $342.45You Save: $201.02 (59%)Ships in 1-3 Business DaysProduct Specifications- Other Name: CAMSHAFT, Engine; Camshaft
Pontiac Camshaft,Intake
Part Number: 55568390$96.00 MSRP: $153.10You Save: $57.10 (38%)Ships in 1-3 Business DaysProduct Specifications- Other Name: CAMSHAFT, Engine; Camshaft
- Product Specifications
- Other Name: CAMSHAFT, Engine; Camshaft
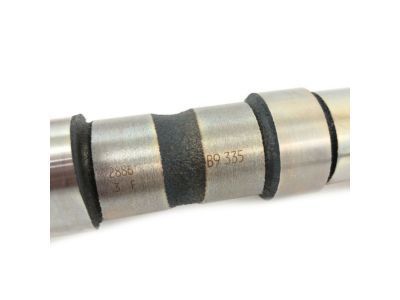
Pontiac Camshaft Assembly, Intake
Part Number: 12589335$299.28 MSRP: $495.10You Save: $195.82 (40%)Ships in 1-2 Business DaysProduct Specifications- Other Name: CAMSHAFT, Engine; Camshaft
- Product Specifications
- Other Name: SHAFT, Engine; Drive Shaft, Intermediate Shaft, Timing Gear Set
- Replaces: 12559014
Pontiac Camshaft Assembly, Intake
Part Number: 12611996$93.81 MSRP: $149.65You Save: $55.84 (38%)Ships in 1-3 Business DaysProduct Specifications- Other Name: CAMSHAFT, Engine; Camshaft
Pontiac CAMSHAFT ASM,INT
Part Number: 19431713$264.75 MSRP: $422.26You Save: $157.51 (38%)Ships in 1-3 Business DaysProduct Specifications- Other Name: Camshaft
- Replaces: 12603535, 12609252, 12625989, 19420582, 12603545, 12604374, 12632195, 19420031
Pontiac Camshaft, (Machining)
Part Number: 24505811$123.88 MSRP: $195.79You Save: $71.91 (37%)Ships in 1-3 Business DaysProduct Specifications- Other Name: CAMSHAFT, Engine; Camshaft
Pontiac Camshaft, Exhaust
Part Number: 55568389$91.91 MSRP: $152.12You Save: $60.21 (40%)Ships in 1-3 Business DaysProduct Specifications- Other Name: CAMSHAFT, Engine; Camshaft
Pontiac Camshaft Pkg (W/Position Actuator Filter)
Part Number: 19301051$843.33 MSRP: $1345.02You Save: $501.69 (38%)Product Specifications- Other Name: CAMSHAFT PKG, Engine
Pontiac Pin,Camshaft Sprocket Locating
Part Number: 94535802$4.31 MSRP: $6.88You Save: $2.57 (38%)Ships in 1-3 Business DaysProduct Specifications- Other Name: PIN, Engine Camshaft Gear
- Replaces: 11018299
Pontiac Camshaft Asm
Part Number: 96182606$243.29 MSRP: $388.03You Save: $144.74 (38%)Ships in 1-3 Business DaysProduct Specifications- Other Name: CAMSHAFT, Engine; Camshaft
Pontiac Exhaust Camshaft Assembly
Part Number: 12589340$119.03 MSRP: $167.04You Save: $48.01 (29%)Ships in 1-2 Business DaysProduct Specifications- Other Name: CAMSHAFT, Engine; Camshaft
- Product Specifications
- Other Name: CAMSHAFT, Engine; Camshaft
- Replaces: 12607715
Pontiac Camshaft Assembly, Intake
Part Number: 12578511$172.73 MSRP: $275.49You Save: $102.76 (38%)Ships in 1-3 Business DaysProduct Specifications- Other Name: CAMSHAFT, Engine; Camshaft
Pontiac Camshaft, Exhaust Nockenwelle, Gold
Part Number: 90537666$67.35 MSRP: $105.97You Save: $38.62 (37%)Product Specifications- Other Name: CAMSHAFT, Engine; Camshaft
| Page 1 of 6 |Next >
1-20 of 113 Results
Pontiac Camshaft
If you're searching for OEM Pontiac Camshafts, look no further. Our website boasts an extensive inventory of genuine Pontiac Camshafts, all available at competitive prices online. Every part we offer comes with a manufacturer's warranty. In addition, we provide a straightforward return policy and rapid delivery services, making your shopping experience a breeze.
Pontiac Camshaft Parts Questions & Experts Answers
- Q: What are the steps involved in removing and reinstalling a camshaft in four cylinder engine on Pontiac Firebird?A:However, if you wish to do this for any other reason, always ensure that you rotate the Crank in the normal Direction before measuring the lobe lift before pulling out the camshaft. If used with AC then release the pressure, since there is an inherent pressure in AC and then transport the refrigerant to a certified facility after wearing eye protective goggles. Remove the negative battery terminal, siphon the oil from the crankcase, and siphon the coolant while removing the radiator, if you must. If necessary, take off the condenser fan, and the pulley of the water pump. Remove the rocker arm cover, then rotate the rocker arm/nut upward till enough clearance is created between the bolt threads, and rocker arms, and pushrods. This can be done by first dropping the oil pump driveshaft assembly, then the spark plugs, and the distributor cap and rotor, then the gasket for the pushrod cover, as well as the pushrods. Subsequently, take out the valve lifters, crankshaft pulley hub, as well as the timing gear cover. Loosening of camshaft thrust plate screws and pulling out of camshaft and gear assembly must be done in a slow manner in order to avoid bearing shock. In case the gear is required to be removed, it is usually off pressed and when putting the thrust plate, care is taken not to damage the gear. Position the gear back in the camshaft by fitting the rods in place, and verify that the gear mesh has an adequate clearance if you reinstall it again. Before putting it in, use assembly lube to lubricate the camshaft lobes and journals, and then gently thread the camshaft through the block being conscious of the bearings. The position of the camshaft gear with relation to the crankshaft gear should be such that together with the marks consistent with the number four cylinder being at TDC in the firing position. Replace the thrust plate mounting screws in the camshaft and tighten it as per the recommended torque intensity and then again perform the above process in the reverse to complete the installation. Last of all, if necessary, re-charge the air conditioning system.
- Q: How to check camshaft lobe lift with the cylinder head installed on Pontiac Grand Prix?A:To measure camshaft lobe lift with the cylinder head installed remove the valve cover(s) and place the number one piston at the top center of the compression stroke. Bolt a dial indicator on the engine such that the face of the plunger is on a plane with the top of the first rocker arm above the pushrod. Rotate the dial indicator back to zero and then take a slow turn of the crankshaft clockwise until the pointer appears to stop and begin moving in the opposite direction-this will be the maximum cam lobe lift. Make a record of this measurement and turn the piston to TDC before proceeding with the same on the other valves, each piston having to be on TDC on the compression stroke. After passing through the checks, one is supposed to compare the results gotten with the specification; in case the lobe lift is below the specified value it indicates that the cam lobe is worn and, therefore, requires a new camshaft. If the cylinder head is removed, using the micrometer measure the lobe height and also measure the base circle to find out lobe lift by subtracting the base circle from lobe height. In the particular case of extracting the camshaft, one should first of all, eliminate lifters and pushrods, and in case of its presence, timing chain and sprockets. In some engines, it is necessary to take out the oil pump drive, and in the camshaft sprocket bolt hole, there should be long bolts to make wielding easier. Take off the camshaft thrust plate then slide out the camshaft or intermediate shaft in a manner that will not harm the bearings. During balance shafts, they should have a check on the gear backlash and end play measurement with the replacement of the parts involved. Following removal of the camshaft, the cleaning and checking of the camshaft and cam bearings for wear or damages should be done then the inspection of the camshaft and cam bearings should in order to identify if new ones are required for measuring. If the timing gear has to be removed, it has to be pressed off and then hammered back on and checking end clearance and bearing journal diameter for wear gauge. If there is any sign of wear beyond normal you will need new bearings; the camshaft and balance shaft bearings should be replaced by a professional.
- Q: How to remove and install a camshaft in 3.5L,3.9L V6 engine on Pontiac G6?A:To remove the camshaft, first of all, unbend the terminal of the cable of the battery's negative pole. Third, it is pull the bolt and clamp which holds the oil pump drive and then pull out the oil pump drive upwards from the block. Then remove the timing chain, sprockets and valve lift as shown in the following image to you. Yank out the bolts that are holding the camshaft thrust plate to the block and then withdraw the thrust plate. Pull out the camshaft in a straight manner using a long bolt as a bar while resting your hand around it near the block, lest you damage the bearing. One removed, wash the camshaft in solvent, then dried, and checked for bearing journal for wear or damage, if any, then both camshaft and bearings will have to be replaced. The bearing journals and camshaft lobes must be checked with a micrometer to determining their wear or out of round conditions; the lobes must also be observed for discoloration or any signs of damage. The lobes are designed to exchange or throw oil and if the lobes are in good condition and measurements are within the specifications listed above then the camshaft can be reused. Camshaft bearings in the block should be checked for galling and discoloration as well as the housing journals. Measure the bearing's inside diameter of the bearing using the small hole gauge and the outside micrometer; to calculate the bearing oil clearance subtract the camshaft bearing journal diameter from the bearing inside diameter. Where the clearance has been allowed to be too high, new bearings or housings will be the requirement. Since the bearing in a camshaft is sensitive, replacement has to be done carefully; it is recommended for the block to be taken to an automotive machine shop. Before installing, coat the camshaft bearing journals and the cam lobes with special camshaft lube if available, after which the camshaft is slid into place on the engine with help of a long bolt that is passed through from the front of the block. Place the camshaft retainer plate as indicated above and fasten the bolts to the appropriate degree of turning out. Last but not the least the gear portion of the oil pump drive should be dipped in engine oil and fitted into the block in such a manner that it should be placed in contact with its mounting boss and the retaining bolt should be inserted next and with reference to the oil pump driveshaft a new O-ring to be fitted.
Related Pontiac Parts
Browse by Model
6000 Camshaft Bonneville Camshaft Fiero Camshaft Firebird Camshaft G3 Camshaft G5 Camshaft G6 Camshaft G8 Camshaft GTO Camshaft Grand Am Camshaft Grand Prix Camshaft J2000 Camshaft LeMans Camshaft Montana Camshaft Parisienne Camshaft Phoenix Camshaft Pursuit Camshaft Safari Camshaft Solstice Camshaft Sunbird Camshaft Sunfire Camshaft Sunrunner Camshaft T1000 Camshaft Torrent Camshaft Trans Sport Camshaft Vibe Camshaft
