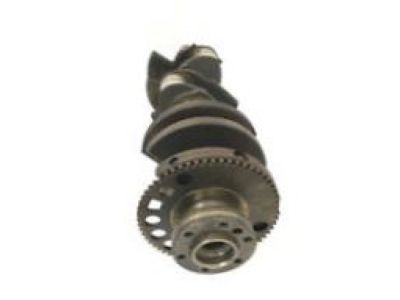
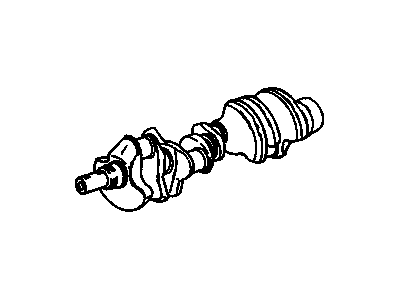
Crankshaft removal is possible only if the engine has been removed from the car, but again, this is possible if such components as the flywheel, crankshaft pulley, timing belt or chain, oil pan, oil pump body, oil filter, and piston/connecting rod assemblies have been previously removed. Crank pin end float will be checked before the withdrawal of the shaft and by placing a dial gauge on the crankshaft, measure the degree of crank pin towards the front side. Loosen the crankshaft towards the rear and set the indicator zero on the dowel pin, and then tighten the crankshaft towards the front side to check the 'Out' reading, which should vary as follows 0.003 to 0.010 inch (0.076 to 0.254mm). In the event that the dial indicator cannot be used, then clearance maybe determined using feeler gauges. Do the same to all the lower crankcase or main bearing bolts but do it gradually until it is possible to take them out by use of hands For the next time, replace them with new ones. Take off the lower crankcase or the main bearing bridge; ensure that the bearing inserts do not fall. In the case of V6 engines, it will be important to be very keen with the orientation of the main bearing caps. Slowly raise out the Crankshaft, if possible with help, and replace the caps and Bridge or lower Crankcase Finger Tight and make sure to keep everything in order. For installation, make it a point that the engine block and crankshaft are free from dirt and has been checked. Take off the lower crankcase or bearing bridge and main bearing caps with nut and bolt based on the model and cleans the bearing surfaces well. Place new upper main bearing inserts in the engine block so that oil holes are in the proper orientation and fit lower inserts in place. To do this check main bearing oil clearance employing plastigage and compare the result with standard range. If clearance is incorrect always check for cleanliness of the rolling element and if need be think about using a different size of the bearing. Finally, all the plastic gage are cleaned and then the crank shaft journals and thrust faces should be lubricated with grease or assembly lube before laying the crank shaft back in place. Scrub the insert faces and the surfaces of the lower crankcase or bearing caps, and then install them, RTV sealant being applied to the rear main bearing cap grooves for V6 models. Loosen all bolts and then tighten them to the recommended torque in the right sequence, and also, the crankshaft bearing bridge sleeves must be adjusted correctly. Lastly, apply sealant into the.RMBB and install the lower crankcase perimeters bolts and finally check the end play of the crankshaft. The crankshaft must be rotated to see if there is binding with the bearings whereby it must rotate freely with running torque of 50 in-lbs or less is acceptable, before fitting of the new rear main oil seal can be done.


")


