My Garage
My Account
Cart
Genuine Pontiac Shock Absorber
Suspension Shock Absorber- Select Vehicle by Model
- Select Vehicle by VIN
Select Vehicle by Model
orMake
Model
Year
Select Vehicle by VIN
For the most accurate results, select vehicle by your VIN (Vehicle Identification Number).
161 Shock Absorbers found
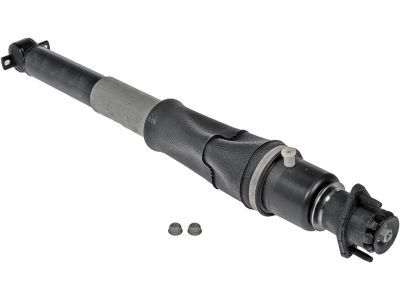
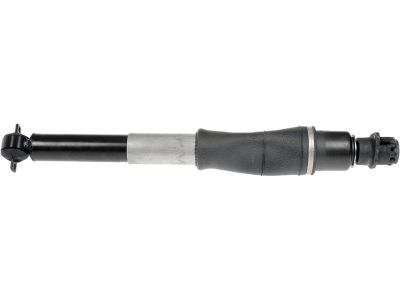
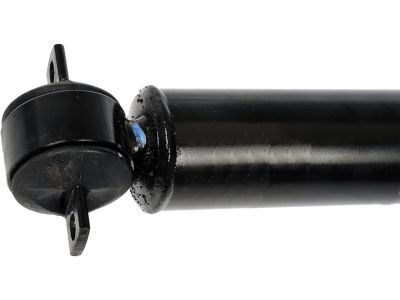
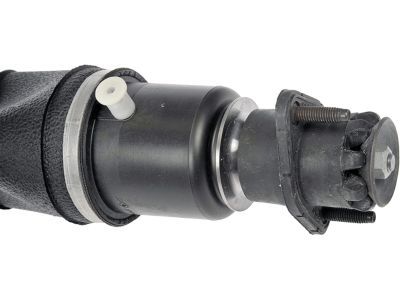
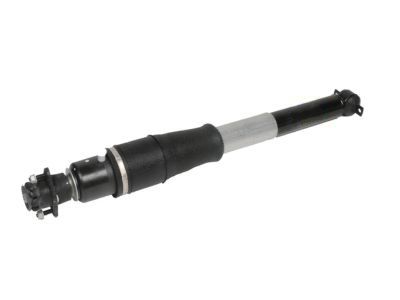
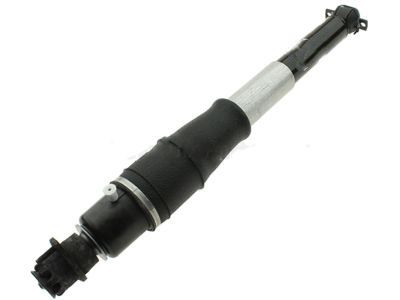
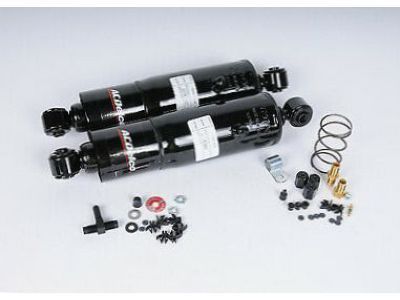
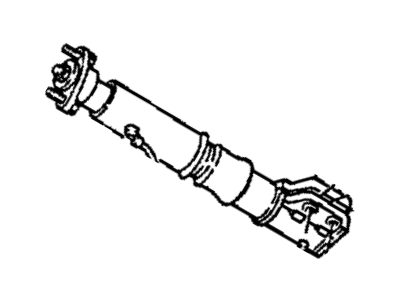
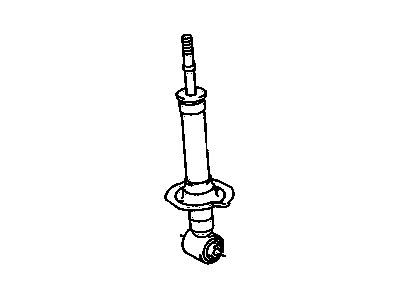
Pontiac Rear Leveling Shock Absorber Kit
Part Number: 19300025$312.50 MSRP: $609.16You Save: $296.66 (49%)Ships in 1-2 Business DaysProduct Specifications- Other Name: Absorber Kit,Rear Leveling Shock; Shock Absorber
- Position: Rear
- Replaces: 15873313
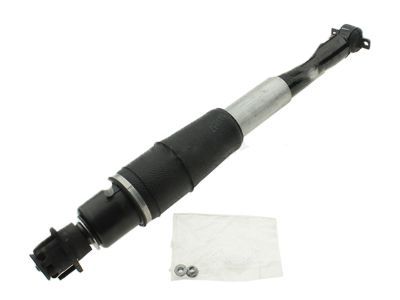
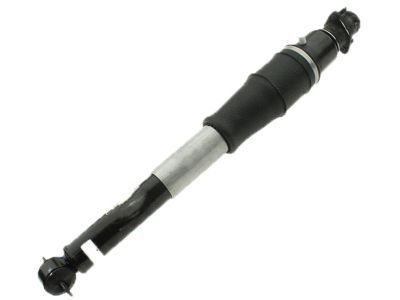
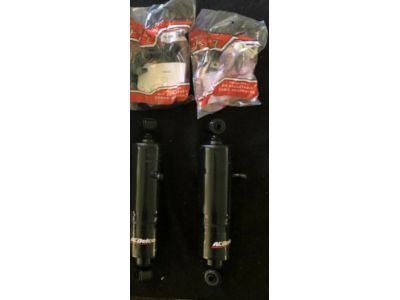
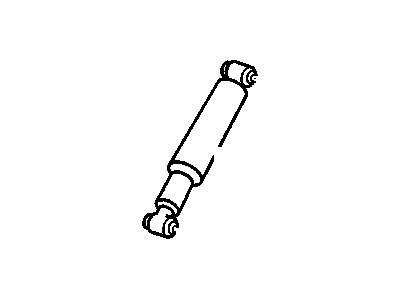
Pontiac Rear Leveling Shock Absorber Kit
Part Number: 19300026$312.50 MSRP: $609.18You Save: $296.68 (49%)Ships in 1-2 Business DaysProduct Specifications- Other Name: Absorber Kit,Rear Leveling Shock; Shock Absorber
- Position: Rear
- Replaces: 15873314, 15786901
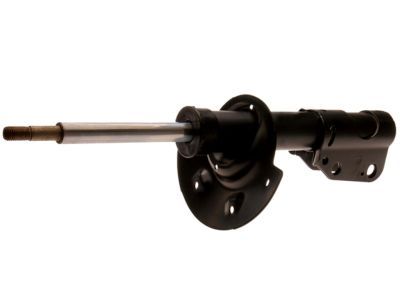
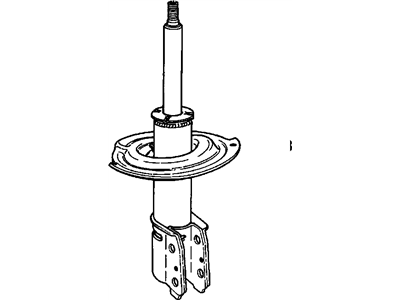
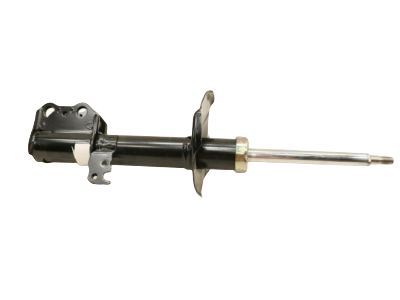
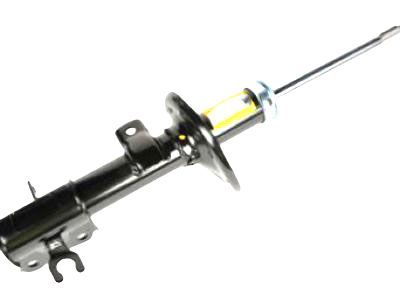
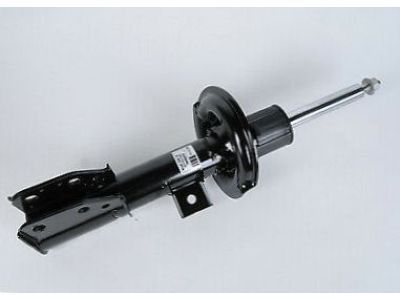
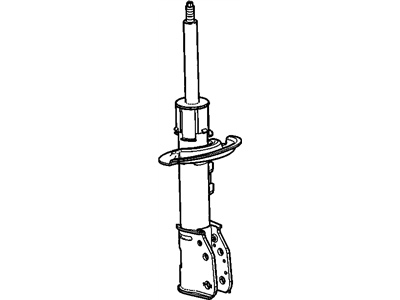
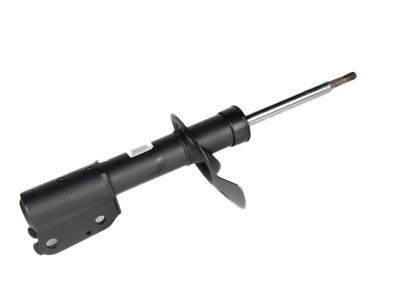
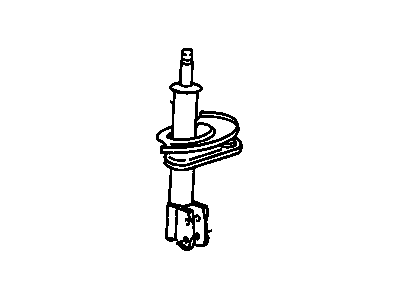
Pontiac Front Suspension Strut Assembly
Part Number: 22064781$201.19 MSRP: $395.64You Save: $194.45 (50%)Ships in 1 Business DayProduct Specifications- Other Name: Strut Asm,Front Suspension ; Strut, Front And Rear Suspension; Strut
- Position: Front
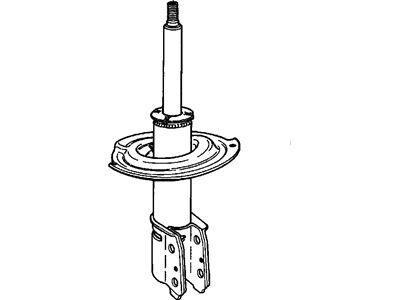
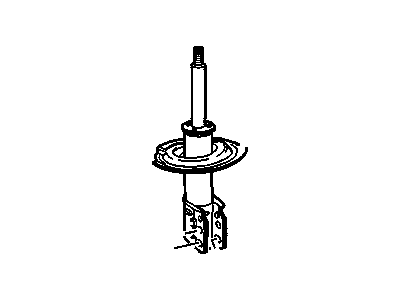
Pontiac Front Suspension Strut Kit
Part Number: 88973940$61.33 MSRP: $127.93You Save: $66.60 (53%)Ships in 1-2 Business DaysProduct Specifications- Other Name: Strut Kit,Front Suspension ; Strut Kit, Front And Rear Suspension; Strut
- Position: Front
- Replaces: 88972106
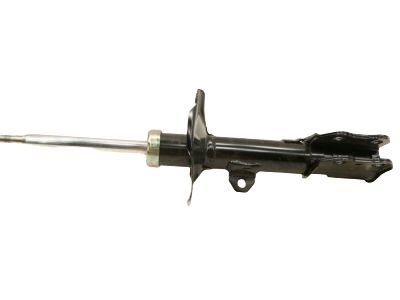
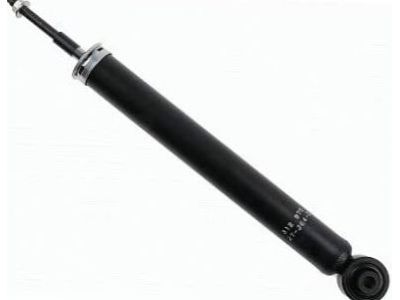
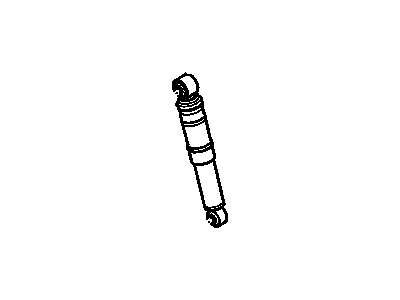
Pontiac Rear Shock Absorber Assembly
Part Number: 96980829$43.24 MSRP: $119.35You Save: $76.11 (64%)Ships in 1-2 Business DaysProduct Specifications- Other Name: Absorber Asm,Rear Shock ; Absorber, Front And Rear Suspension; Shock, Shock Absorber
- Position: Rear
- Replaces: 96408735, 96653235, 96980828
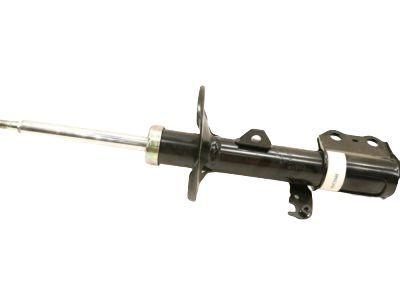
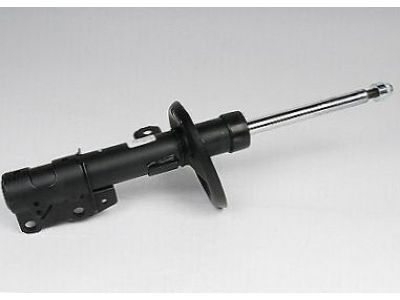
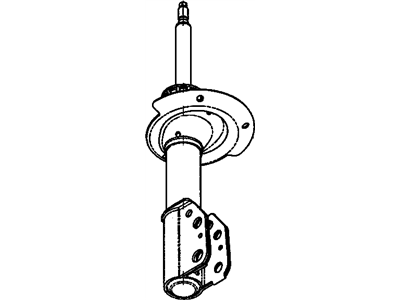
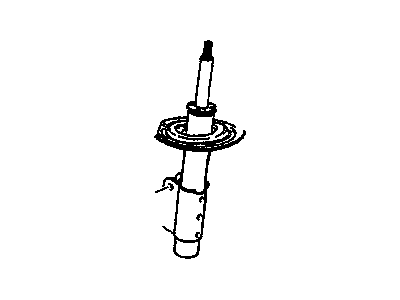
Pontiac Front Suspension Strut Assembly
Part Number: 96980826$90.45 MSRP: $177.85You Save: $87.40 (50%)Ships in 1-2 Business DaysProduct Specifications- Other Name: Strut Asm,Front Suspension ; Strut, Front And Rear Suspension; Strut
- Position: Front
- Replaces: 96408663, 96980822, 96653233
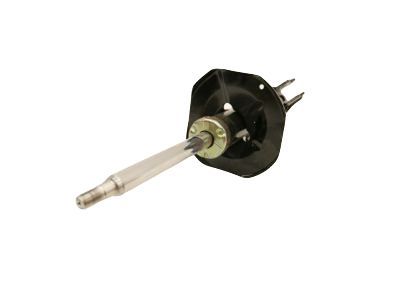
Pontiac Front Suspension Strut Kit
Part Number: 20794267$142.92 MSRP: $259.84You Save: $116.92 (45%)Ships in 1-2 Business DaysProduct Specifications- Other Name: Strut Kit, Front Suspension; Strut
- Position: Front
- Replaces: 15247243, 88964331, 15798897, 15876215
Pontiac Front Suspension Strut Assembly
Part Number: 96980827$95.03 MSRP: $172.78You Save: $77.75 (45%)Ships in 1-2 Business DaysProduct Specifications- Other Name: Strut Asm,Front Suspension ; Strut, Front And Rear Suspension; Strut
- Position: Front
- Replaces: 96653234, 96408664
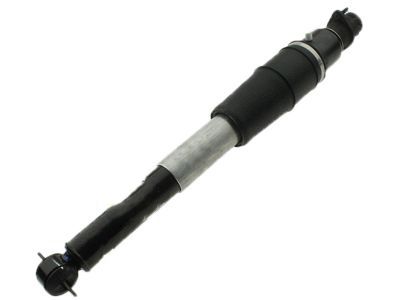
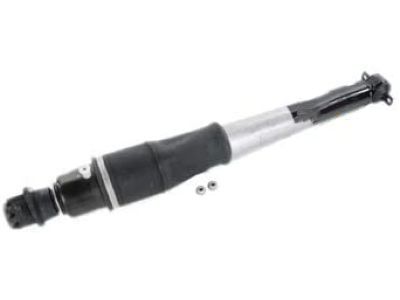
Pontiac Rear Leveling Shock Absorber Kit
Part Number: 19169325$189.50 MSRP: $369.40You Save: $179.90 (49%)Ships in 1-2 Business DaysProduct Specifications- Other Name: Absorber Kit,Rear Leveling Shock ; Absorber, Shock Absorber Air Lift; Shock, Shock Absorber
- Position: Rear
- Replaces: 22064824, 22064712, 22064876, 22064818, 22064822, 22064847
Pontiac Front Suspension Strut Kit
Part Number: 19208308$24.81 MSRP: $45.11You Save: $20.30 (45%)Ships in 1-2 Business DaysProduct Specifications- Other Name: Strut Kit,Front Suspension ; Strut Kit, Front And Rear Suspension; Strut
- Position: Front
- Replaces: 19207093
Pontiac Rear Strut Assembly
Part Number: 22064179$255.48 MSRP: $502.41You Save: $246.93 (50%)Ships in 1-2 Business DaysProduct Specifications- Other Name: Strut Asm,Rear ; Strut, Front And Rear Suspension; Shock Absorber, Strut
- Position: Rear
- Replaces: 22047978, 22064105, 22047962, 22064183
Pontiac Front Suspension Strut Assembly
Part Number: 25920062$112.84 MSRP: $212.92You Save: $100.08 (47%)Ships in 1-2 Business DaysProduct Specifications- Other Name: Strut Assembly, Front Suspension ; Strut, Front And Rear Suspension; Strut
- Position: Front
- Replaces: 19153348, 19180743, 22716368, 25867417
Pontiac Front Suspension Strut Kit
Part Number: 19180218$62.20 MSRP: $184.90You Save: $122.70 (67%)Ships in 1-2 Business DaysProduct Specifications- Other Name: Strut Kit,Front Suspension ; Strut, Front And Rear Suspension; Strut
- Position: Front
- Replaces: 89047817, 89047816
Pontiac Rear Shock Absorber Assembly
Part Number: 22696400$68.53 MSRP: $133.58You Save: $65.05 (49%)Ships in 1-2 Business DaysProduct Specifications- Other Name: Absorber Assembly, Rear Shock ; Absorber, Front And Rear Suspension; Shock, Shock Absorber
- Position: Rear
Pontiac Rear Shock Absorber
Part Number: 19184417$69.81 MSRP: $137.28You Save: $67.47 (50%)Ships in 1-2 Business DaysProduct Specifications- Other Name: Absorber,Rear Shock ; Absorber, Front And Rear Suspension; Shock Absorber, Strut
- Position: Rear
Pontiac Rear Shock Absorber Assembly (W/ Mounting Parts) (Identify "Ta")
Part Number: 90369756$31.37 MSRP: $64.32You Save: $32.95 (52%)Product Specifications- Other Name: Absorber Asm,Rear Shock(W/Mounting Parts)(Identify "Ta") ; Absorber, Front And Rear Suspension; Shock Absorber
- Position: Rear
Pontiac Front Suspension Strut Assembly
Part Number: 88965467$118.16 MSRP: $212.92You Save: $94.76 (45%)Product Specifications- Other Name: Strut Asm,Front Suspension ; Strut, Front And Rear Suspension; Strut
- Position: Front
- Replaces: 22064733, 22064793, 22064745, 22064754, 22064750, 22064755, 22400002, 22064717, 22064784, 22064716, 22064774, 22064707
- Product Specifications
- Other Name: Strut,Front Suspension; Strut
- Position: Front
- Replaces: 88964544, 15864982, 20939832
- Product Specifications
- Other Name: Strut Asm,Front Suspension; Strut
- Position: Front
- Product Specifications
- Other Name: Strut Kit,R Suspension; Strut, Strut Assembly
- Position: Rear
- Replaces: 89047818, 22064771
| Page 1 of 9 |Next >
1-20 of 161 Results
Pontiac Shock Absorber
If you're searching for OEM Pontiac Shock Absorbers, look no further. Our website boasts an extensive inventory of genuine Pontiac Shock Absorbers, all available at competitive prices online. Every part we offer comes with a manufacturer's warranty. In addition, we provide a straightforward return policy and rapid delivery services, making your shopping experience a breeze.
Pontiac Shock Absorber Parts Questions & Experts Answers
- Q: How to replace the front shock absorber cartridge on Pontiac Grand Prix?A:To start with, for the 1996 and earlier models, one has to identify the position of the strut mount cover before removing the nuts and the cover and of should be done having the vehicle on the ground and out of jack and suspension. After that, one must take off the strut shaft nut by using the tool that clamps up from underneath while you put a Torx bit into the shaft so that it does not rotate. Remove the strut mount bushing and the upper strut bumper; may hammer the strut shaft into the cartridge using pipe. Loosen this nut with the aid of a special tool then pull out this strut cartridge. Whether the old cartridge had a leak or not, if it had damper fluid, please use the suction pump to drain it and dispose it off. Place the replacement strut cartridge there and fasten the nut to the torque specified and then put on the bumper. Screw in the strut shaft nut just enough to get a hold of it with locking pliers, lift the shaft if necessary, then remove the nut and put in the bushing. Last of all engage and tighten both the strut shaft and cover nuts to the recommended torque. For 1997 and later models, open the hood and then undo the three top strut to body bolts and then undo the wheel center bolts, then jack up the front and support the rear on jackstands and block the front wheels. Take off the wheel and make necessary identification of the relationship between the strut and the steering knuckle. The nuts of the strut-to-knuckle bolts should be undone, and the bolts themselves should be knocked out using a brass punch and a hammer, and the strut should be then separated from the steering knuckle, but, one must be very keen not to over-flex the inner CV joint or stretch the brake hose. With the other hand support the strut and spring assembly, undo the upper strut mounting nuts and bolt and take out the assembly. Look for leakage from the strut body area, ascertain if the body has any damages or cracks and examine the coil spring for chips or cracks. If they are worn or damaged in some way, replace the strut or the coil spring as the case may be. Place the spring/strut in a vise by installing the coil spring compressor tools and force the spring until that there is no tension felt near the upper mounting. Place a Torx socket on the end of the strut piston rod and use a box wrench to drive off the thrust bearing retaining nut then remove the top mounting, thrust bearing, upper spring seat, spring boot and finally the bump stop. If a new spring is being put in, carefully slip the original spring from the compressor when it is in compression; if retaining the spring, leave it in compression. The strut can be replaced by moving the spring from the old strut to the new one, reinstalling the upper components and tightening the bearing retainer nut to the stipulated torque. With the lower spring fitted in its seat set the compressor to about half of its capacity then move it side to side before withdrawing the tools. Align the strut assembly to the fender well, and pass the upper mount studs through the holes of the shock tower then tighten the nuts to hold the strut in place. Use the previously created marks and slide the steering knuckle into the strut flange then install the two bolts and tighten nuts to above mentioned torque. Last of all, secure the wheel by placing the wheel back, and turn the wheel lug nuts and the upper mounting nuts as requested by the torque. To be more precise and convenient it is better to drive the vehicle to the dealer service department or alignment shop to check and restore the front wheel alignment if required.
- Q: How to remove and install the shock absorber and Control Arm on Pontiac Fiero?A:All vehicles built after August 1987, and up to 1988, have a new front suspension design which is similar in layout but nearly all of the components are redesigned and therefore the removal and installation of the various parts is much different. To unbolt the shock absorber, it is necessary to slacken the front wheel bolts and raise the car on a jack; then it is possible to pry the wheel off, undo the upper nut and washer and the upper rubber insulator, and unscrew the two bolts at the lower end of the shock absorber and simply pull it through the lower control arm. For installation replace the shock absorber and pass it through the lower control arm while the lower shock insulator as well as washer is also replaced with the upper shock insulator, washer, and the retaining nut by tightening the shock absorber to its specified torque strength and at last tighten the lower retaining bolts. Following that tighten the lug nuts up and turn the wheel full lock to the left then full lock to the right before setting the car down. To remove the upper ball joint, a ball joint separator has to be used to separate the ball joint from the steering knuckle then the upper ball joint has to be separated from the upper control arm by the removal of the three attaching rivets. For installation, bolt the new upper ball joint to the control arm with nuts and bolt from service repair package but, it is necessary to check the tapered hole the steering knuckle for damage before inserting the upper ball joint stud and tightening the castellated nut and fitting the cotter pin. After having inserted the tie-rod end and having placed the brake line clip, be sure to mount the wheel and fasten the lug nuts while having the car in the air; do a wheel alignment after that. The removal of the lower ball joint is also quite similar for which again there are special tools available; although the option is also available to take the lower control arm to the machine shop for ball joint replacement. Last but not the least, the rack and pinion assembly for all 1988 cars is the improved one as compared to the previous model and is slightly easier to take off and fix, as the procedure for removal and installing the rack and pinion is almost the same but does not require removing and installing any crossmember braces.
- Q: How to remove, inspect, and install a shock absorber on Pontiac Vibe?A:Before removing the wheel, it is required to loosen the wheel lug nuts, lift the vehicle, and properly place jackstands under it. Loosen the brake hose bracket on the strut and if there is ABS, then remove the fasten clamp bracket bolt and disconnect the speed sensor wiring harness from the strut while removing the stabilizer link on the strut. Locate the strut to the steering knuckle, record positions of the bolts since you may find camber adjusting bolts fitted. The two strut to knuckle nuts have to be detached and the two bolts have to be knocked out with a hammer and punch when the process of disconnected the strut assembly to the steering knuckle is followed. Prise off the strut from the steering knuckle in such a fashion that doesn't pull the intricate inner CV joint apart or allow the steering knuckle to drop sideways putting pressure on the brake hose. Of course, it is easier to remove the assembly with help, but you have to uninstall three nuts connecting the upper end of the strut assembly to the body and take the assembly out from the fenderwell. Look for signs of leakage, dents, cracks or any other signs that suggest that it needs to be fixed or replaced on the strut body, while on the coil spring look for any chipping on the coating or the spring seat should also be checked to see whether it has hard, cuts or has deteriorated. If these are such unfavorable conditions, go on to dismantle the strut. Pull the strut assembly up into the fenderwell, align the holes on the strut assembly with the body, and thread the nuts so that the strut does not fall back through it and is easier when acquiring help due to the heaviness of the strut assembly. Slide the steering knuckle into the strut flange, insert the two bolts, the match-marks on the knuckle face and strut face should agree with each other as they are marked previously, and tighten the nuts. Attach the brake hose bracket to the strut and tighten the bolt; if the car has ABS it will have the speed sensor wiring harness bracket. Lastly, bolt the wheel back on and tighten the lug nuts, drop the car, torque the lug nuts again and the upper mounting nuts and then take the car for a spin to an alignment shop for a front-end alignment and any other required adjustments.
Related Pontiac Parts
Browse by Model
6000 Shock Absorber Aztek Shock Absorber Bonneville Shock Absorber Fiero Shock Absorber Firebird Shock Absorber G3 Shock Absorber G5 Shock Absorber G6 Shock Absorber G8 Shock Absorber GTO Shock Absorber Grand Am Shock Absorber Grand Prix Shock Absorber J2000 Shock Absorber LeMans Shock Absorber Montana Shock Absorber Parisienne Shock Absorber Phoenix Shock Absorber Pursuit Shock Absorber Safari Shock Absorber Solstice Shock Absorber Sunbird Shock Absorber Sunfire Shock Absorber Sunrunner Shock Absorber Torrent Shock Absorber Trans Sport Shock Absorber Vibe Shock Absorber
