My Garage
My Account
Cart
Genuine Saturn Ion Oil Pan
Oil Drain Pan- Select Vehicle by Model
- Select Vehicle by VIN
Select Vehicle by Model
orMake
Model
Year
Select Vehicle by VIN
For the most accurate results, select vehicle by your VIN (Vehicle Identification Number).
3 Oil Pans found
Saturn Ion Oil Pan
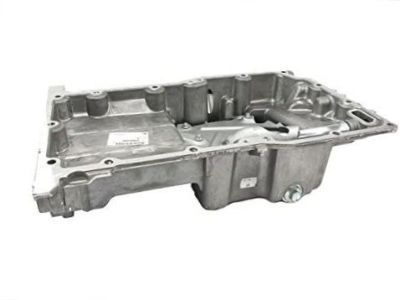
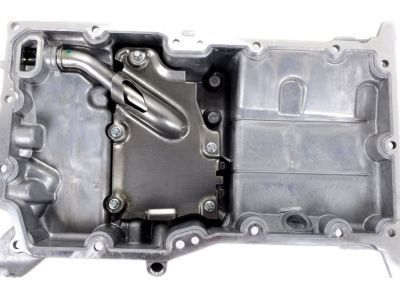
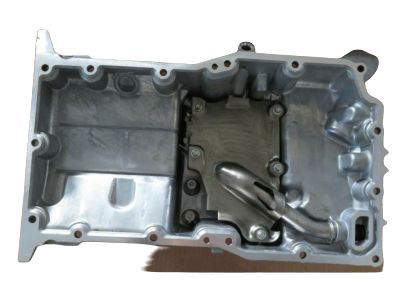
Part Number: 12601240$154.90 MSRP: $267.21You Save: $112.31 (43%)Ships in 1-2 Business DaysSaturn Ion Pan Asm,Oil
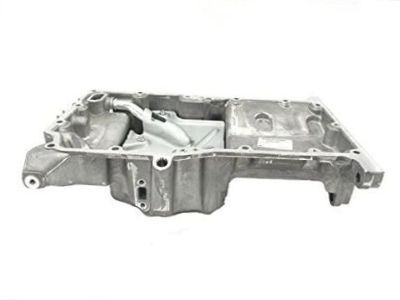
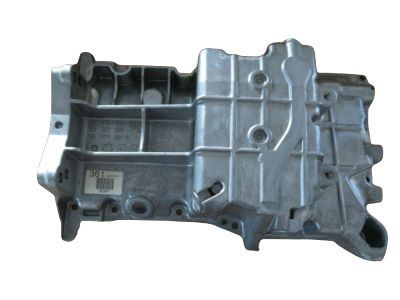
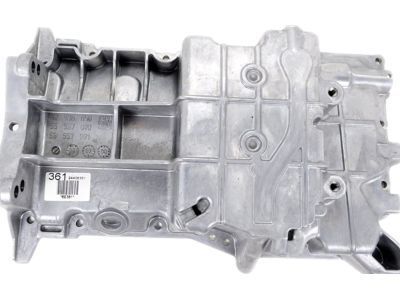
Part Number: 19256218$100.44 MSRP: $246.02You Save: $145.58 (60%)Ships in 1-2 Business Days
Saturn Ion Oil Pan
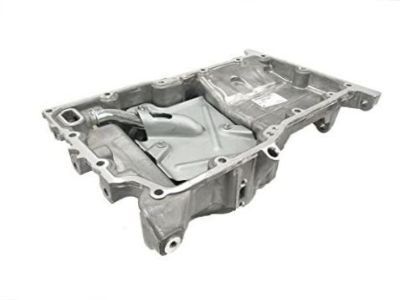
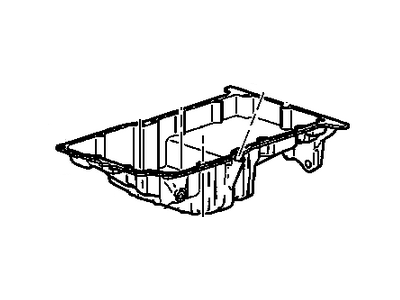
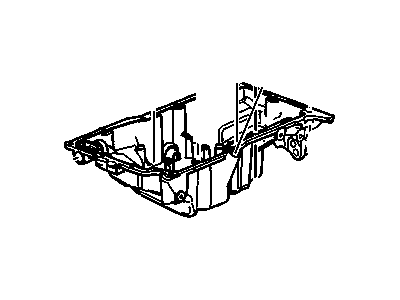
The Oil Pan is another energy system component in Saturn Ion vehicles; this unit will store the engine oil which will also help in its management. A wet sump is the most common and for most vehicles; the Oil Pan is the containing reservoir where the oil gathers so that the oil pump can always supply oil for lubricating and cooling of the parts. This design assist in minimising cases of oil leakage while at the same time ensuring that there is enough oil in the engine chamber. Conventionally, the Saturn Ion Oil Pans were manufactured from stamped steel; however, new development saw the use of cast aluminum in the current models of engines. That change aims at improving both reliability and productivity. Thus, the basic function continues to remain the same, it is the change from steel to aluminum that concerns a degree of advancement in the design and technology of materials which has resulted in enhanced performance and reliability in the Saturn Ion vehicles.
Each OEM Saturn Ion Oil Pan we offer is competitively priced and comes with the assurance of the manufacturer's warranty for the part. Furthermore, we guarantee the speedy delivery of your orders right to your doorstep. Our hassle-free return policy is also in place for your peace of mind.
Saturn Ion Oil Pan Parts Questions & Experts Answers
- Q: How to remove and install the oil pan on Saturn ION?A:On 2008 and later 2.0L turbocharged engines, the engine must be raised enough to provide clearance to remove the oil pan. An engine support fixture or other safe engine lifting device must be used. Additionally, the passenger-side engine mount must be removed. Drain the engine oil and remove the drivebelt. Loosen the right-front wheel lug nuts, raise the front of the vehicle and support it securely on jackstands. Remove the right front wheel. Remove the splash shield from below the right side of the engine compartment. Remove the lower air conditioning compressor mounting bolt. Loosen, but don't remove, the other compressor mounting bolts. Remove the dipstick and the dipstick tube (the tube is bolted to the Intake Manifold). On 2.0L supercharged engines, remove the intercooler pump bracket bolt at the oil pan. Remove the oil pan bolts. Follow the reverse of the tightening sequence. Carefully remove the oil pan from the lower crankcase. If the oil pan is difficult to separate from the lower crankcase, use a rubber mallet or a block of wood and a hammer to jar it loose. If it's stubborn and still won't come off, pry carefully on casting protrusions (not the mating surfaces!). Installation: Using a gasket scraper, thoroughly clean all old gasket material from the lower crankcase and oil pan. Remove residue and oil film with a solvent such as acetone or lacquer thinner. Apply a 2 mm bead of RTV sealant to the perimeter of the oil pan, inboard of the bolt holes, and around the oil suction port. Allow the sealant to set-up before installing the oil pan to the engine (but be sure to install the pan within the time given by the sealant manufacturer). Install the oil pan and bolts. Follow the correct torque sequence and lighten the bolts to the torque. The remaining installation is the reverse of removal. Be sure to lighten the wheel lug nuts to the torque. Refill the engine with oil and install a new oil filter, then run the engine and check for leaks.
