My Garage
My Account
Cart
Genuine Saturn LS Sway Bar Kit
Stabilizer Sway Bar Set- Select Vehicle by Model
- Select Vehicle by VIN
Select Vehicle by Model
orMake
Model
Year
Select Vehicle by VIN
For the most accurate results, select vehicle by your VIN (Vehicle Identification Number).
2 Sway Bar Kits found
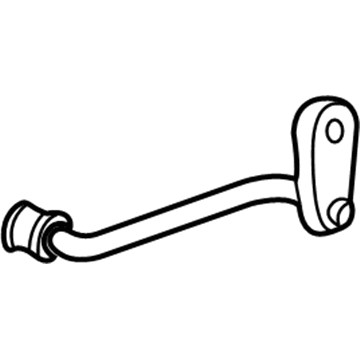
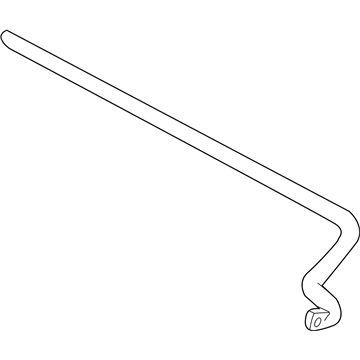
Saturn LS Sway Bar Kit
Sway Bar Kit is a part meant to improve the road handling characteristic of the Saturn LS vehicles to reduce the body movement during cornering and ride on irregular surfaces. This kit links the opposing ends of the suspension system that use an anti roll bar that functions as a torsion spring. Through the act of countering torsion, the Sway Bar Kit ensures that the heights of the wheels are more or less equal hence reducing sideways tilt and increasing the car's grip on the road. Different models of the Saturn LS have had different Sway Bar Kits over the years, the main differences being in the ability to adjust the Sway Bar Kit and the level of stiffness of the Sway Bar Kit. Standard or symmetrical kits offer normal and reliable performance but adjust able and active offer variable performance for better handling more so in racing cars. This enables real-time tweaking for stability, and in the case of Saturn LS vehicles improving ride quality.
Each OEM Saturn LS Sway Bar Kit we offer is competitively priced and comes with the assurance of the manufacturer's warranty for the part. Furthermore, we guarantee the speedy delivery of your orders right to your doorstep. Our hassle-free return policy is also in place for your peace of mind.
Saturn LS Sway Bar Kit Parts Questions & Experts Answers
- Q: How to remove and install front Sway Bar Bushing, Sway Bar Kit and Sway Bar Link on Saturn LS?A:To remove the front wheels, begin by loosening the front wheel lug nuts and raising the front of the vehicle. Support it securely on jackstands. At this point, stop and remove the front wheels. After detaching the Sway Bar Link, remove the bolts from the sway bar bushing retainers and pull out the retainers from the bushings. Inspect retainer bushings for damage and replace them if necessary. Tighten link nuts to specified torque after installing Sway Bar Link. Install retainer bushings by facing each slit in them towards vehicle's rear part. Finally, install retainers with bolts and tighten to specified torque. For V6 models, follow similar steps but do not forget to also remove the rear exhaust manifold pipe when equipped with a manual transaxle. Remove it from vehicle by maneuvering through left front wheel well and disengage Sway Bar Kit ends from ball joints or control arms (or disconnect end links). Replace any damaged bushings found there if required. These new bushings should be smeared with vegetable oil before being inserted in place with their slits facing towards vehicle's rear section. Also make sure to re-install any other associated parts such as link bolts, insulators or nuts as well as reinstalling exhaust manifold pipe if it was removed for access purposes during repairs on this system alone (to avoid damage). Finally lower vehicle to ground, then install wheels and lug nuts before tightening wheel lug nuts using proper torque wrench setting.


