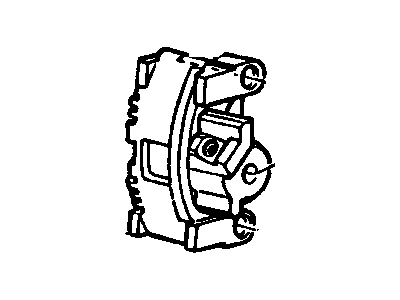
While taking apart the rear brake caliper it is recommended that only one caliper is on the stand for reference of position of components. The steps of the operation should start with the disconnection and then the detachment of the caliper from the automobile, then the pad assembly should be released. Fix it on the top of the suitable worktable with vise grip but make sure to have the cushion on the vise to avoid scratching the caliper. In case the parking brake lever components have not been pulled out earlier, pull them out now, and replace any of the damaged ones later. You can use a wrench to withdraw the actuator screw anticlockwise to push the piston out, and a C-clamp can help, although doing it with the caliper on the vehicle is not advised. It is necessary to ave philately the piston, balance spring, and Actuator screw and thereafter, there is a need to have the seal and thrust washer removed while observe their position to facilitate reinsertion. To remove the inboard pad retaining ring, unlock it, rotate it so the locking tangs are opposite the detents, and take it out. The piston dust boot, together with the seal, should be next to be removed, after which, the caliper mounting bolt dust boots and bushings are next to be removed. Check for any damage to the caliper bore and after this wipe the parts clean. When reassembling replace the bleeder valve and in the case of a new parking brake cable bracket if replaced. Coat the piston seal and the thrust washer appropriately making sure the thrust washer faces the appropriate direction. Screw in the actuator screw as well as the balance spring and by means of a hydraulic press; press in the piston on the inside of the bore. On completion of greasing of the lever anti-friction washer and the lever seal assemble them together with the lever by engaging the hexagonal nut firmly. Last, the piston dust boot should be placed back, any dampening springs if required and the brake pad should be placed before the caliper is bolted onto the vehicle.