My Garage
My Account
Cart
Genuine Pontiac Fiero Brake Calipers
Caliper- Select Vehicle by Model
- Select Vehicle by VIN
Select Vehicle by Model
orMake
Model
Year
Select Vehicle by VIN
For the most accurate results, select vehicle by your VIN (Vehicle Identification Number).
3 Brake Calipers found
Pontiac Fiero Brake Calipers
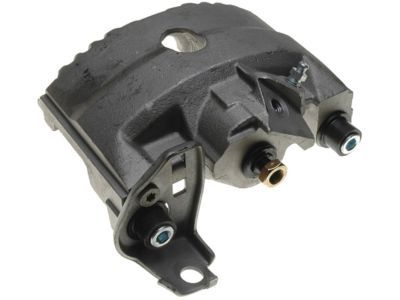
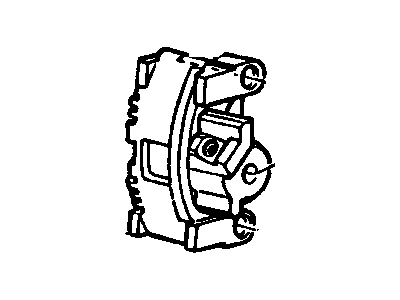
In general the Brake Caliper is an assembly that fits between the Brake Hose and the Brake Rotor and under pressure from the master cylinder mentioned above applies the mechanical force necessary to deploy the brake pads onto the rotors and slow or stop the Pontiac Fiero vehicle. Pontiac Fiero Brake Calipers can be categorized into two main types: It include two types of places namely, fixed and floating. There are two types- fixed and floating: In fixed type, there are pistons located on either side of the rotor so the pressure is constant while floater has only one piston that slides over it and therefore the pressure is uneven until it is serviced. As years goes by there are Pontiac Fiero Brake Calipers out in the market from the standard usually from the manufacturer which is great for a daily driven car to the performance brake calipers which are great for additional stopping power and style. Various features may be incorporated into performance calipers such as light weight material and multiple piston designs which can be a major enhancement on the traditional calipers. Brake Caliper must also be inspected and maintained on a more frequent basis in order to avoid problems such as leaks, uneven wearing, and brake drag, which would cause poor Performance of the Pontiac Fiero.
Each OEM Pontiac Fiero Brake Calipers we offer is competitively priced and comes with the assurance of the manufacturer's warranty for the part. Furthermore, we guarantee the speedy delivery of your orders right to your doorstep. Our hassle-free return policy is also in place for your peace of mind.
Pontiac Fiero Brake Calipers Parts Questions & Experts Answers
- Q: How to remove and install a front Brake Calipers on Pontiac Fiero?A:Before removing the brake caliper, unscrew the lid of the brake fluid container and pump out about 2/3 of the brake fluid and then, discard it. You should still not remove this nut but simply slacken the nut on the front wheel, after that set down the car and support the front part of it using the jack stands. To have guidance, work on one side at a time Remove the front wheel. Apply pressure to the piston to the bore with the assistance of the C-clamp so that there is forced the fluid back into the master cylinder but also to ensure that it does not spill all over; for lack of the C-clamp, one may be forced to use the screwdriver after having removed the caliper. If altering or removing the caliper, unbolt the brake caliper inlet hose nipple but do not disconnect it if not necessary. Now it is necessary to remove the two mounting bolts of the caliper with the sleeves and bushings; it is suggested to keep the mounting bolts and reject the others since they should be new to be used during the assembling. If having the pads changed then suspend the caliper to the upper A-arm with wire so that the brake hose does not get damaged. If no C-clamp was applied earlier, push down the piston with screwdrivers or pry bar. For fit up, lubricate the new sleeves and bushings with the silicone grease, fit the caliper and mounting bolts to the correct torque value while the gap between the caliper housing and bracket should be within limits so that there can be free movement. Tighten the caliper mounting bolts to the torque mentioned above, if the brake inlet hose was disconnected, connect it back and bleed the brake system. Last, mount the wheels and drop the vehicle, as well as properly torque the lugs nuts in that required amount.


