My Garage
My Account
Cart
Genuine 1996 Pontiac Grand Prix Oil Pan
Oil Drain Pan- Select Vehicle by Model
- Select Vehicle by VIN
Select Vehicle by Model
orMake
Model
Year
Select Vehicle by VIN
For the most accurate results, select vehicle by your VIN (Vehicle Identification Number).
2 Oil Pans found
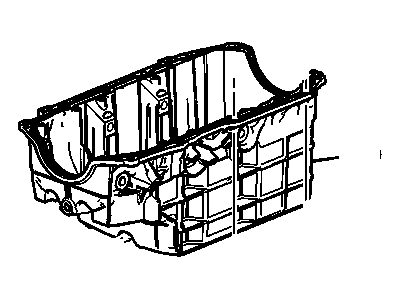
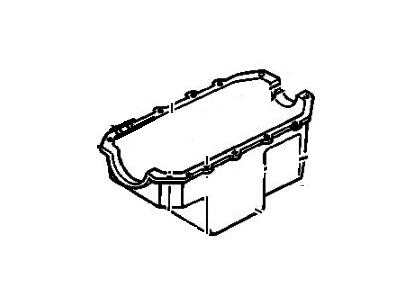
1996 Pontiac Grand Prix Pan Asm,Oil
Part Number: 12512670$185.45 MSRP: $276.52You Save: $91.07 (33%)Ships in 1-2 Business DaysProduct Specifications- Other Name: PAN, Engine Oil; Oil Pan
- Item Weight: 15.50 Pounds
- Item Dimensions: 21.7 x 12.4 x 9.1 inches
- Condition: New
- Fitment Type: Direct Replacement
- SKU: 12512670
- Warranty: This genuine part is guaranteed by GM's factory warranty.
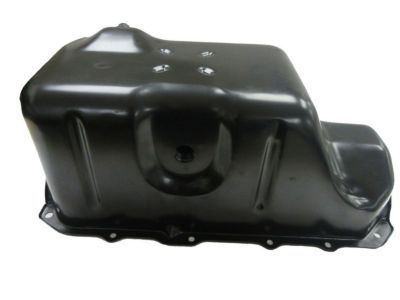
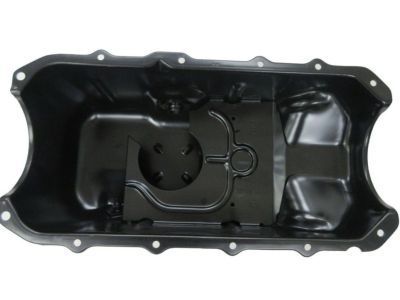
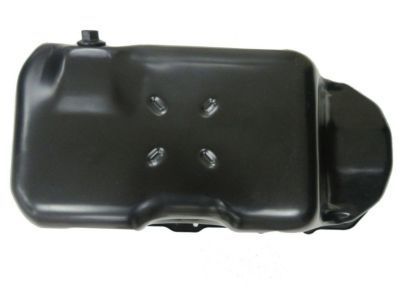
- Product Specifications
- Other Name: PAN, Engine Oil; Oil Pan
- Item Weight: 6.50 Pounds
- Item Dimensions: 20.2 x 10.1 x 11.0 inches
- Condition: New
- Fitment Type: Direct Replacement
- SKU: 24503557
- Warranty: This genuine part is guaranteed by GM's factory warranty.
1996 Pontiac Grand Prix Oil Pan
We are your prime source for competitively priced and high-quality OEM 1996 Pontiac Grand Prix Oil Pan. We provide you with parts that will allow you to save a lot of money without sacrificing quality. All our OEM parts are backed by the manufacturer's warranty and shipped out at a swift rate.
1996 Pontiac Grand Prix Oil Pan Parts Questions & Experts Answers
- Q: How to remove and reinstall an oil pan in 2.5L four cylinder engine on 1996 Pontiac Grand Prix?A: Before disposing the oil pan it is necessary to heat up the engine, to drain the oil, and to delete the oil filter. Pull the cable out of the negative terminal, while making sure that if the Theftlock feature is present in the audio system, it has been turned off. Then, drain out the coolant, unbolt the engine torque strut, unbolt the coolant reservoir, unscrew the air cleaner assembly, disconnect the air inlet tube and reach the drivebelt and remove it. Remove the dipstick tube, put the car on stands and place a floor jack on the front transaxle and wooden plank on the back of the engine. In the case of air-conditioned models, free the air-conditioner from brackets but do not unplug the hoses. Go on to take/undo the starter, lower bell housing cover, and the engine wiring harness retaining screws/removal of screws under the oil pan. There is no splash pan, but take off the bolts and nuts of front engine mount bracket, and transaxle mount nuts, then lift the engine and transaxle assembly up about 2 inches. Take off the front engine mount and bracket, free the frame bolts and the bolts and nuts holding the oil pan to the engine block. This gasket has a special seal that requires the pan to be tapped with a soft-face hammer before pulling it off-the other type of gasket can simply be pulled off without prying. After that clean the engine block and oil pan blunt by removing all the old sealant and make sure that the threaded bolt holes are free from it. For installation examine the sealing flanges for undue stress and use a punch to flatten if the case so requires. Scrub down the mating surfaces and then apply RTV sealant in a steady, unbroken line along the sealing flanges and front protective cover face, do not overdo the application of the sealant. It is necessary to put a thin layer of RTV sealant on the ends of the rear oil pan seal and then fit the oil pan on the block. When installing the bolts, begin from the center then progress in a circular fashion round the outermost edge to prevent applying lots of pressure. Last of all replace any component that may have been shifted for access, apply oil on any component that required it, fit the new filter, start the engine and inspect for any sign of leakage.
