My Garage
My Account
Cart
Genuine Pontiac Grand Prix Oil Pan
Oil Drain Pan- Select Vehicle by Model
- Select Vehicle by VIN
Select Vehicle by Model
orMake
Model
Year
Select Vehicle by VIN
For the most accurate results, select vehicle by your VIN (Vehicle Identification Number).
15 Oil Pans found
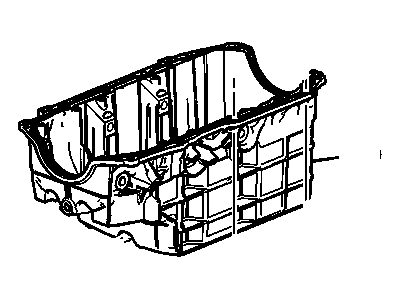
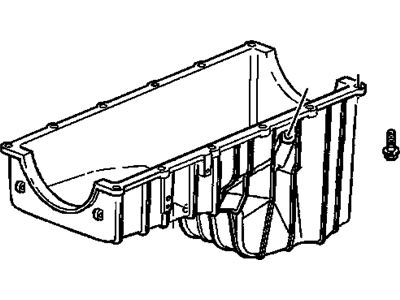
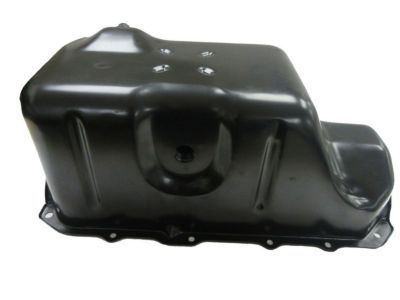
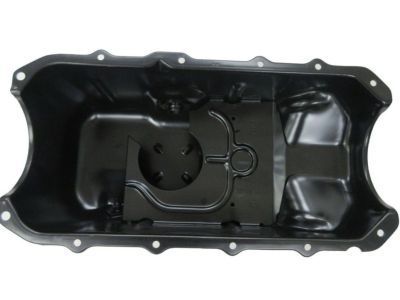
Pontiac Grand Prix Pan Asm,Oil
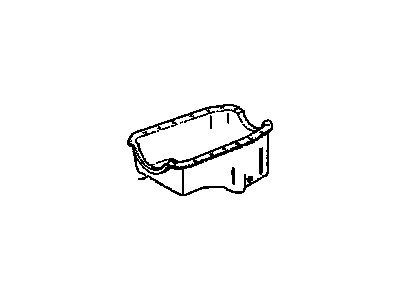
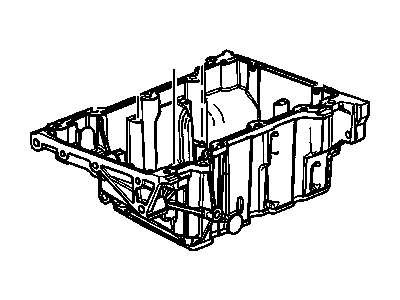
Part Number: 12512670$185.45 MSRP: $276.52You Save: $91.07 (33%)Ships in 1-2 Business DaysPontiac Grand Prix Pan Asm,Oil
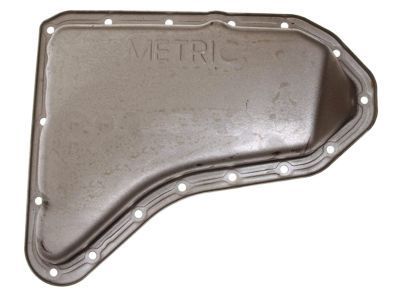
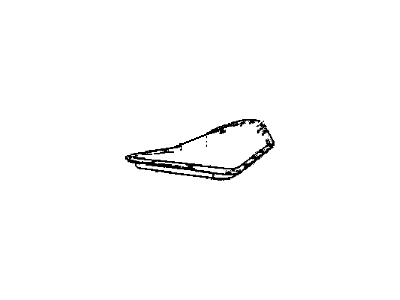
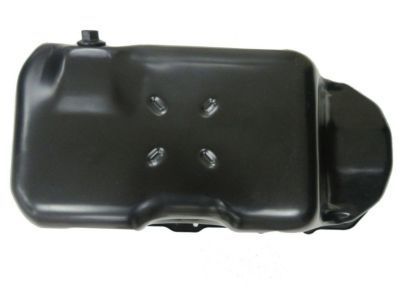
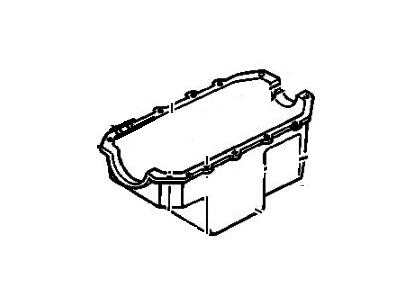
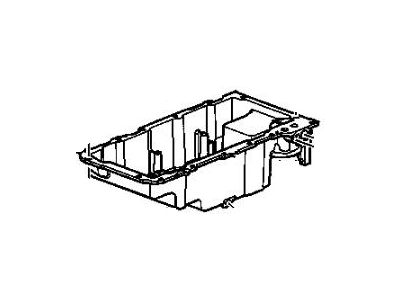
Part Number: 24504719$48.11 MSRP: $136.14You Save: $88.03 (65%)Ships in 1-2 Business Days
Pontiac Grand Prix Oil Pan
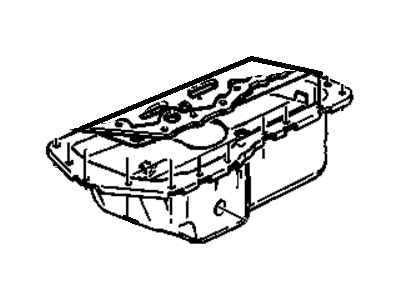
Oil Pan is also known as oil sump that is located in the Pontiac Grand Prix to store the engine oil, which is necessary to lubricate all the parts of an engine and cool them. The Oil Pan employs the wet sump system whereby, the oil is sucked through a pickup tube then pumped within the engine before falling to the pan. It is important that this design is in place so as to keep the engine in great performance throughout its use. Normally, the Pontiac Grand Prix has a stamped-steel oil pan, but with the current market changing there are cars with cast-aluminum oil pans. The general purpose of Oil Pan is not changed irrespective of the model, but there can be some changes in the manufacturing materials and the layout of the pan due to some change of the configuration of the engine or depending on the performance. On balance of things the Oil Pan is a very important part of the car and specifically the Pontiac Grand Prix cars.
Each OEM Pontiac Grand Prix Oil Pan we offer is competitively priced and comes with the assurance of the manufacturer's warranty for the part. Furthermore, we guarantee the speedy delivery of your orders right to your doorstep. Our hassle-free return policy is also in place for your peace of mind.
Pontiac Grand Prix Oil Pan Parts Questions & Experts Answers
- Q: How to disconnect the battery and replace the oil pan in 3.8L V6 engine on Pontiac Grand Prix?A:Disconnect the cable from the negative battery terminal, ensuring that the Theftlock audio system's lockout feature is off before disconnecting the battery. Raise the vehicle securely on jackstands, drain the engine oil, and replace the oil filter if necessary. For 1995 and later models, remove the front exhaust pipe. Remove the driveplate inspection cover and starter if needed, and for 1992 and later models, disconnect the electrical connector from the oil level sensor and remove the sensor to avoid damage. Support the engine from above with an engine support fixture for 1995 and later models, then remove the front and rear engine mounts and the torque strut arms by taking out the through bolts and the bolts attaching the struts to the mounts on the radiator support. Use a floor jack under the transaxle to raise the engine, and when reinstalling the torque strut mounts, a prybar may be necessary to align the through bolts. Remove the oil pan mounting bolts located around the perimeter of the oil pan and carefully separate the oil pan from the block without prying, as this could damage the sealing surfaces. Instead, tap the pan with a soft-face hammer to break the gasket seal. Clean the pan with solvent, removing all old sealant and gasket material from the mating surfaces, and ensure the bolt holes in the block are clear. Check the oil pan flange for distortion, particularly around the bolt holes, and if needed, flatten and restore the gasket surface using a hammer on a block of wood. Always use a new gasket when installing the oil pan, place it in position on the block, and install the bolts. After installation, tighten the bolts to the specified torque in a crisscross pattern, starting from the center and working up to the final torque in three steps. The remaining steps involve reversing the removal procedure, followed by refilling the engine with oil, running the engine until it reaches normal operating temperature, and checking for leaks.
Related Pontiac Grand Prix Parts
Browse by Year
2008 Oil Pan 2007 Oil Pan 2006 Oil Pan 2005 Oil Pan 2004 Oil Pan 2003 Oil Pan 2002 Oil Pan 2001 Oil Pan 2000 Oil Pan 1999 Oil Pan 1998 Oil Pan 1997 Oil Pan 1996 Oil Pan 1995 Oil Pan 1994 Oil Pan 1993 Oil Pan 1992 Oil Pan 1991 Oil Pan 1990 Oil Pan 1989 Oil Pan 1988 Oil Pan 1987 Oil Pan 1986 Oil Pan 1985 Oil Pan 1984 Oil Pan 1983 Oil Pan 1982 Oil Pan
