My Garage
My Account
Cart
Genuine 1999 Pontiac Grand Prix Exhaust Manifold
Engine Exhaust Manifold- Select Vehicle by Model
- Select Vehicle by VIN
Select Vehicle by Model
orMake
Model
Year
Select Vehicle by VIN
For the most accurate results, select vehicle by your VIN (Vehicle Identification Number).
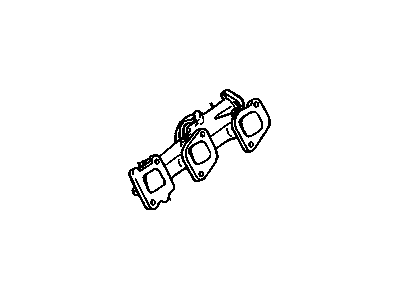
4 Exhaust Manifolds found
- Product Specifications
- Other Name: Manifold, Exhaust ; Manifold, Engine Exhaust Manifold; Exhaust Manifold, Manifold
- Item Weight: 5.40 Pounds
- Item Dimensions: 19.4 x 4.9 x 4.9 inches
- Condition: New
- Fitment Type: Direct Replacement
- SKU: 10182321
- Warranty: This genuine part is guaranteed by GM's factory warranty.
- Product Specifications
- Other Name: Manifold, Exhaust ; Manifold, Engine Exhaust Manifold; Exhaust Manifold, Manifold
- Item Weight: 14.70 Pounds
- Item Dimensions: 19.2 x 6.7 x 4.4 inches
- Condition: New
- Fitment Type: Direct Replacement
- SKU: 24506309
- Warranty: This genuine part is guaranteed by GM's factory warranty.
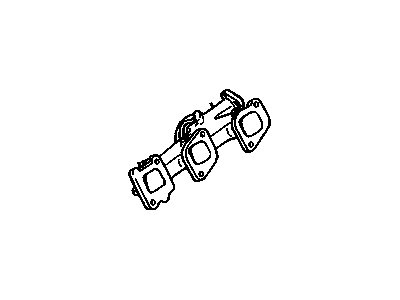
- Product Specifications
- Other Name: Manifold, Exhaust (Machining) ; Manifold, Engine Exhaust Manifold; Exhaust Manifold, Manifold
- Item Weight: 8.90 Pounds
- Item Dimensions: 21.2 x 9.0 x 6.5 inches
- Condition: New
- Fitment Type: Direct Replacement
- SKU: 24504379
- Warranty: This genuine part is guaranteed by GM's factory warranty.
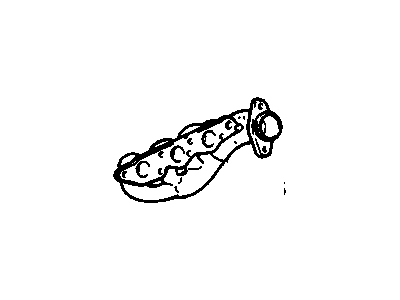
- Product Specifications
- Other Name: Manifold Assembly, Exhaust(R) 'W' ; Manifold, Engine Exhaust Manifold; Exhaust Manifold, Manifold
- Item Weight: 7.90 Pounds
- Item Dimensions: 16.5 x 8.5 x 4.8 inches
- Condition: New
- Fitment Type: Direct Replacement
- SKU: 24503918
- Warranty: This genuine part is guaranteed by GM's factory warranty.
1999 Pontiac Grand Prix Exhaust Manifold
We are your prime source for competitively priced and high-quality OEM 1999 Pontiac Grand Prix Exhaust Manifold. We provide you with parts that will allow you to save a lot of money without sacrificing quality. All our OEM parts are backed by the manufacturer's warranty and shipped out at a swift rate.
1999 Pontiac Grand Prix Exhaust Manifold Parts Questions & Experts Answers
- Q: How to disconnect the negative battery cable and remove the exhaust manifold in 3.4L V6 engine on 1999 Pontiac Grand Prix?A: Disconnect the negative battery cable from the battery, ensuring that the lockout feature of the Theftlock audio system is turned off if equipped. Remove the air cleaner assembly, followed by the exhaust crossover pipe from the manifold. For manual transmission cars, detach the front hose from the air pipe, then remove the mounting nuts and take off the front exhaust manifold from the cylinder head. Clean the mating surfaces to eliminate old gasket material and inspect the manifold for distortion and cracks, checking for warpage with a precision straightedge; if a feeler gauge thicker than 0.030-inch fits, take the manifold to an automotive machine shop for resurfacing. Position the manifold with a new gasket and install the mounting nuts finger tight, then tighten them gradually from the middle outwards until all are torqued. Reinstall the remaining components in reverse order and start the engine to check for exhaust leaks. For the rear manifold, repeat the process of disconnecting the negative battery cable and removing the air cleaner and duct assembly, along with the rear cam carrier if the car has an automatic transaxle. Remove the exhaust crossover pipe and EGA tube, set the parking brake, block the rear wheels, and raise the front of the car securely on jackstands. Detach the front exhaust pipe and catalytic converter assembly, followed by the oxygen sensor, and remove the exhaust pipe front heat shield for manual transaxle cars. If needed, take off the rear alternator bracket, dipstick tube for automatic transaxle cars, and the steering gear intermediate shaft. Remove the exhaust manifold nuts, support the engine if necessary, lower it to remove the steering gear heat shield, and then take off the exhaust manifold. Clean the mating surfaces, inspect for distortion and cracks, and check for warpage as previously described. Position the manifold with a new gasket, install the mounting nuts finger tight, and tighten them gradually from the middle outwards until all are torqued. Reinstall the remaining components in reverse order and start the engine to check for exhaust leaks.


