My Garage
My Account
Cart
Genuine Cadillac Control Arm
Suspension Arm- Select Vehicle by Model
- Select Vehicle by VIN
Select Vehicle by Model
orMake
Model
Year
Select Vehicle by VIN
For the most accurate results, select vehicle by your VIN (Vehicle Identification Number).
194 Control Arms found
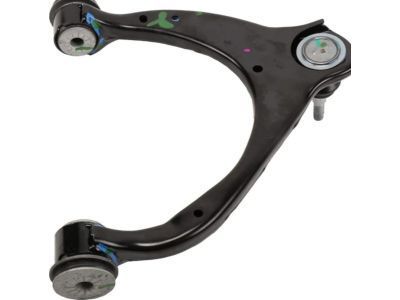
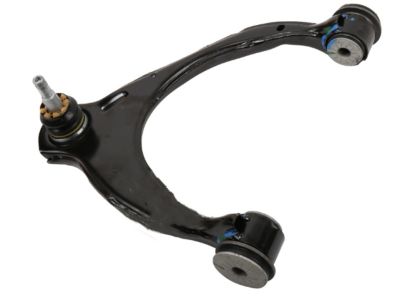
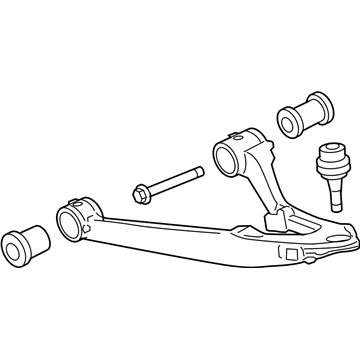
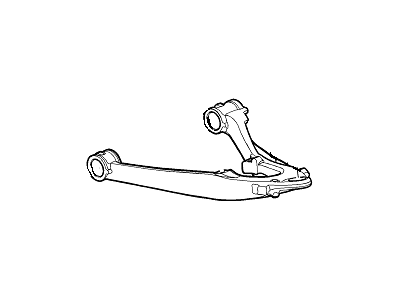
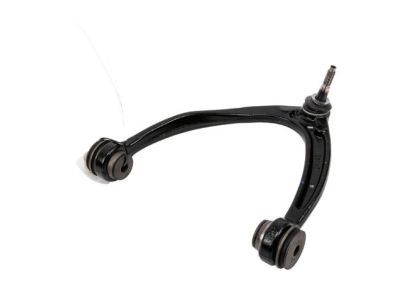
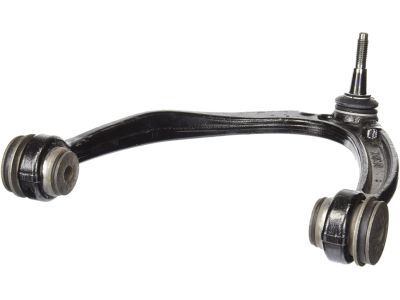
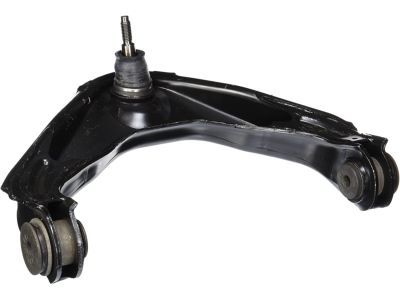
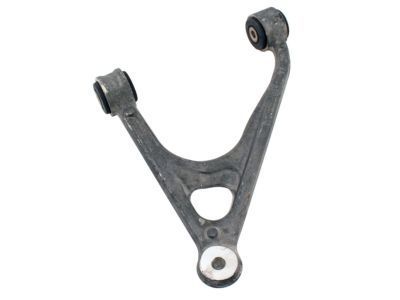
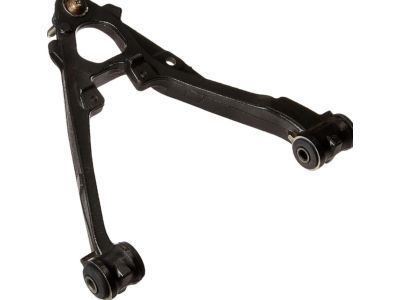
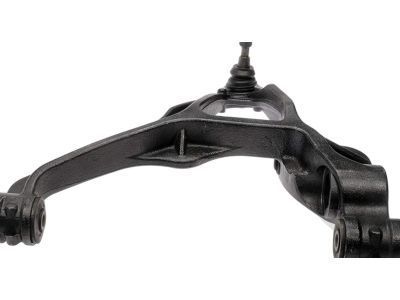
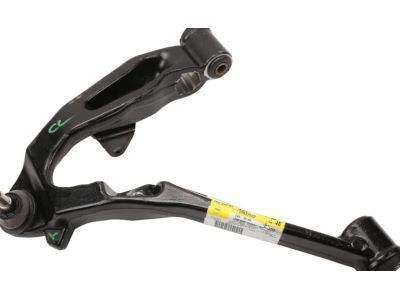
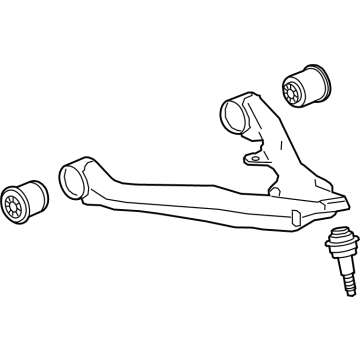
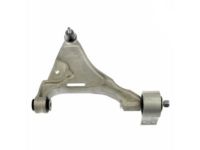
Cadillac Front Upper Control Arm Assembly
Part Number: 84628487$139.64 MSRP: $238.78You Save: $99.14 (42%)Ships in 1-3 Business DaysProduct Specifications- Other Name: Arm Assembly, Front Upr Cont; Upper Control Arm
- Position: Front Upper
- Replaces: 22840983, 23125968, 84479374, 23420263, 84304206
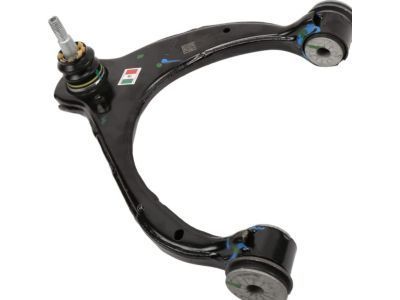
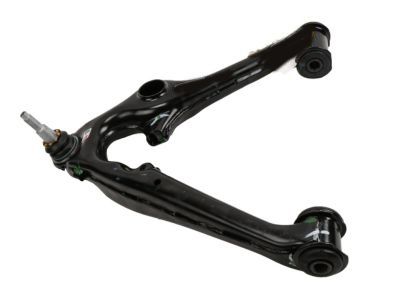
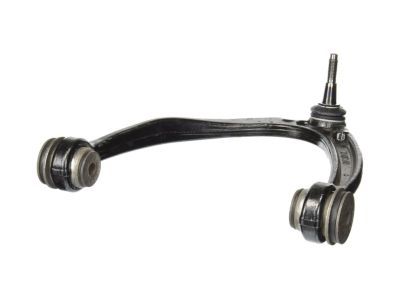
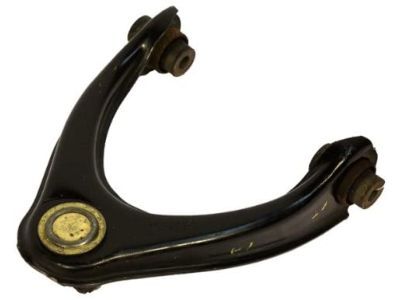
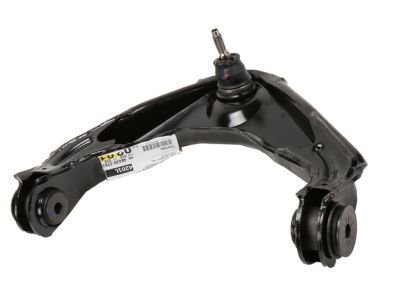
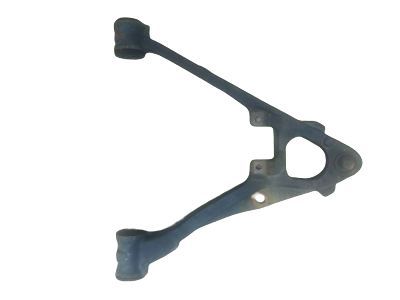
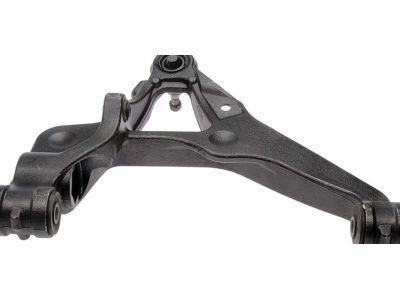
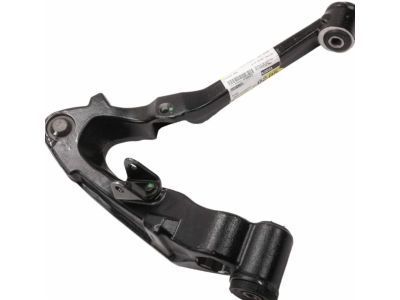
Cadillac Front Upper Control Arm Assembly
Part Number: 84628488$158.60 MSRP: $271.20You Save: $112.60 (42%)Ships in 1-2 Business DaysProduct Specifications- Other Name: Arm Assembly, Front Upr Cont; Upper Control Arm
- Position: Front Upper
- Replaces: 84479375, 23420264, 23125969, 84304207
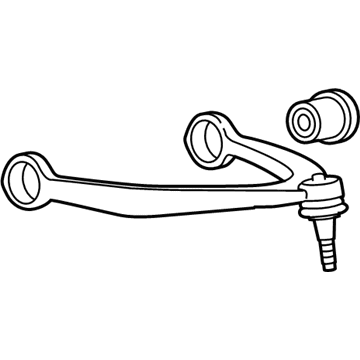
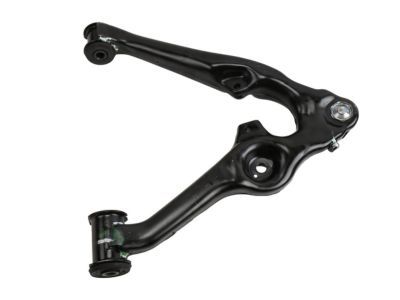
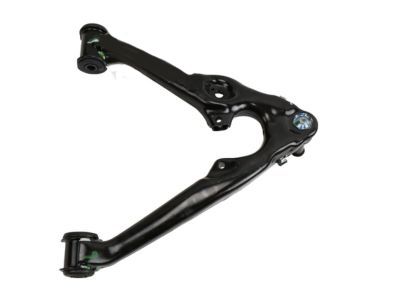
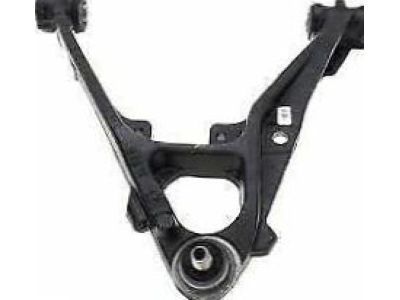
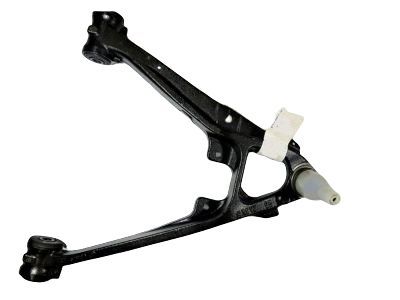
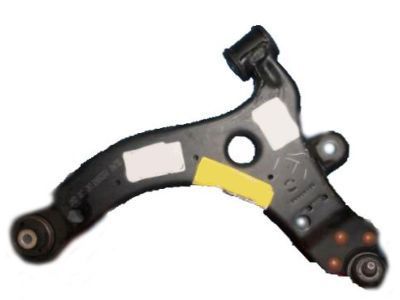
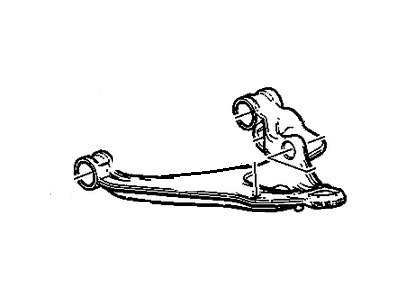
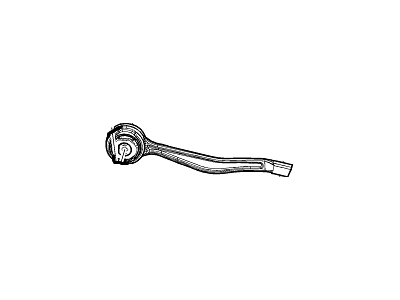
Cadillac Front Lower Control Arm Assembly
Part Number: 84114506$201.32 MSRP: $347.29You Save: $145.97 (43%)Product Specifications- Other Name: Arm Assembly, Front Lower Control; Lower Control Arm
- Position: Front Lower
- Replaces: 22853474
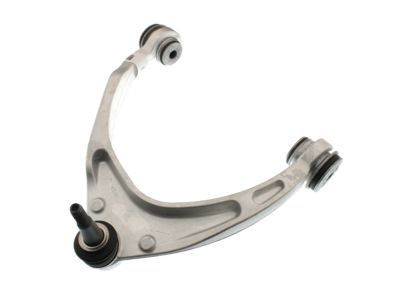
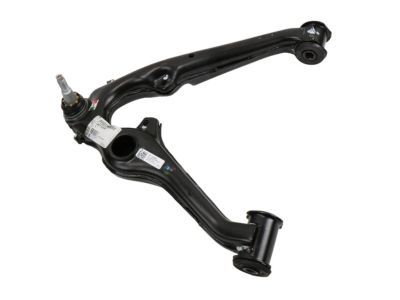
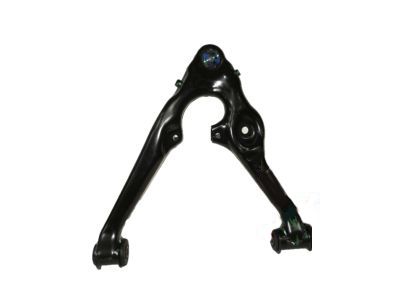
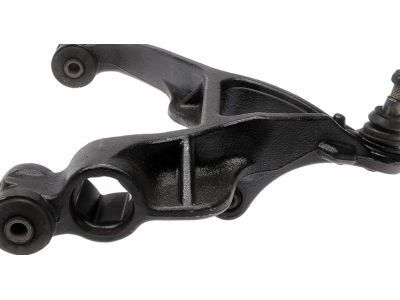
Cadillac Front Lower Control Arm Assembly
Part Number: 84114505$201.32 MSRP: $347.29You Save: $145.97 (43%)Product Specifications- Other Name: Arm Assembly, Front Lower Control; Lower Control Arm
- Position: Front Lower
- Replaces: 22853473, 22994468
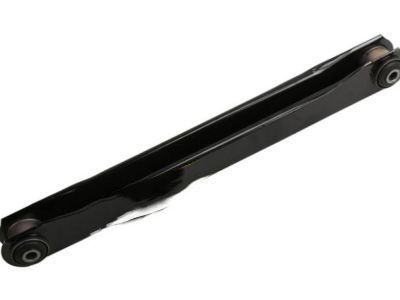
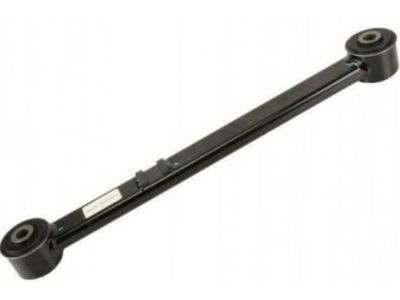
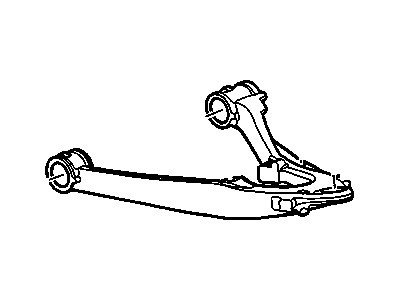
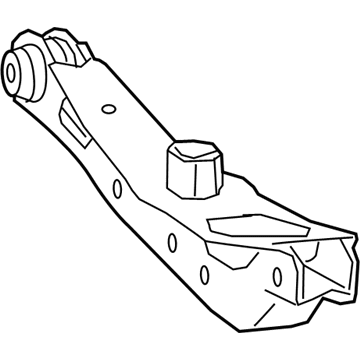
Cadillac Rear Lower Control Arm Assembly
Part Number: 22868629$52.30 MSRP: $89.43You Save: $37.13 (42%)Ships in 1-2 Business DaysProduct Specifications- Other Name: Arm Assembly, Rear Axle Lower Control; Lower Control Arm
- Position: Rear Lower
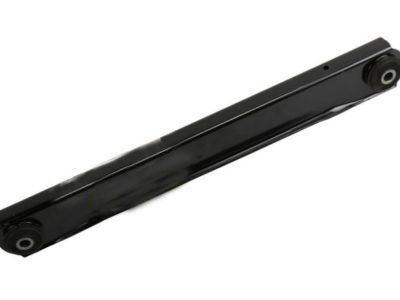
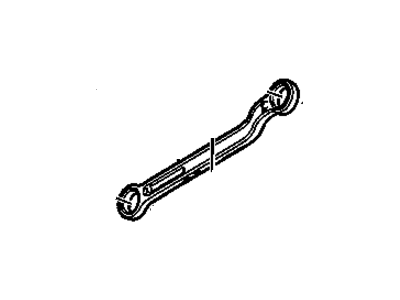
Cadillac Rear Upper Control Arm Assembly
Part Number: 20917465$48.75 MSRP: $95.03You Save: $46.28 (49%)Ships in 1-2 Business DaysProduct Specifications- Other Name: Arm Assembly, Rear Axle Upper Control ; Arm, Rear Axle Control Arm; Upper Control Arm
- Position: Rear Upper
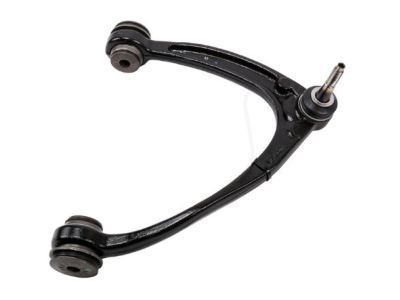
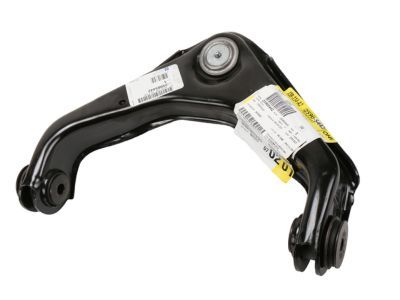
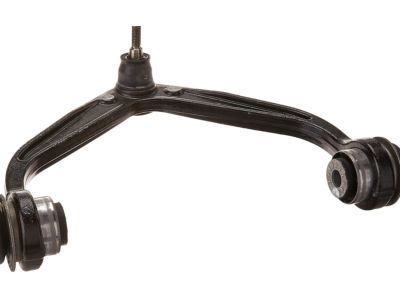
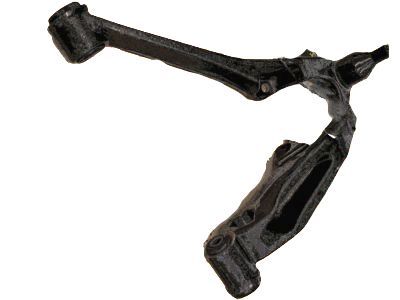
Cadillac Front Upper Control Arm Assembly
Part Number: 25812725$174.10 MSRP: $290.73You Save: $116.63 (41%)Ships in 1-2 Business DaysProduct Specifications- Other Name: Arm Assembly, Front Upper Control ; Arm, Steering Knuckle Upper & Lower Control; Upper Control Arm
- Position: Front Upper
- Replaces: 15096197
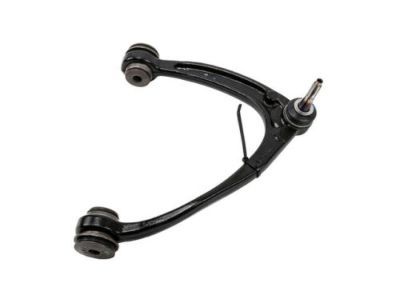
Cadillac Front Upper Control Arm Assembly
Part Number: 25812726$172.58 MSRP: $290.73You Save: $118.15 (41%)Ships in 1-2 Business DaysProduct Specifications- Other Name: Arm Assembly, Front Upper Control ; Arm, Steering Knuckle Upper & Lower Control; Upper Control Arm
- Position: Front Upper
Cadillac Front Upper Control Arm Assembly
Part Number: 25905442$165.79 MSRP: $283.49You Save: $117.70 (42%)Ships in 1-2 Business DaysProduct Specifications- Other Name: Arm Assembly, Front Upper Control ; Arm, Steering Knuckle Upper & Lower Control; Upper Control Arm
- Position: Front Upper
- Replaces: 15224737, 15110013, 15049881
Cadillac Rear Upper Suspension Control Arm Assembly
Part Number: 10308991$128.75 MSRP: $220.17You Save: $91.42 (42%)Ships in 1-2 Business DaysProduct Specifications- Other Name: Arm Assembly, Rear Suspension Upper Control ; Arm, Rear Axle Control Arm; Upper Control Arm
- Position: Rear Upper
- Replaces: 10436130
Cadillac Front Upper Control Arm Assembly
Part Number: 20924215$129.26 MSRP: $221.03You Save: $91.77 (42%)Ships in 1-2 Business DaysProduct Specifications- Other Name: Arm Assembly, Front Upper Control ; Arm, Steering Knuckle Upper & Lower Control; Upper Control Arm
- Position: Front Upper
Cadillac Front Lower Control Arm Assembly
Part Number: 20869201$315.67 MSRP: $539.77You Save: $224.10 (42%)Product Specifications- Other Name: Arm Assembly, Front Lower Control; Lower Control Arm
- Position: Front Lower
- Replaces: 25868823, 15948967, 22952193, 25788114
Cadillac Front Lower Control Arm Assembly
Part Number: 20869202$315.67 MSRP: $539.77You Save: $224.10 (42%)Product Specifications- Other Name: Arm Assembly, Front Lower Control; Lower Control Arm
- Position: Front Lower
- Replaces: 15948968, 22952194, 25788115, 25868824
Cadillac Front Lower Control Arm Assembly
Part Number: 23207777$239.87 MSRP: $410.16You Save: $170.29 (42%)Product Specifications- Other Name: Arm Assembly, Front Lower Control; Lower Control Arm
- Position: Front Lower
- Replaces: 22849591, 25803378, 22803674
Cadillac Front Lower Control Arm Assembly
Part Number: 20832022$594.92 MSRP: $828.34You Save: $233.42 (29%)Ships in 1-3 Business DaysProduct Specifications- Other Name: Arm Assembly, Front Lower Control; Lower Control Arm
- Position: Front Lower
- Replaces: 12475475, 15103878, 25909326
Cadillac Front Lower Control Arm Assembly
Part Number: 84989529$133.57 MSRP: $228.38You Save: $94.81 (42%)Ships in 1-2 Business DaysProduct Specifications- Other Name: Arm Assembly, Front Lwr Cont; Lower Control Arm
- Position: Front Lower
- Replaces: 23368656, 84011415, 84082889, 84263005, 84722073, 84734341
Cadillac Front Lower Control Arm Assembly
Part Number: 85662942$114.97 MSRP: $196.59You Save: $81.62 (42%)Product Specifications- Other Name: ARM ASM-FRT LWR CONT; Lower Control Arm
- Position: Lower
- Replaces: 84973286, 84729618
Cadillac Front Lower Control Arm Assembly
Part Number: 84989528$133.57 MSRP: $228.38You Save: $94.81 (42%)Ships in 1-2 Business DaysProduct Specifications- Other Name: Arm Assembly, Front Lwr Cont; Lower Control Arm
- Position: Front Lower
- Replaces: 84082888, 84722072, 84734342, 23368652, 84263004, 84011414
Cadillac Rear Lower Suspension Control Arm Assembly
Part Number: 84382664$49.01 MSRP: $78.15You Save: $29.14 (38%)Ships in 1-2 Business DaysProduct Specifications- Other Name: Arm Assembly, Rear Susp Lwr Cont; Lower Control Arm
- Position: Rear Lower
- Replaces: 84143517, 84031533
Cadillac Front Lower Control Arm Assembly Front
Part Number: 20888438$111.33 MSRP: $190.35You Save: $79.02 (42%)Product Specifications- Other Name: Arm Assembly, Front Lower Control Front ; Link; Front Lower Control Arm, Lower Control Arm
- Position: Front Lower
| Page 1 of 10 |Next >
1-20 of 194 Results
Cadillac Control Arm
For superior quality and affordable Cadillac Control Arms, consider our website. We proudly present a wide selection of genuine Cadillac Control Arms at unbeatable prices. These OEM parts, supported by the manufacturer's warranty, are also eligible for our hassle-free return policy and swift delivery service.
Cadillac Control Arm Parts Questions & Experts Answers
- Q: How to remove the front control arm on Cadillac DeVille?A:To remove the control arm, start by loosening the wheel lug nuts and raising the front of the vehicle. Support it securely on jackstands and apply the parking brake. Remove the wheel. If working on a 2000 and later DeVille or a Seville, detach the stabilizer bar link(s) from the control arm(s). Remove the cotter pin and loosen the balljoint stud-to-steering knuckle nut. Use a balljoint separator or strike the steering knuckle boss with a hammer to separate the balljoint from the knuckle. Detach the road sensing suspension position sensor if applicable. Remove the control arm-to-frame fasteners and detach the control arm. Carefully inspect the control arm bushings for wear or damage. To install the control arm, position it in the suspension support and install the fasteners without tightening them completely. Insert the balljoint stud into the steering knuckle boss, tighten the nut, and install a new cotter pin. Install the stabilizer bar-to-control arm bolt, spacer, bushings, and washers if necessary. Connect the road sensing suspension position sensor if applicable. Use a floor jack to raise the outer end of the control arm to simulate normal ride height, then tighten the control arm fasteners. Finally, install the wheel and lower the vehicle, tightening the lug nuts.
- Q: How to remove and install the lower control arm on Cadillac Escalade?A:To remove the component, first loosen the wheel lug nuts, raise the vehicle, and securely support it on jackstands placed under the frame rails before removing the wheel. Next, disconnect the stabilizer bar link from the control arm and remove the shock absorber lower mounting fasteners. For 4WD models, remove the drive axle, and if working on a model with torsion bar front suspension, remove the torsion bar. Use rope or wire to support the upper control arm and steering knuckle from the top of the shock absorber. To disconnect the lower control arm from the steering knuckle, loosen the ball joint nut a few turns without removing it, then install a ball joint separator to break the ball joint loose from the knuckle; a hammer and drift can also be used if necessary. After removing the nut, take out the lower control arm pivot bolts and nuts, noting the installation direction, and pull the lower arm from its frame brackets. For installation, position the arm in the frame brackets and install the bolts and nuts without tightening them yet. Attach the ball joint to the steering knuckle, install a new nut, and tighten it to the specified torque. The remainder of the installation follows the reverse order of removal, ensuring all fasteners are tightened to the correct torque values. The pivot bolt nuts should be tightened with the vehicle at normal ride height, which can be done after lowering the vehicle or by simulating the height with a floor jack. Finally, install the wheel and lug nuts, lower the vehicle, and tighten the lug nuts to the specified torque. If working on a model with torsion bar front suspension, check and adjust the ride height, and have the front end alignment checked and adjusted if necessary.
- Q: How to remove the front control arm on Cadillac DTS?A:Take off the wheel lug nuts, raise your car by its front end, and firmly support it using jackstands. Set the parking brake, and block the rear wheels so the car won't move. First, take off the wheel. Then unlatch the steering knuckle balljoint stud nut. To separate the balljoint from the knuckle, use a special tool called a balljoint separator between the control arm and steering knuckle. If not available, hitting the steering knuckle boss with a hammer will do the job, but beware it can damage the balljoint boot. Pull the road sensing suspension position sensor off when available from the control arm. Take all fasteners off that connect the control arm to the frame, then detach the control arm. Check the control arm bushings for hardness changes, wearing out, and cracks. Go to a dealer service department or suspension repair shop if the bushings are broken down. Set the control arm in the suspension support and put the fasteners in place without making them tight yet. Push the balljoint tip into the steering knuckle hole, add the nut, tighten it according to specifications, and adjust symmetry between the pinhole and nut opening before putting in a fresh pin. When it has the road sensing suspension, plug in the position sensor to the control arm. First, use a floor jack to lift the outer end of the control arm until it reaches regular riding height, and then bolt it in place according to the correct torque ratings. Put the wheel in place, let the vehicle go down, and tighten all wheel bolts according to manufacturer guidelines.
Related Cadillac Parts
Browse by Model
ATS Control Arm Allante Control Arm Brougham Control Arm CT4 Control Arm CT6 Control Arm CTS Control Arm Catera Control Arm Cimarron Control Arm Commercial Chassis Control Arm DTS Control Arm Deville Control Arm ELR Control Arm Eldorado Control Arm Escalade Control Arm Fleetwood Control Arm LYRIQ Control Arm SRX Control Arm STS Control Arm Seville Control Arm XLR Control Arm XT4 Control Arm XT5 Control Arm XT6 Control Arm XTS Control Arm
