My Garage
My Account
Cart
Genuine Cadillac Oil Pan
Oil Drain Pan- Select Vehicle by Model
- Select Vehicle by VIN
Select Vehicle by Model
orMake
Model
Year
Select Vehicle by VIN
For the most accurate results, select vehicle by your VIN (Vehicle Identification Number).
103 Oil Pans found
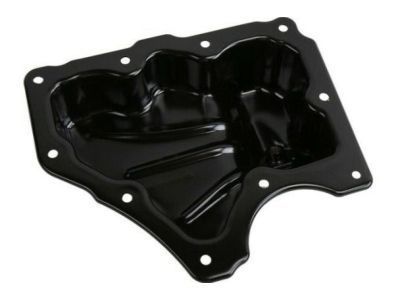
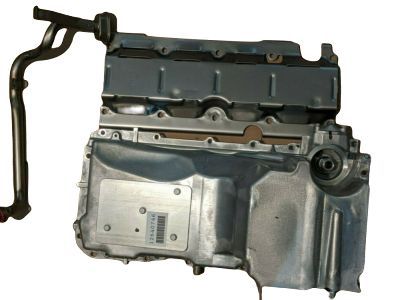
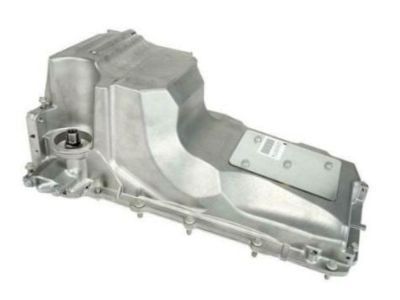
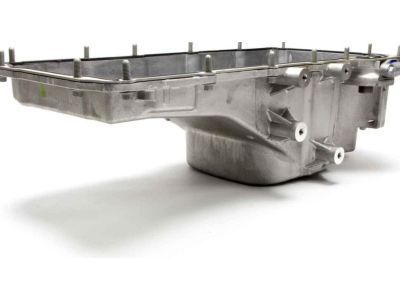
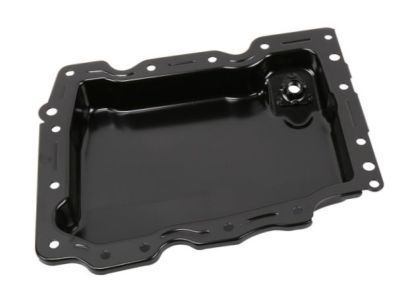
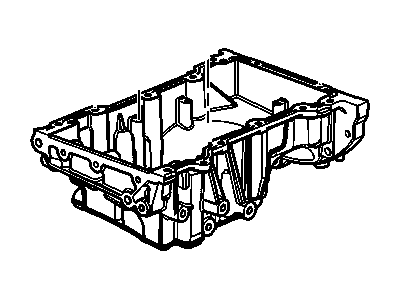
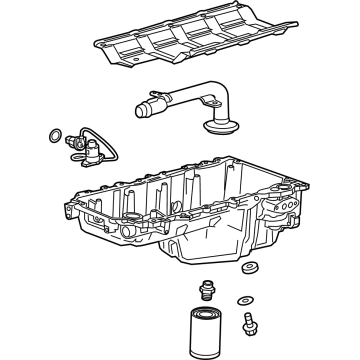
Cadillac Lower Engine Oil Pan
Part Number: 12669909$46.70 MSRP: $79.14You Save: $32.44 (41%)Ships in 1-2 Business DaysProduct Specifications- Other Name: Pan Lower Oil, Pan Lwr Oil; Oil Pan
- Position: Lower
- Replaces: 12659686, 12623115
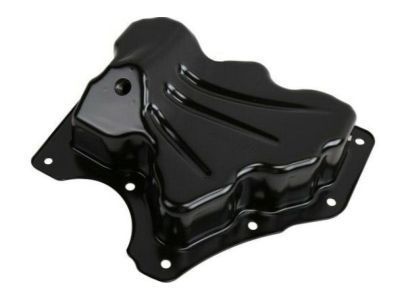
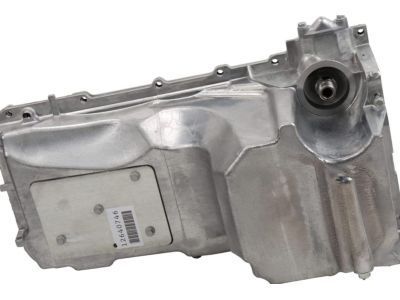
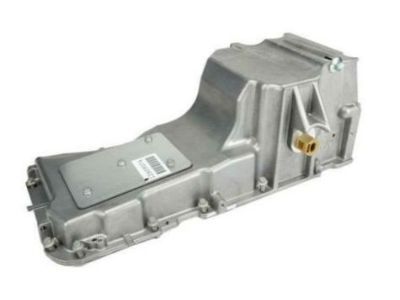
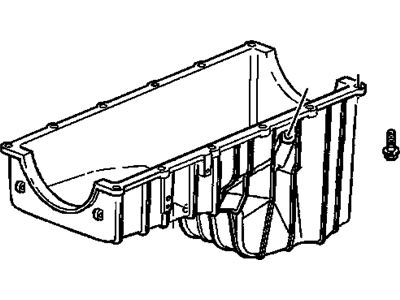
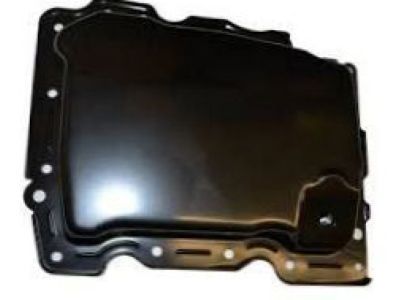
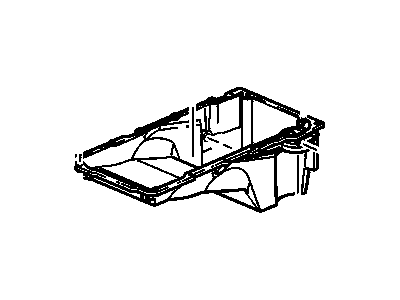
Cadillac Pan Assembly, Oil
Part Number: 12640746$224.03 MSRP: $383.11You Save: $159.08 (42%)Ships in 1-2 Business DaysProduct Specifications- Other Name: PAN, Engine Oil; Oil Pan
- Replaces: 12627903, 12619776
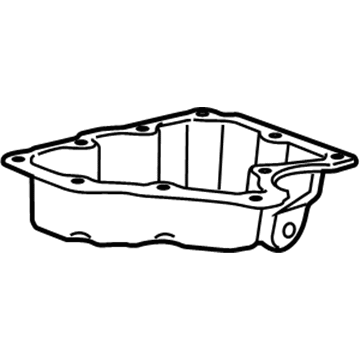
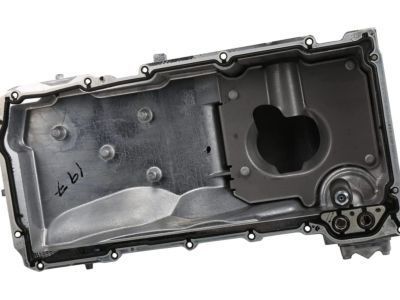
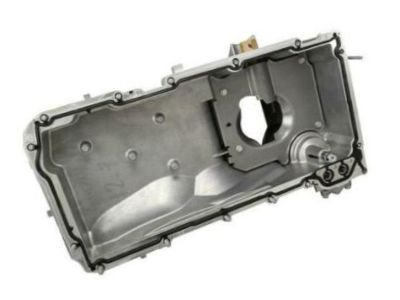
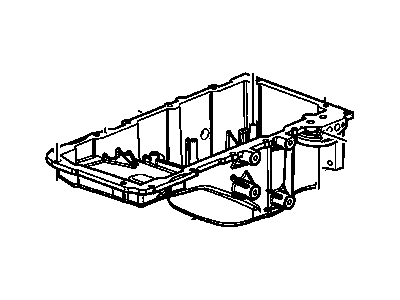
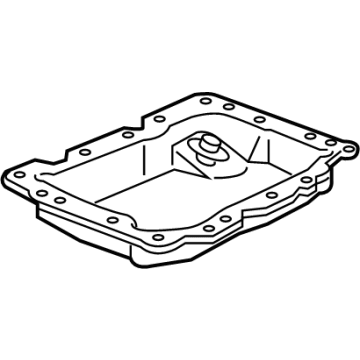
Cadillac Oil Pan Assembly
Part Number: 12609074$202.60 MSRP: $349.48You Save: $146.88 (43%)Ships in 1-2 Business DaysProduct Specifications- Other Name: PAN, Engine Oil; Oil Pan
- Replaces: 12594603
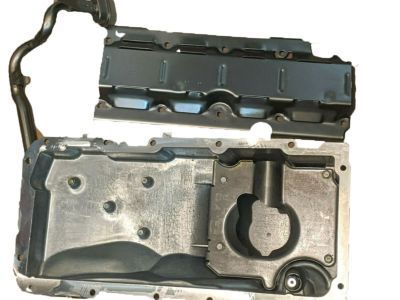
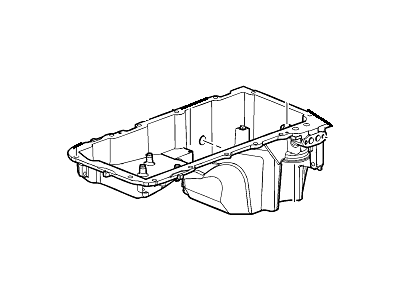
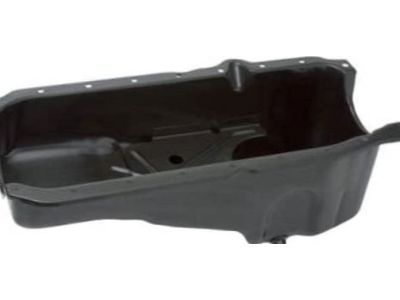
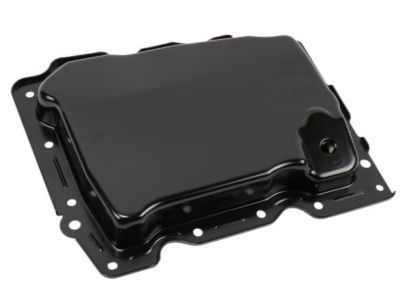
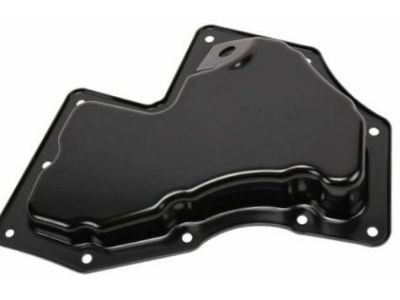
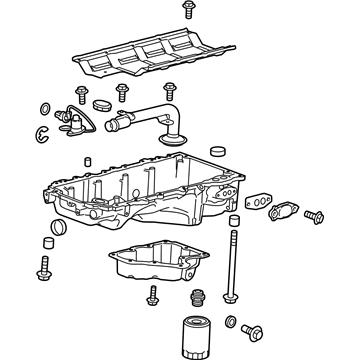
Cadillac Oil Pan
Part Number: 12557558$176.49 MSRP: $301.79You Save: $125.30 (42%)Ships in 1-3 Business DaysProduct Specifications- Other Name: PAN, Engine Oil; Oil Pan, Oil Pan Gasket
- Replaces: 12528916
- Product Specifications
- Other Name: PAN, Engine Oil; Oil Pan
- Replaces: 12598152, 12605814
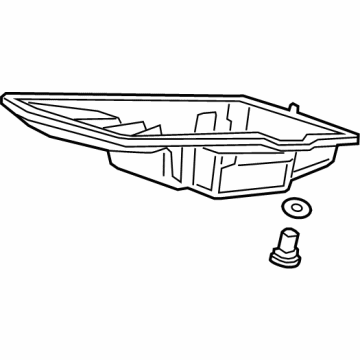
Cadillac Pan, Lower Oil
Part Number: 12676340$25.50 MSRP: $42.19You Save: $16.69 (40%)Ships in 1-2 Business DaysProduct Specifications- Other Name: Pan, Lwr Oil; Lower Oil Pan, Oil Pan
- Position: Lower
Cadillac Pan, Lower Oil
Part Number: 12647615$26.52 MSRP: $43.88You Save: $17.36 (40%)Ships in 1-3 Business DaysProduct Specifications- Other Name: PAN, Engine Oil; Lower Oil Pan, Oil Pan
- Position: Lower
Cadillac Pan, Lower Oil
Part Number: 12673901$26.91 MSRP: $44.54You Save: $17.63 (40%)Ships in 1-2 Business DaysProduct Specifications- Other Name: Pan, Lwr Oil; Lower Oil Pan, Oil Pan
- Position: Lower
- Replaces: 12666877
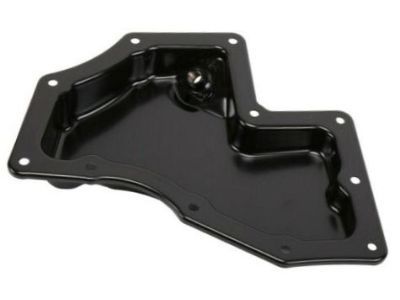
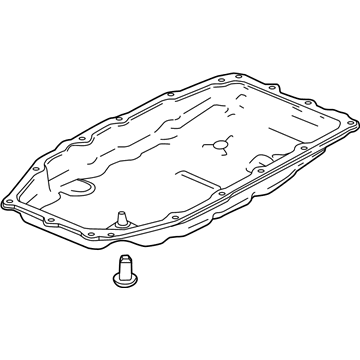
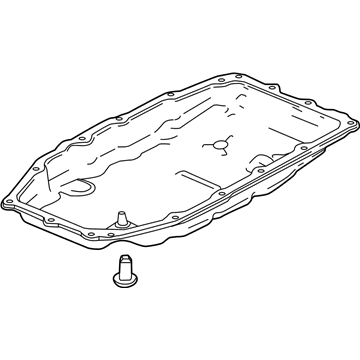
Cadillac PAN ASM-A/TRNS FLUID
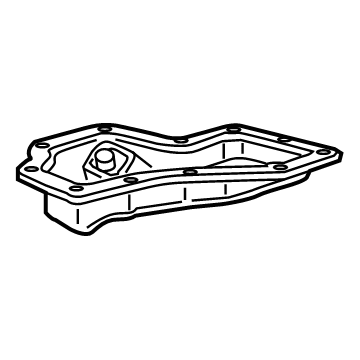
Part Number: 24045037$40.35 MSRP: $60.19You Save: $19.84 (33%)Ships in 1-2 Business DaysProduct Specifications- Other Name: Oil Pan, Transmission Pan
- Replaces: 24291927, 24298834, 24288995, 24272926
Cadillac Pan,Oil (W/Filt Bypass)
Part Number: 12579273$299.07 MSRP: $511.38You Save: $212.31 (42%)Ships in 1-2 Business DaysProduct Specifications- Other Name: PAN, Engine Oil; Oil Pan
- Replaces: 12573695, 12560393
- Product Specifications
- Other Name: Oil Pan, Transmission Pan
- Replaces: 24293671
- Product Specifications
- Other Name: Oil Pan, Transmission Pan
- Replaces: 24290872, 24293672
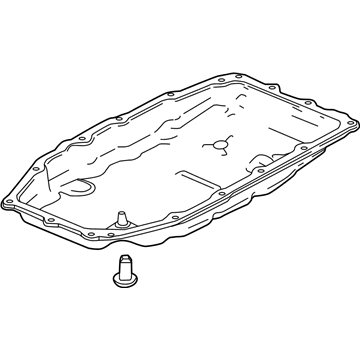
Cadillac Pan Assembly, A/Trns Fluid
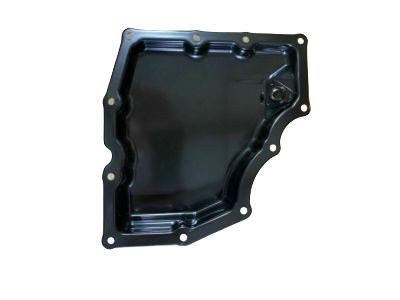
Part Number: 24045035$30.90 MSRP: $48.61You Save: $17.71 (37%)Ships in 1-2 Business DaysProduct Specifications- Other Name: Oil Pan, Transmission Pan
- Replaces: 24273680, 24272989, 24278774, 24274614
Cadillac Oil Pan Assembly
Part Number: 12666371$179.63 MSRP: $297.31You Save: $117.68 (40%)Ships in 1-2 Business DaysProduct Specifications- Other Name: PAN, Engine Oil; Oil Pan
- Replaces: 12648946
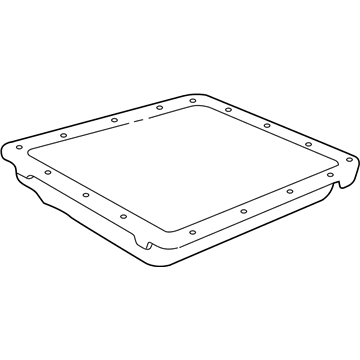
Cadillac PAN ASM-A/TRNS FLUID
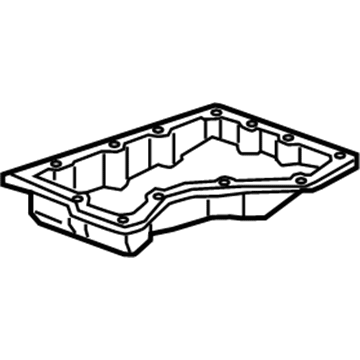
Part Number: 24045034$31.91 MSRP: $52.45You Save: $20.54 (40%)Ships in 1-2 Business DaysProduct Specifications- Other Name: Oil Pan, Transmission Pan
- Replaces: 24274734, 24274616
Cadillac Oil Pan Assembly
Part Number: 12684605$200.30 MSRP: $331.50You Save: $131.20 (40%)Ships in 1-3 Business DaysProduct Specifications- Other Name: Pan Assembly, Oil; Oil Pan, Upper Oil Pan
- Replaces: 12659685, 12619977, 12659831, 12666995, 12707241, 12668476
Cadillac Pan Assembly, Lwr Oil
Part Number: 12717172$24.78 MSRP: $39.52You Save: $14.74 (38%)Ships in 1-3 Business DaysProduct Specifications- Other Name: Lower Oil Pan, Oil Pan
- Position: Lower
- Replaces: 55506007, 55511565
- Product Specifications
- Other Name: Pan Assembly, Oil; Oil Pan
- Replaced by: 12739177
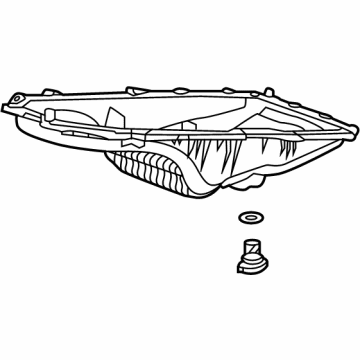
Cadillac PAN ASM-OIL
Part Number: 12726914$43.03 MSRP: $74.22You Save: $31.19 (43%)Ships in 1-2 Business DaysProduct Specifications- Other Name: Oil Pan
- Replaces: 12713653, 12694307
Cadillac PAN ASM-OIL
Part Number: 12716562$178.53 MSRP: $284.68You Save: $106.15 (38%)Ships in 1-3 Business DaysProduct Specifications- Other Name: Oil Pan, Upper Oil Pan
- Replaces: 12671424, 12693505, 12711495
| Page 1 of 6 |Next >
1-20 of 103 Results
Cadillac Oil Pan
For superior quality and affordable Cadillac Oil Pans, consider our website. We proudly present a wide selection of genuine Cadillac Oil Pans at unbeatable prices. These OEM parts, supported by the manufacturer's warranty, are also eligible for our hassle-free return policy and swift delivery service.
Cadillac Oil Pan Parts Questions & Experts Answers
- Q: How to remove and install an oil pan in 2.8L,3.0L,3.6L V6 engine on Cadillac CTS?A:To remove the oil pan, first disconnect the cable from the negative battery terminal. Then, remove the plenum, intake manifold, valve covers, and timing chain cover. With the engine supported on a suitable engine stand, take out the long bolts retaining the oil pan to the rear main oil seal housing, followed by the remaining bolts holding the oil pan to the timing cover and engine block. Pry the oil pan from the engine block at designated points to break the seal, which will also disconnect the oil pickup pipe from the oil pump. If needed, unscrew the oil level sensor from the oil pan, and remove the baffle after taking out the retaining bolts. The oil pickup can be removed once the bolts in the bottom of the oil pan are taken out, and the oil pickup oil seal should be discarded. For installation, clean the mounting surfaces of the oil pan and engine block thoroughly, ensuring no old gasket material or sealer remains. Check the oil pump pickup for any cracks or leaks and ensure the screen is clear. Install a new oil seal to the oil pump pickup, then install the oil pickup and tighten the bolts in the bottom of the oil pan. Reattach the baffle inside the oil pan, securing it with the retaining bolts. Create two aligning studs from bolts with the heads removed and screw them into the oil pan bolt holes to ensure proper alignment. Apply a 1/8-inch wide bead of oxygen sensor safe RTV sealant to the oil pan mating surface with the engine block, as well as to the corners where the front and rear covers meet the block. Install the oil pan and tighten the bolts finger-tight, then remove the threaded dowel pins before tightening the oil pan bolts in the specified torque order, noting that the bolts for the rear main oil seal housing require a different torque. Finally, the remainder of the installation follows the reverse of the removal process, after which the proper type and quantity of oil should be added, and the engine started to check for leaks before returning the vehicle to service.
- Q: How to remove and install the oil pan in V8 engine on Cadillac Escalade?A:To remove the oil pan, first disconnect the cable from the negative terminal of the battery, then remove the oil dipstick tube. Raise the vehicle securely on jackstands, drain the engine oil, and remove the oil filter. If equipped, take off the oil pan skid plate. For 5.3L and 6.2L models, remove the electric steering gear assembly, and for 4WD vehicles, remove the front differential carrier. Next, take off the transmission bellhousing covers from the rear of the engine block, remove the crossmember bar support bolts and bar, and then remove the lower transmission-to-engine bolts, which vary by transmission model but all screw into the oil pan. Disconnect the wiring from the engine oil level sensor and the wiring harness retainers from the oil pan, as well as the oil cooler lines on models with automatic transmissions. Remove all oil pan bolts, then lower the pan from the engine, using a rubber mallet if necessary to break the gasket seal. For installation on 6.0L models, drill out the rivets securing the old oil pan gasket and clean the oil pan with solvent. Clean the mounting surfaces of the oil pan and engine block, then apply a bead of RTV sealant to the corners where the front and rear covers meet the engine block. Attach the new gasket to the pan, install the pan, and tighten the bolts finger-tight, ensuring proper alignment of the oil gallery passages. Install all oil pan mounting bolts snugly, followed by the lower transmission mounting bolts, and then tighten the oil pan and transmission bolts to the specified torque. The remainder of the installation follows the reverse order of removal. Finally, add the correct type and quantity of oil, start the engine, and check for leaks before returning the vehicle to service.
Related Cadillac Parts
Browse by Model
ATS Oil Pan Allante Oil Pan Brougham Oil Pan CT4 Oil Pan CT5 Oil Pan CT6 Oil Pan CTS Oil Pan Catera Oil Pan Cimarron Oil Pan DTS Oil Pan Deville Oil Pan ELR Oil Pan Eldorado Oil Pan Escalade Oil Pan Fleetwood Oil Pan SRX Oil Pan STS Oil Pan Seville Oil Pan XLR Oil Pan XT4 Oil Pan XT5 Oil Pan XT6 Oil Pan XTS Oil Pan
