My Garage
My Account
Cart
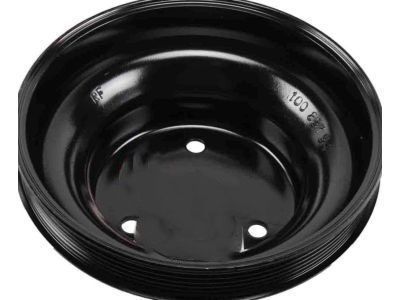
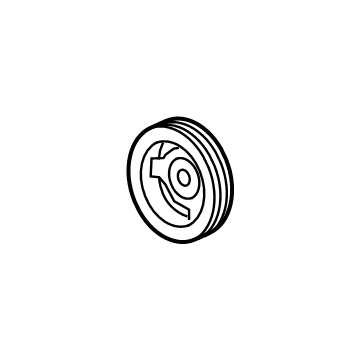
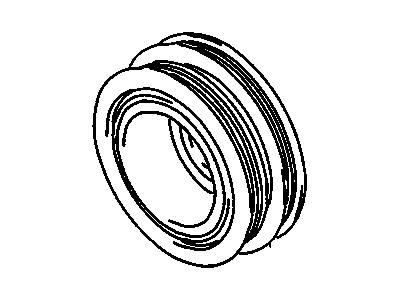
Genuine Chevrolet Crankshaft Pulley
Crankshaft Pulley Engine Harmonic Balancer- Select Vehicle by Model
- Select Vehicle by VIN
Select Vehicle by Model
orMake
Model
Year
Select Vehicle by VIN
For the most accurate results, select vehicle by your VIN (Vehicle Identification Number).
80 Crankshaft Pulleys found
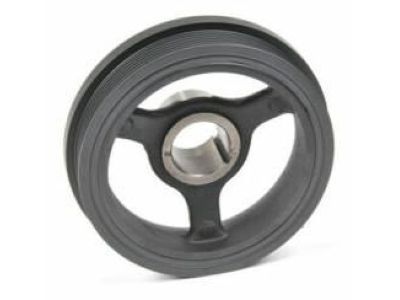
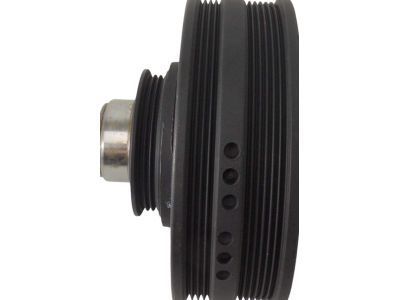
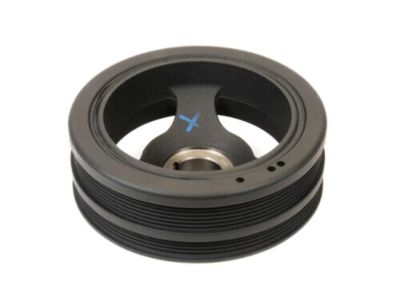
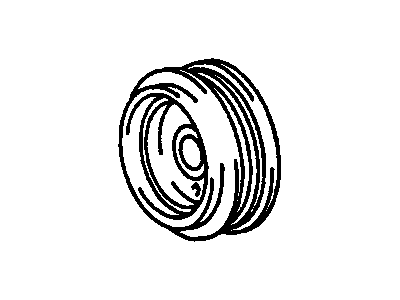
Chevrolet Balancer Assembly, Cr/Shf
Part Number: 12697768$45.41 MSRP: $109.97You Save: $64.56 (59%)Ships in 1-2 Business DaysProduct Specifications- Replaces: 12626355, 12674685, 12603181
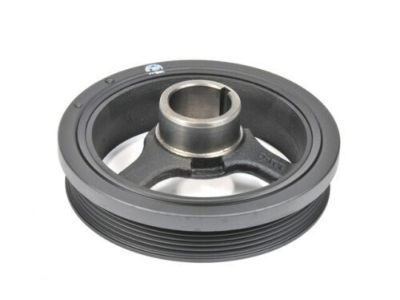
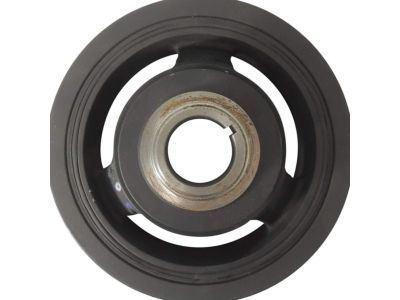
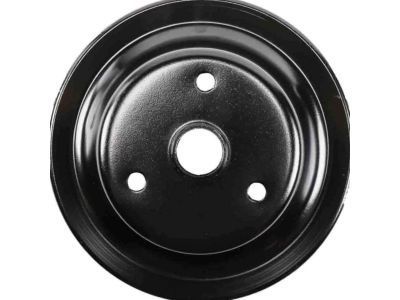
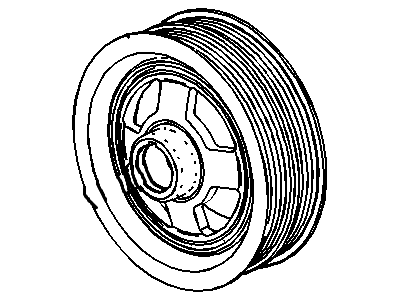
Chevrolet Crankshaft Balancer Assembly
Part Number: 12684590$84.65 MSRP: $144.73You Save: $60.08 (42%)Ships in 1-2 Business DaysProduct Specifications- Other Name: Balancer Assembly, Cr/Shf; Crankshaft Pulley, Vibration Damper
- Replaces: 12620312, 12662037
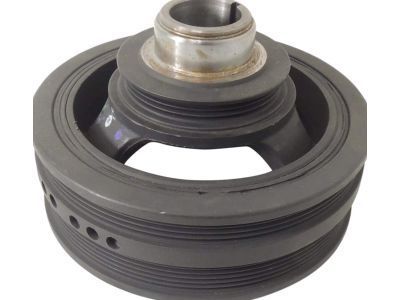
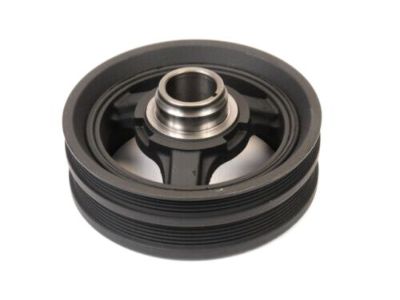
Chevrolet Crankshaft Balancer Assembly
Part Number: 12687728$178.71 MSRP: $302.87You Save: $124.16 (41%)Ships in 1-3 Business DaysProduct Specifications- Other Name: Balancer Assembly, Crankshaft; Crank Pulley, Vibration Damper
- Replaces: 12668109
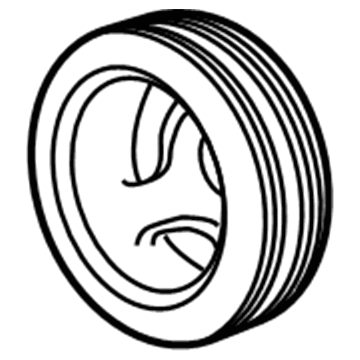
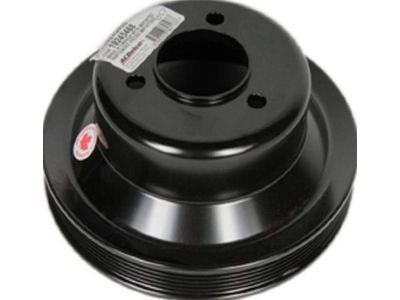
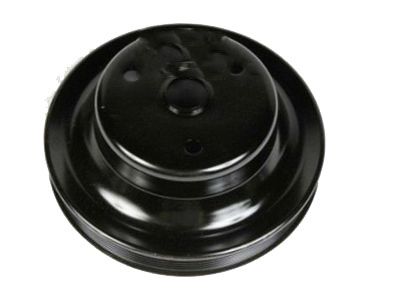
Chevrolet Pulley Asm,Crankshaft
Part Number: 19245468$226.35 MSRP: $361.01You Save: $134.66 (38%)Ships in 1-2 Business DaysProduct Specifications- Other Name: PULLEY, Engine Crankshaft And Camshaft Balancer; Pulley
- Replaces: 10085753
Chevrolet F, Pulley
Part Number: 14025544$26.36 MSRP: $37.87You Save: $11.51 (31%)Ships in 1-2 Business DaysProduct Specifications- Other Name: Pulley
Chevrolet Pulley, Crankshaft
Part Number: 10085754$34.65 MSRP: $57.36You Save: $22.71 (40%)Ships in 1-2 Business DaysProduct Specifications- Other Name: PULLEY, Engine Crankshaft And Camshaft Balancer; Crank Pulley, Crankshaft Pulley, Pulley
Chevrolet Crankshaft Balancer Assembly
Part Number: 25199420$103.47 MSRP: $171.22You Save: $67.75 (40%)Ships in 1-2 Business DaysProduct Specifications- Other Name: Balancer Assembly, Cr/Shf; Balancer, Vibration Damper
Chevrolet Balancer Assembly, Cr/Shf
Part Number: 25202078$68.08 MSRP: $112.67You Save: $44.59 (40%)Ships in 1-2 Business DaysProduct Specifications- Other Name: Balancer, Vibration Damper
- Replaces: 12657638, 12626962
- Product Specifications
- Other Name: Crankshaft Pulley, Vibration Damper
Chevrolet Balancer Assembly, Cr/Shf
Part Number: 12697769$93.57 MSRP: $159.99You Save: $66.42 (42%)Ships in 1-2 Business DaysProduct Specifications- Other Name: Balancer, Vibration Damper
- Replaces: 12676778
Chevrolet Crankshaft Balancer Assembly
Part Number: 12713718$402.91 MSRP: $642.59You Save: $239.68 (38%)Product Specifications- Other Name: Balancer Assembly, Crankshaft; Balancer, Crank Pulley, Vibration Damper
- Replaces: 12687725, 12671006
Chevrolet Pulley, Crankshaft
Part Number: 88972521$186.17 MSRP: $308.13You Save: $121.96 (40%)Ships in 1-2 Business DaysProduct Specifications- Other Name: PULLEY, Engine Crankshaft And Camshaft Balancer; Crankshaft Pulley, Pulley
- Product Specifications
- Other Name: Balancer, Vibration Damper
Chevrolet Balancer Assembly, Cr/Shf
Part Number: 12695128$57.44 MSRP: $95.05You Save: $37.61 (40%)Ships in 1-2 Business DaysProduct Specifications- Other Name: Balancer, Crankshaft Pulley, Vibration Damper
Chevrolet Pulley Assembly, Crankshaft
Part Number: 25193475$51.38 MSRP: $87.84You Save: $36.46 (42%)Ships in 1-2 Business DaysProduct Specifications- Other Name: PULLEY, Engine Crankshaft And Camshaft Balancer; Crankshaft Pulley, Pulley
- Replaces: 96897424, 96352877
Chevrolet Pulley, Cr/Shf
Part Number: 12692644$32.08 MSRP: $51.16You Save: $19.08 (38%)Ships in 1-2 Business DaysProduct Specifications- Other Name: Crankshaft Pulley, Pulley
Chevrolet Pulley, Crankshaft
Part Number: 25190821$84.76 MSRP: $146.22You Save: $61.46 (43%)Ships in 1-2 Business DaysProduct Specifications- Other Name: PULLEY, Engine Crankshaft And Camshaft Balancer; Crankshaft Pulley, Vibration Damper
- Replaces: 25185770
Chevrolet PULLEY ASM,CR/SHF
Part Number: 19418897$241.07 MSRP: $415.85You Save: $174.78 (43%)Ships in 1-3 Business DaysProduct Specifications- Other Name: Crankshaft Pulley, Pulley
- Replaces: 10055879, 19367391
Chevrolet Balancer Assembly, Cr/Shf
Part Number: 12700427$69.61 MSRP: $114.42You Save: $44.81 (40%)Ships in 1-3 Business DaysProduct Specifications- Replaces: 12648346, 12674649
- Product Specifications
- Other Name: PULLEY, Engine Crankshaft And Camshaft Balancer; Pulley
| Page 1 of 4 |Next >
1-20 of 80 Results
Chevrolet Crankshaft Pulley
At GMPartsGiant.com, we offer an extensive inventory of genuine Chevrolet Crankshaft Pulleys at competitive prices in the market. All our OEM Chevrolet Crankshaft Pulleys are backed by the manufacturer's warranty and will be shipped promptly to your doorstep. Rest assured, our hassle-free return policy is designed to support you throughout your shopping experience!
Chevrolet Crankshaft Pulley Parts Questions & Experts Answers
- Q: How to disconnect the cable from the negative terminal of the battery and remove the crankshaft pulley in 3.4L V6 engine on Chevrolet Equinox?A:Remove the first end of the cable connecting from the negative terminal of the battery. Pull the parking brake and place the gear lever in PARK, also, (loosen the lug nuts on the RH front wheel), then jack up the FRONT end of the car and place it on two jack stands. Turn the right front wheel outwards, thereby making it easy to unbolt from the car, and then take out the right splash shield from the wheel well. Remove the drivebelt. Take out the bolt exposed at the front of the crankshaft using the pin spanner in order to avoid to turning of crankshaft while operating on pulley bolt. The bolt can normally be quite light but, for this reason, it is advised to use a large breaker bar and a six-point socket. For a post 2006 car, get a new bolt; keep the old one in case of the first pulley installation. If a pin spanner cannot be obtained the starter should be disconnected and a large screw driver placed in between the ring gear teeth to prevent the crank shaft from rotating while an assistant tries to remove the crank shaft pulley bolt. The puller should have three hooks capable of holding the ID of the outer ring of the crankshaft pulley to prevent attachment to the outer ring. This kind of puller has a wide illustration of uses, for instance, to help remove the crankshaft pulley/balancer from the crankshaft: One should slip a spacer across the shaft such as a socket that drops into the hole in the pulley and that bears on the nose of the crankshaft to avoid denting it. Crankshaft key way-put a small amount of RTV sealant on this part of the crankshaft. Take the crankshaft pulley/balancer and place it on the crankshaft and slide it in until it engages the crankshaft, position the slot in the hub to the Woodruff key situation in the end of the crankshaft. With the help of a crankshaft balancer installation tool, the crankshaft pulley/balancer should be pressed on the crankshaft; it is also possible to use the crankshaft bolt for this purpose with a large amount of clean engine oil on the threads to avoid galling. To a 2005 model, fix the old bolt and washer into its respective place before putting some effort to tighten the bolt to the specified torque. For a pre-2006 model, retain the new bolt but replace the washer with the old one you removed; then tighten to the momentary torque and then remove. Replace the new bolt and washer and rotate them to the right torque of the device. The rest of the installation process is a mirror image of the removal process that was explained above.
Related Chevrolet Parts
Browse by Model
Astro Crankshaft Pulley Avalanche Crankshaft Pulley Aveo Crankshaft Pulley Beretta Crankshaft Pulley Blazer Crankshaft Pulley C10 Crankshaft Pulley C1500 Crankshaft Pulley C20 Crankshaft Pulley C2500 Crankshaft Pulley C30 Crankshaft Pulley C3500 Crankshaft Pulley Cadet Crankshaft Pulley Camaro Crankshaft Pulley Caprice Crankshaft Pulley Captiva Sport Crankshaft Pulley Cavalier Crankshaft Pulley Celebrity Crankshaft Pulley Citation Crankshaft Pulley Colorado Crankshaft Pulley Corsica Crankshaft Pulley Corvette Crankshaft Pulley Cruze Crankshaft Pulley El Camino Crankshaft Pulley Equinox Crankshaft Pulley Express Crankshaft Pulley G10 Crankshaft Pulley G20 Crankshaft Pulley G30 Crankshaft Pulley Impala Crankshaft Pulley K10 Crankshaft Pulley K1500 Crankshaft Pulley K20 Crankshaft Pulley K2500 Crankshaft Pulley K30 Crankshaft Pulley K3500 Crankshaft Pulley Lumina Crankshaft Pulley Malibu Crankshaft Pulley Metro Crankshaft Pulley Monte Carlo Crankshaft Pulley P20 Crankshaft Pulley P30 Crankshaft Pulley Prizm Crankshaft Pulley R10 Crankshaft Pulley R20 Crankshaft Pulley R2500 Crankshaft Pulley R30 Crankshaft Pulley R3500 Crankshaft Pulley S10 Crankshaft Pulley Silverado Crankshaft Pulley Sonic Crankshaft Pulley Spark Crankshaft Pulley Spectrum Crankshaft Pulley Sprint Crankshaft Pulley Storm Crankshaft Pulley Suburban Crankshaft Pulley Tahoe Crankshaft Pulley Tracker Crankshaft Pulley Trailblazer Crankshaft Pulley Traverse Crankshaft Pulley Trax Crankshaft Pulley V10 Crankshaft Pulley V20 Crankshaft Pulley V30 Crankshaft Pulley V3500 Crankshaft Pulley
