My Garage
My Account
Cart
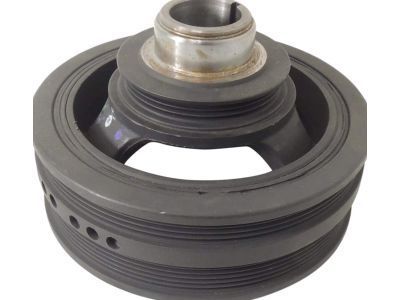
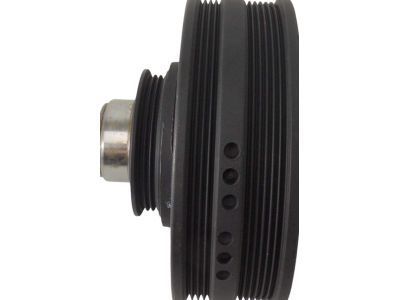
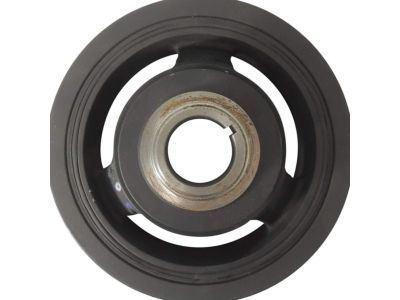
Genuine Chevrolet Harmonic Balancer
Engine Harmonic Balancer- Select Vehicle by Model
- Select Vehicle by VIN
Select Vehicle by Model
orMake
Model
Year
Select Vehicle by VIN
For the most accurate results, select vehicle by your VIN (Vehicle Identification Number).
150 Harmonic Balancers found
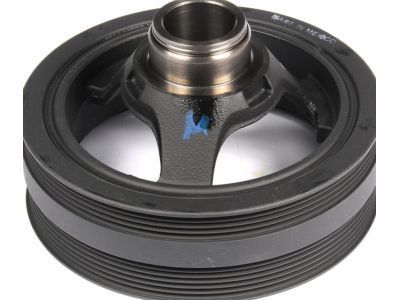
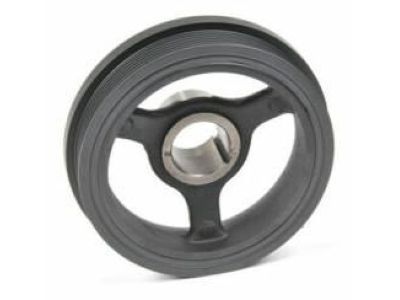
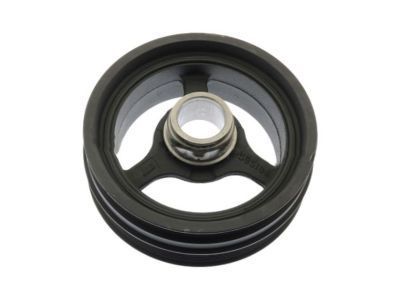
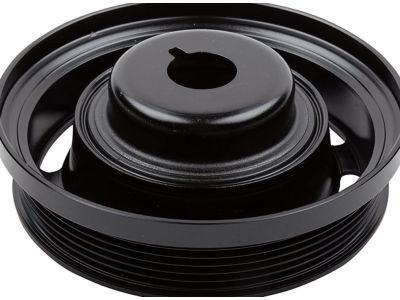
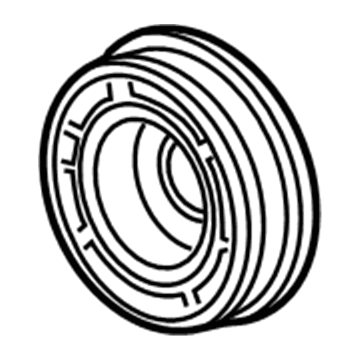
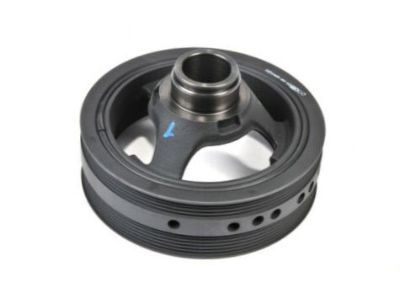
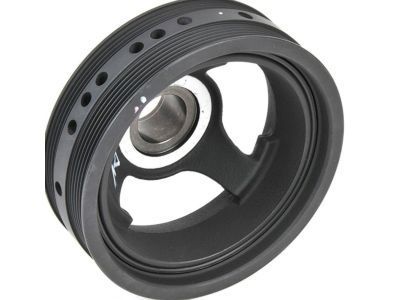
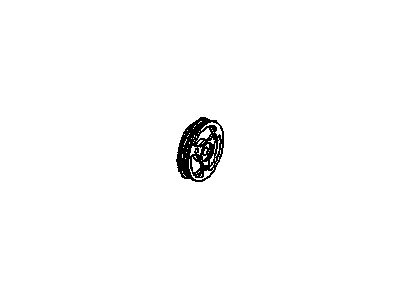
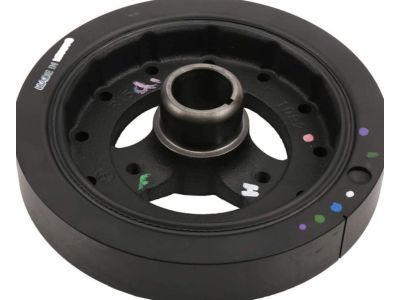
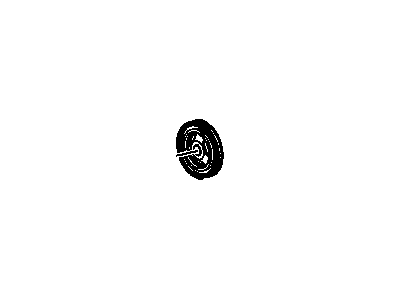
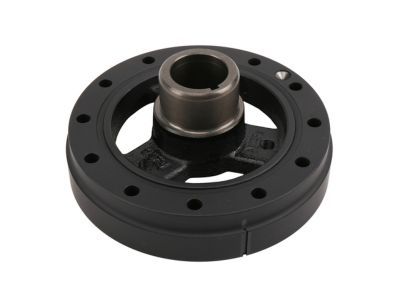
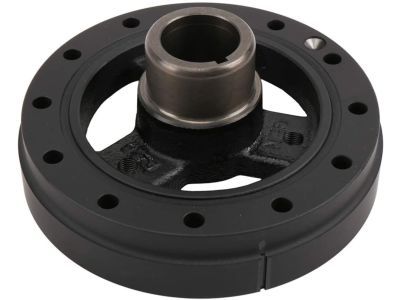
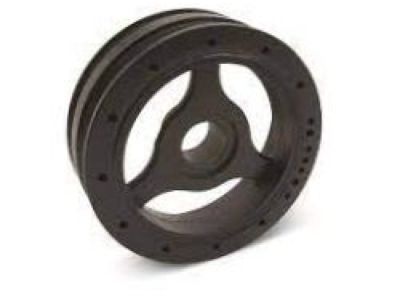
Chevrolet Balancer Asm,Crankshaft
Part Number: 19300488$115.37 MSRP: $199.00You Save: $83.63 (43%)Ships in 1-2 Business DaysProduct Specifications- Other Name: BALANCER, Engine Crankshaft And Camshaft Balancer; Vibration Damper
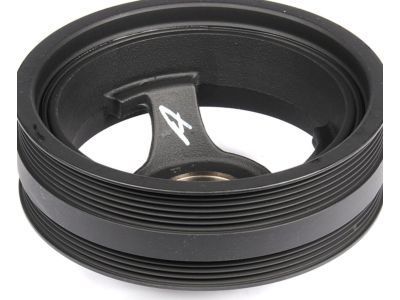
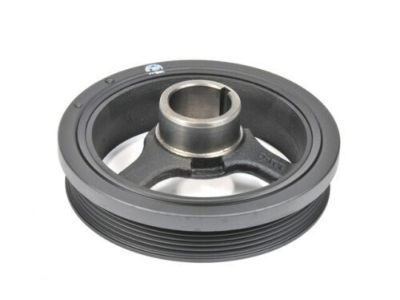
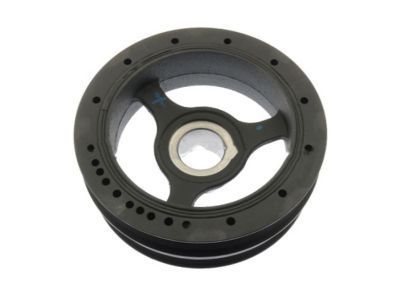
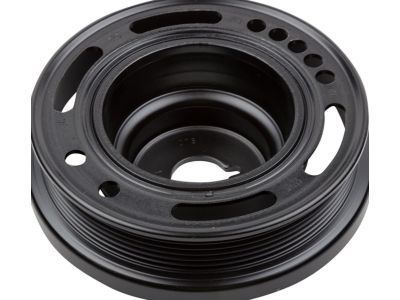
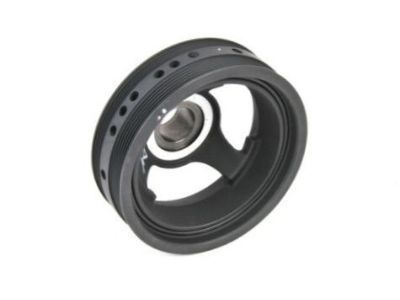
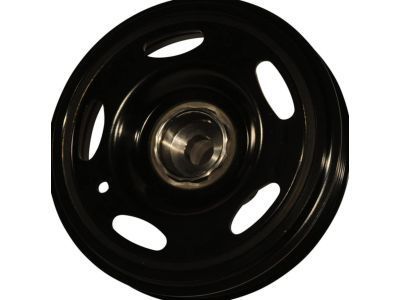
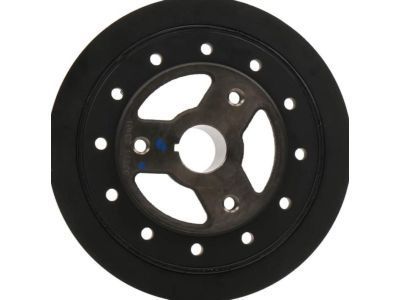
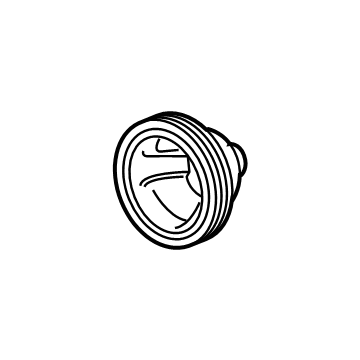
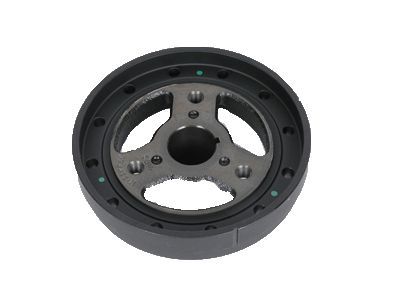
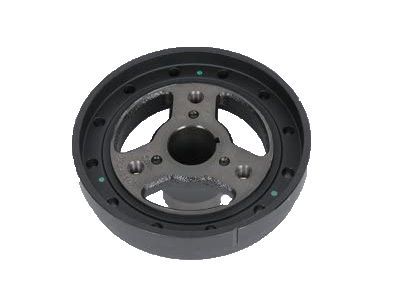
Chevrolet Balancer Assembly, Cr/Shf
Part Number: 12697768$45.41 MSRP: $109.97You Save: $64.56 (59%)Ships in 1-2 Business DaysProduct Specifications- Replaces: 12626355, 12674685, 12603181
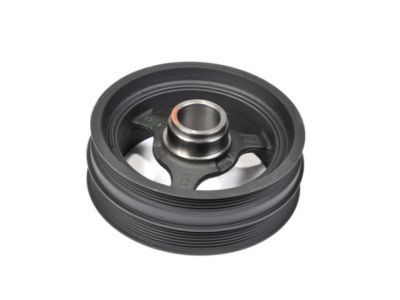
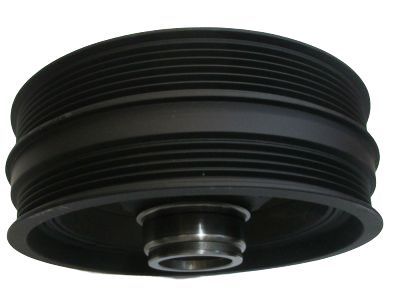
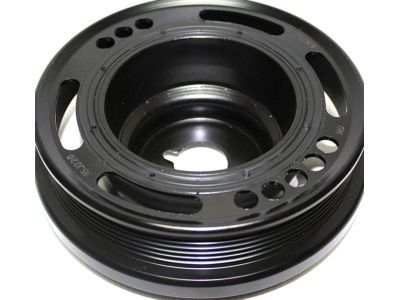
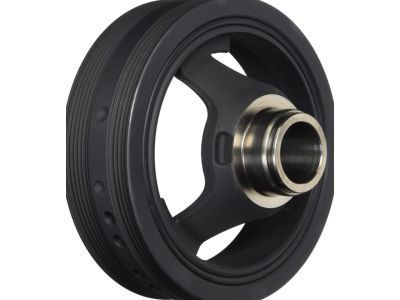
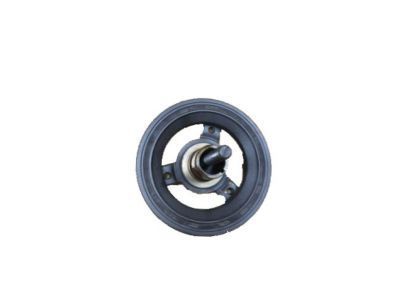
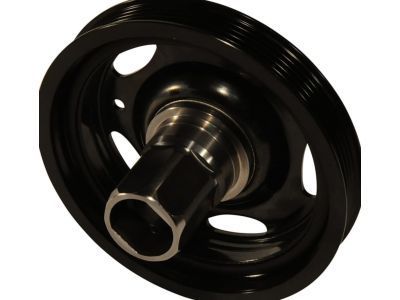
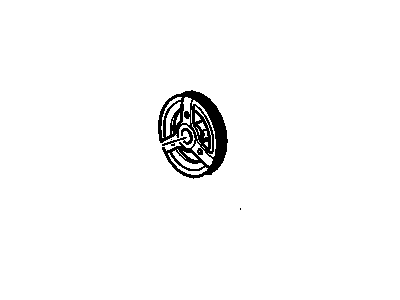
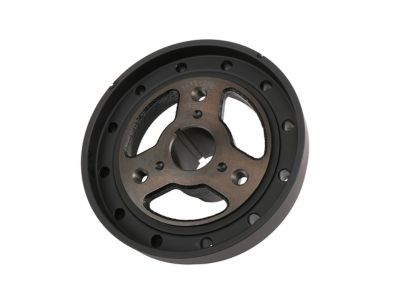
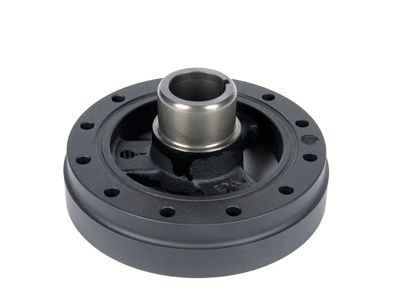
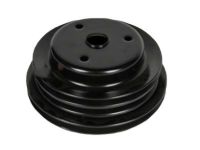
Chevrolet Crankshaft Balancer Assembly
Part Number: 12674582$148.20 MSRP: $253.41You Save: $105.21 (42%)Product Specifications- Other Name: BALANCER, Engine Crankshaft And Camshaft Balancer; Balancer, Vibration Damper
- Replaces: 12620556, 12635649, 12601402
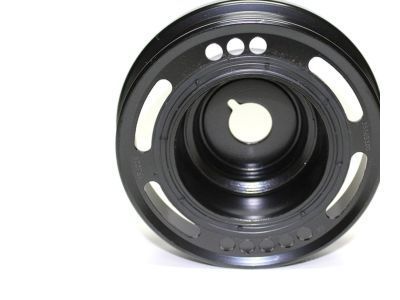
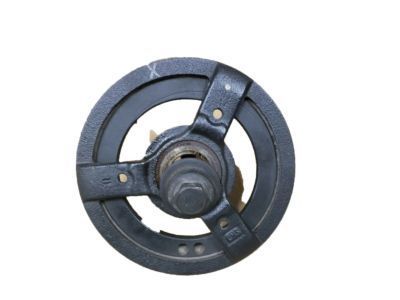
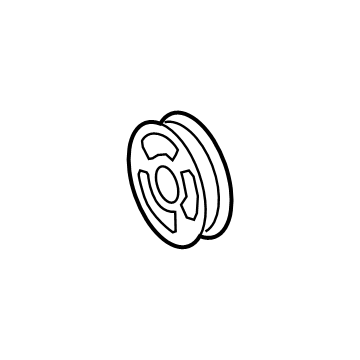
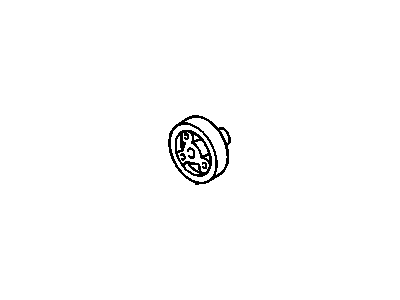
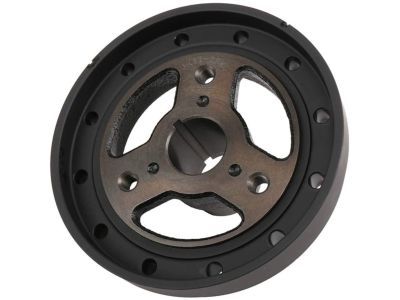
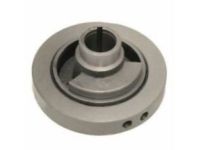
Chevrolet Crankshaft Balancer Assembly
Part Number: 12684590$84.65 MSRP: $144.73You Save: $60.08 (42%)Ships in 1-2 Business DaysProduct Specifications- Other Name: Balancer Assembly, Cr/Shf; Crankshaft Pulley, Vibration Damper
- Replaces: 12620312, 12662037
Chevrolet Balancer Assembly, Crankshaft
Part Number: 55565300$88.79 MSRP: $151.82You Save: $63.03 (42%)Ships in 1-2 Business DaysProduct Specifications- Other Name: BALANCER, Engine Crankshaft And Camshaft Balancer; Balancer, Crankshaft Pulley, Vibration Damper
Chevrolet Crankshaft Balancer Assembly
Part Number: 12675620$203.46 MSRP: $347.90You Save: $144.44 (42%)Ships in 1-2 Business DaysProduct Specifications- Other Name: BALANCER, Engine Crankshaft And Camshaft Balancer
- Product Specifications
- Other Name: BALANCER, Engine Crankshaft And Camshaft Balancer
- Replaces: 12787628, 12623793
Chevrolet Crankshaft Balancer Assembly
Part Number: 55574771$110.76 MSRP: $191.07You Save: $80.31 (43%)Ships in 1-2 Business DaysProduct Specifications- Other Name: BALANCER, Engine Crankshaft And Camshaft Balancer; Balancer, Crankshaft Pulley, Vibration Damper
Chevrolet Crankshaft Balancer Assembly
Part Number: 10243271$90.65 MSRP: $156.37You Save: $65.72 (43%)Ships in 1-2 Business DaysProduct Specifications- Other Name: BALANCER, Engine Crankshaft And Camshaft Balancer; Vibration Damper
Chevrolet Crankshaft Balancer Assembly
Part Number: 25199421$95.37 MSRP: $163.04You Save: $67.67 (42%)Ships in 1-2 Business DaysProduct Specifications- Other Name: Balancer Assembly, Cr/Shf; Balancer, Crankshaft Pulley, Vibration Damper
- Replaces: 25199423
Chevrolet Crankshaft Balancer Assembly
Part Number: 25199420$103.47 MSRP: $171.22You Save: $67.75 (40%)Ships in 1-2 Business DaysProduct Specifications- Other Name: Balancer Assembly, Cr/Shf; Balancer, Vibration Damper
Chevrolet Balancer, Crankshaft
Part Number: 12603180$61.28 MSRP: $104.78You Save: $43.50 (42%)Ships in 1-2 Business DaysProduct Specifications- Other Name: BALANCER, Engine Crankshaft And Camshaft Balancer
Chevrolet Crankshaft Balancer Assembly
Part Number: 12621646$81.90 MSRP: $141.22You Save: $59.32 (43%)Ships in 1-2 Business DaysProduct Specifications- Other Name: BALANCER, Engine Crankshaft And Camshaft Balancer
- Replaces: 12581298, 12588034
Chevrolet Balancer Assembly, Cr/Shf
Part Number: 25202078$68.08 MSRP: $112.67You Save: $44.59 (40%)Ships in 1-2 Business DaysProduct Specifications- Other Name: Balancer, Vibration Damper
- Replaces: 12657638, 12626962
- Product Specifications
- Other Name: Crankshaft Pulley, Vibration Damper
Chevrolet Balancer Assembly, Cr/Shf
Part Number: 12697769$93.57 MSRP: $159.99You Save: $66.42 (42%)Ships in 1-2 Business DaysProduct Specifications- Other Name: Balancer, Vibration Damper
- Replaces: 12676778
Chevrolet Crankshaft Balancer Assembly
Part Number: 12595291$164.78 MSRP: $281.75You Save: $116.97 (42%)Ships in 1-2 Business DaysProduct Specifications- Other Name: BALANCER, Engine Crankshaft And Camshaft Balancer
- Replaces: 12623797
Chevrolet Crankshaft Balancer Assembly
Part Number: 12551537$83.84 MSRP: $202.98You Save: $119.14 (59%)Ships in 1-2 Business DaysProduct Specifications- Other Name: BALANCER, Engine Crankshaft And Camshaft Balancer; Vibration Damper
- Replaces: 06272221, 6272221
- Product Specifications
- Other Name: BALANCER, Engine Crankshaft And Camshaft Balancer
Chevrolet Crankshaft Balancer Assembly
Part Number: 12675716$486.08 MSRP: $771.74You Save: $285.66 (38%)Product Specifications- Other Name: Balancer Assembly, Crankshaft; Balancer, Crank Pulley, Vibration Damper
- Replaces: 12599862
| Page 1 of 8 |Next >
1-20 of 150 Results
Chevrolet Harmonic Balancer
At GMPartsGiant.com, we offer an extensive inventory of genuine Chevrolet Harmonic Balancers at competitive prices in the market. All our OEM Chevrolet Harmonic Balancers are backed by the manufacturer's warranty and will be shipped promptly to your doorstep. Rest assured, our hassle-free return policy is designed to support you throughout your shopping experience!
Chevrolet Harmonic Balancer Parts Questions & Experts Answers
- Q: How can the harmonic balancer be checked and balanced to eliminate vibration in V6 engine on Chevrolet Caprice?A:This procedure applies only to 231 cu in V6 engines, where the harmonic balancer can be checked for vibration and balanced to eliminate any vibration. To determine the engine speed at which a vibration occurs, use a tachometer. Place a small amount of body putty or similar material on the inside surface of the fan driving pulley, then run the engine at the speed during which the vibration occurred and note if it persists. Use varying amounts of putty and repeat the procedure until the vibration is decreased. When the vibration is considerably decreased or eliminated, mark the hole drilled in the balancer that is nearest to the putty. Cut a piece of 7/16 in iron rod to approximately a 1/2 in length and, using a chisel, upset a small amount of material on the side of the rod piece. Install the rod piece in the previously marked hole, and if necessary, install additional pieces of rod in the balancer until the vibration is gone.
- Q: What tools and procedures are required for installing a new harmonic balancer in V8 engine on Chevrolet Camaro?A:This procedure calls for a new harmonic balancer bolt, which together with the balancer installation tools as well as the flywheel/drive plate ring gear holding tool are available from harmonic balancer tool makers only. First, take off the ground cable from the negative terminal of the battery, then the lug nuts of the front wheel, lift the front part of the car and support it on jack stands placing the parking brake. Pull off the wheels; then, in the interior, you get rid of the steering gear, splash shield, and drivebelt. Then there is a starter motor to be taken off, and what is called the flywheel/driveplate ring gear holder. For the models with manual transmission, draw a locating mark from the end of the crankshaft to the harmonic balancer, the balancer is not keyed or keywayed for positioning. Remove the balancer bolt and check the distance from the balancer to the end of the crankshaft snout for installation and installer should not put new harmonic balancer bolt and tighten without measuring the balancer for proper depth required for it. To remove the balancer, fitted on the crankshaft nose a three-jaw puller so that the jaws will grip only the hub and not the outer ring and to protect the threads use the correct adapter. It should be noted that on some models there may be a shift of weight balances from the former balancer to the new one. If present, fit the balancer washer, align the crankshaft pulley/balancer to the crankshaft and to the earlier made marks. For automatic transmission models, make certain the slot in the hub fits on the Woodruff key of the crankshaft. Slide in the harmonic balancer installation tool to fit the crankshaft pulley/balancer onto the crankshaft, as it is a fitting which cannot be done otherwise and then screw in the original bolt and tighten with an initial torque of 240 fl-lbs or 330 Nm. Once the old bolt has been taken out, double check the crankshaft snout end to balancer face measurement is correct as earlier measured; if not correct the measurement correctly. Last, replace the harmonic balancer bolt and fasten it in a clockwise direction with progressive tightening of 90 degrees in the three subsequent steps, in the total recommended torque with the proper rotational angle in the clockwise direction; reinstall the harmonic balancer in the reverse manner of the removal process.
- Q: How can the harmonic balancer be checked and balanced to eliminate vibration issues in V6 engine on Chevrolet El Camino?A:This procedure applies solely to three point three liter V6 engines and can be used to check both vibration in the harmonic balancer and balance any problems. To know the frequency at which a vibration takes place, use a tachometer at theplace where the vibration is observed. Lay a small amount of body putty or a similar material to the internal periphery of the fan driving pulley, then rev up the engine to the speed that has been mentioned and check whether the vibration still exist. For the next attempts use different amount of putty and carry out the same procedure when the degree of vibration is experienced. When possible vibration is considerably reduced or quasi eliminated, the next operation is to mark the hole drilled in the balancer which is nearest to the putty. Take an iron rod of, for instance, a certain length and with the help of the chisel, remove a small quantity of material from one side of the rod piece. Screw in the rod piece on the previously selected hole and in the process if the vibration persists put in more pieces of rod in the balancer.
Related Chevrolet Parts
Browse by Model
Astro Harmonic Balancer Avalanche Harmonic Balancer Aveo Harmonic Balancer Beretta Harmonic Balancer Blazer Harmonic Balancer C10 Harmonic Balancer C1500 Harmonic Balancer C20 Harmonic Balancer C2500 Harmonic Balancer C30 Harmonic Balancer C3500 Harmonic Balancer Cadet Harmonic Balancer Camaro Harmonic Balancer Caprice Harmonic Balancer Captiva Sport Harmonic Balancer Cavalier Harmonic Balancer Celebrity Harmonic Balancer Citation Harmonic Balancer City Express Harmonic Balancer Cobalt Harmonic Balancer Colorado Harmonic Balancer Corsica Harmonic Balancer Corvette Harmonic Balancer Cruze Harmonic Balancer El Camino Harmonic Balancer Equinox Harmonic Balancer Express Harmonic Balancer G10 Harmonic Balancer G20 Harmonic Balancer G30 Harmonic Balancer HHR Harmonic Balancer Impala Harmonic Balancer K10 Harmonic Balancer K1500 Harmonic Balancer K20 Harmonic Balancer K2500 Harmonic Balancer K30 Harmonic Balancer K3500 Harmonic Balancer Lumina Harmonic Balancer Malibu Harmonic Balancer Metro Harmonic Balancer Monte Carlo Harmonic Balancer Orlando Harmonic Balancer P20 Harmonic Balancer P30 Harmonic Balancer Prizm Harmonic Balancer R10 Harmonic Balancer R20 Harmonic Balancer R2500 Harmonic Balancer R30 Harmonic Balancer R3500 Harmonic Balancer S10 Harmonic Balancer SS Harmonic Balancer SSR Harmonic Balancer Silverado Harmonic Balancer Sonic Harmonic Balancer Spark Harmonic Balancer Storm Harmonic Balancer Suburban Harmonic Balancer Tahoe Harmonic Balancer Tracker Harmonic Balancer Trailblazer Harmonic Balancer Traverse Harmonic Balancer Trax Harmonic Balancer Uplander Harmonic Balancer V10 Harmonic Balancer V20 Harmonic Balancer V30 Harmonic Balancer V3500 Harmonic Balancer Venture Harmonic Balancer Volt Harmonic Balancer
