My Garage
My Account
Cart
Genuine Chevrolet Equinox Oil Pan
Oil Drain Pan- Select Vehicle by Model
- Select Vehicle by VIN
Select Vehicle by Model
orMake
Model
Year
Select Vehicle by VIN
For the most accurate results, select vehicle by your VIN (Vehicle Identification Number).
13 Oil Pans found
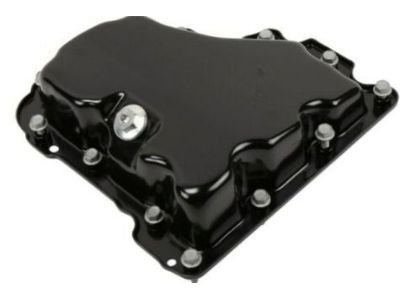
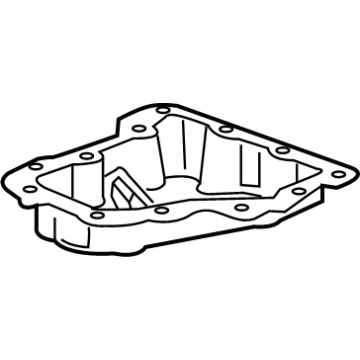
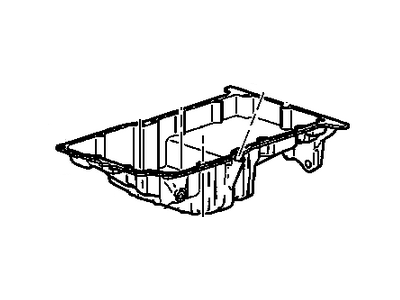
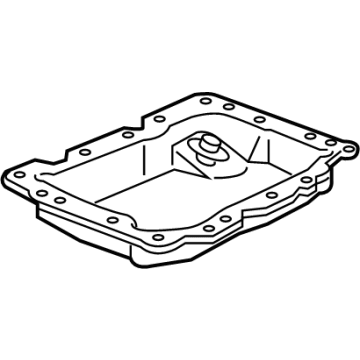
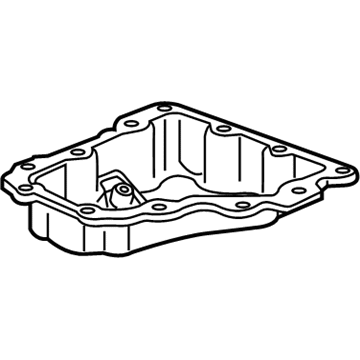
Chevrolet Equinox Pan Assembly, Lower Oil
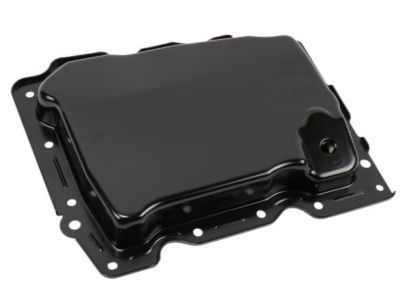
Part Number: 12637773$37.98 MSRP: $65.49You Save: $27.51 (43%)Ships in 1-2 Business DaysChevrolet Equinox Oil Pan
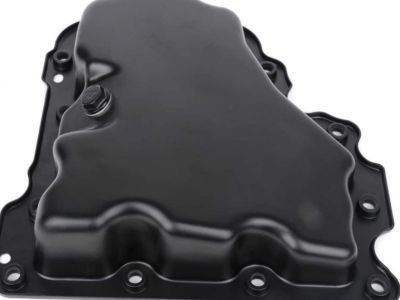
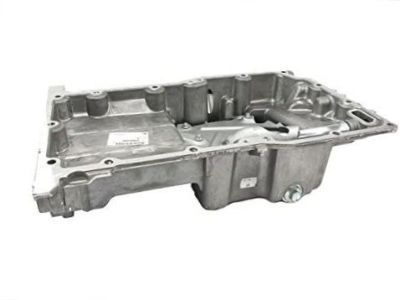
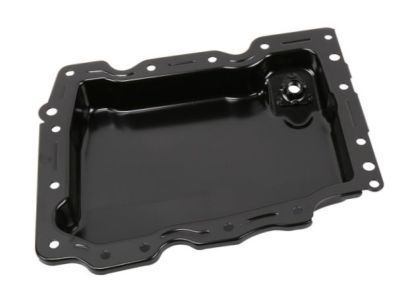
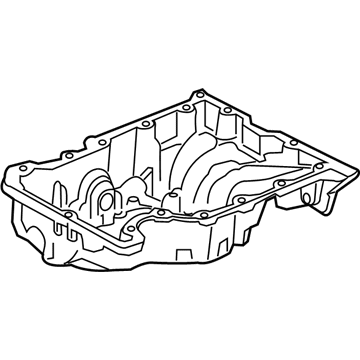
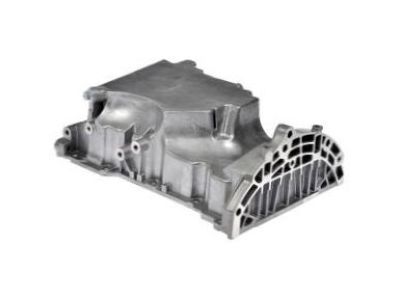
Part Number: 12601240$154.90 MSRP: $267.21You Save: $112.31 (43%)Ships in 1-2 Business DaysChevrolet Equinox Pan, Lower Oil
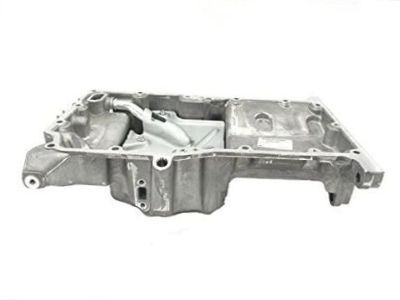
Part Number: 12676340$25.50 MSRP: $42.19You Save: $16.69 (40%)Ships in 1-2 Business DaysChevrolet Equinox Oil Pan Assembly
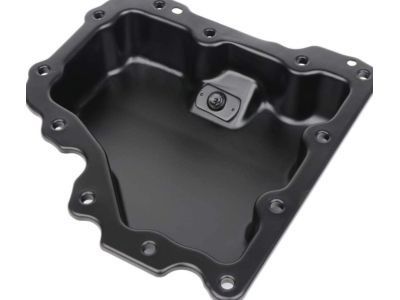
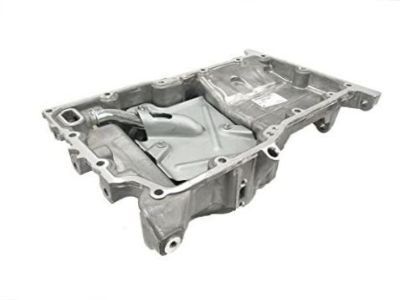
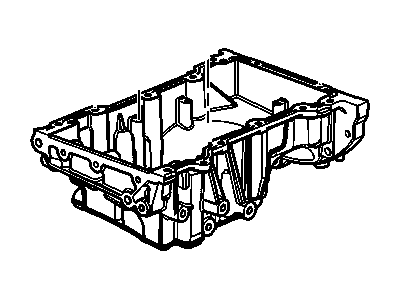
Part Number: 12666371$179.63 MSRP: $297.31You Save: $117.68 (40%)Ships in 1-2 Business DaysChevrolet Equinox Pan Assembly, Upper Oil
Part Number: 12686797$93.02 MSRP: $159.06You Save: $66.04 (42%)Ships in 1-3 Business DaysChevrolet Equinox Pan Assembly, Lwr Oil
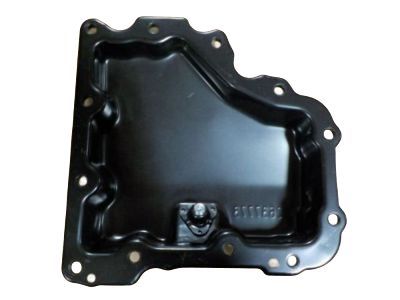
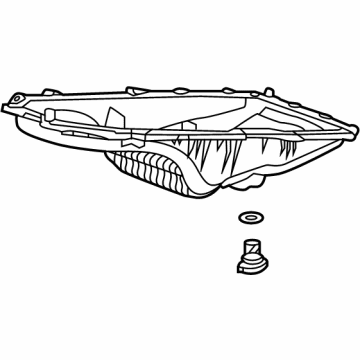
Part Number: 12717172$24.78 MSRP: $39.52You Save: $14.74 (38%)Ships in 1-3 Business DaysChevrolet Equinox Pan Assembly, Oil (W/Engine Oil Level Sensor)
Part Number: 55596705$146.44 MSRP: $233.57You Save: $87.13 (38%)Chevrolet Equinox Pan Assembly, Upper Oil
Part Number: 12686793$79.62 MSRP: $131.77You Save: $52.15 (40%)Ships in 1-3 Business DaysChevrolet Equinox Oil Pan Assembly
Part Number: 12597906$122.56 MSRP: $193.69You Save: $71.13 (37%)Ships in 1-3 Business DaysChevrolet Equinox PAN ASM,OIL
Part Number: 28289985$114.99 MSRP: $183.36You Save: $68.37 (38%)Ships in 1-3 Business DaysChevrolet Equinox Pan Assembly, Lower Oil
Part Number: 12650637$20.27 MSRP: $32.31You Save: $12.04 (38%)Chevrolet Equinox Oil Pan Assembly
Part Number: 12666374$178.21 MSRP: $281.67You Save: $103.46 (37%)
Chevrolet Equinox Oil Pan
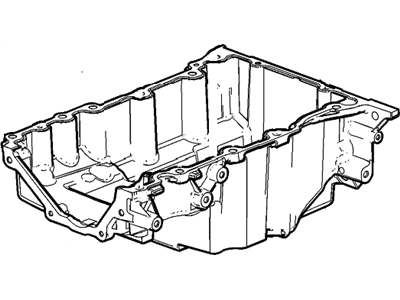
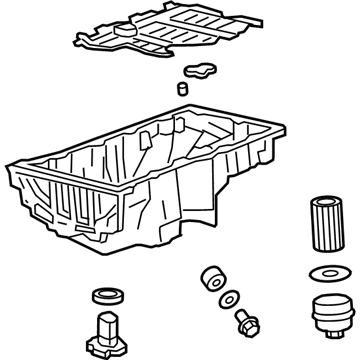
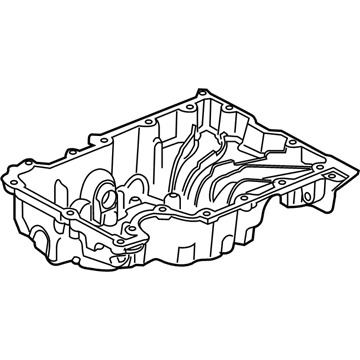
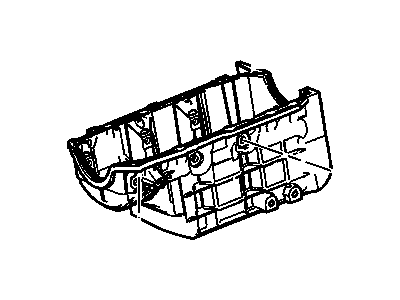
Chevrolet equinox is equipped with the Oil Pan that acts as an oil tank in the engine to supply and circulate oil to and from the parts belonging to the engine to enable wear resistance and control heat accordingly. The Oil Pan used system of wet sump, which joins the oil that is pulled by the pickup tube with the help of the oil pump to circulate the oil within the engine before it flows atop the pan. This design is critical since it ensures that the engines can have an optimum performance. Chevrolet Equinox's have utilized Stamped Steel oil pans as standard since its inception up until present day, progressing into Cast Aluminum Oil Pans. It's also for this reason that moving to aluminum has advantages like lightness and better heat efficiency. In general it can be said that the Oil Pan in Chevrolet Equinox automobiles plays a significant role in the lubrication of the engine and gradually evolves to better serve the function.
Each OEM Chevrolet Equinox Oil Pan we offer is competitively priced and comes with the assurance of the manufacturer's warranty for the part. Furthermore, we guarantee the speedy delivery of your orders right to your doorstep. Our hassle-free return policy is also in place for your peace of mind.
Chevrolet Equinox Oil Pan Parts Questions & Experts Answers
- Q: How to remove and install an oil pan in 3.4L V6 engine on Chevrolet Equinox?A:To remove the oil pan it is necessary to detach the cable from the negative terminal of the battery and use the fixture for the engine and the jack-stands to lift the car. Withdraw the engine oil and remove the oil filter, and also pull the transaxle brace out from the oil pan. After that, take out the starter bolts and the air conditioning compressor and place the later beside. In case there is an AWD vehicle, this requires elimination of the transfer case; for FWD car, eliminate the driveaxle together with the intermediate shaft. It is helpful to use the engine support fixture to take some of the weight off of the Engine Mounts and then remove one of the front engine mounts and lift the engine as necessary. Take off the RH rear oil pan to transaxle bolt, then remove the oil pan side bolts and the vertical mounting bolts. Take special caution when removing the oil pan from the block; use gentle force as possible taking the use of a soft-face hammer while striking lightly on the surfaces that are adjacent to the sealing areas. For refitting remove the pan and wipe the exterior and interior with a clean cloth and, using a scraper, remove all residual sealant and gasket material from the mating gasket surfaces; apply RTV sealant to the required joints and slip on the new oil pan gasket. Place the oil pan onto the block and fit the upper nuts/bolts Or thread the bolt into the hole first and then put the nut next to it before tightening all to the torque mentioned above and this should be done in a criss-cross manner, three times. Once the pan-to-block bolts are engaged tighten the oil pan side bolts together with the oil pan to transaxle brace. The following is a step by step process of conducting the remove and reinstall procedure of the vehicle engine: Reversing the removal process, add the necessary oil to the engine, start the vehicle to reach normal operational temperature as well as checking for any signs of leakage.
