My Garage
My Account
Cart
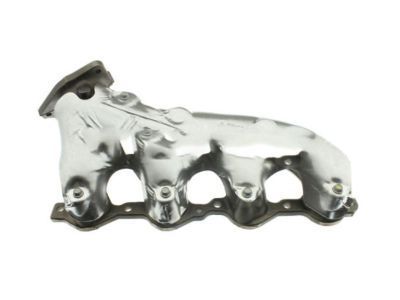
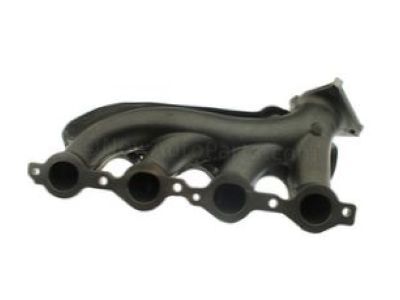
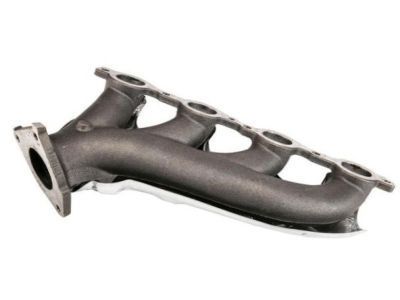
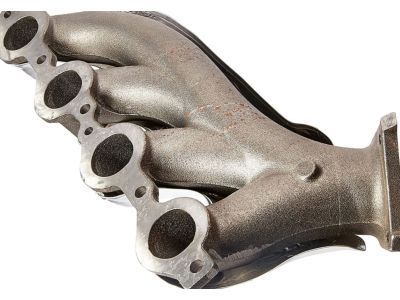
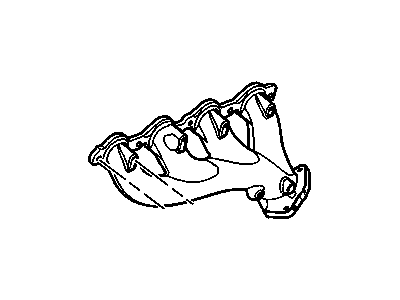
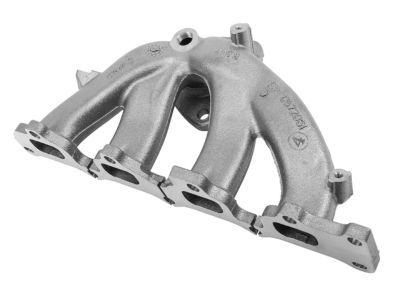
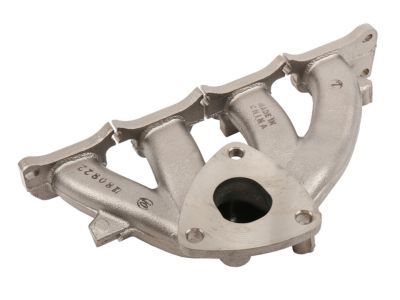
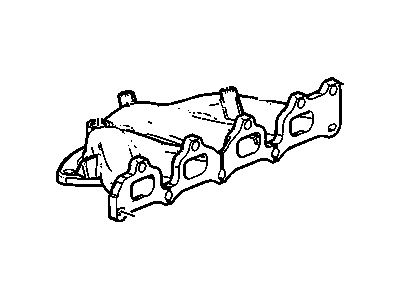
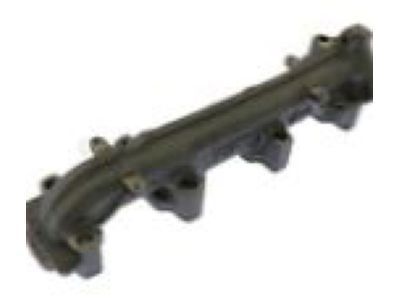
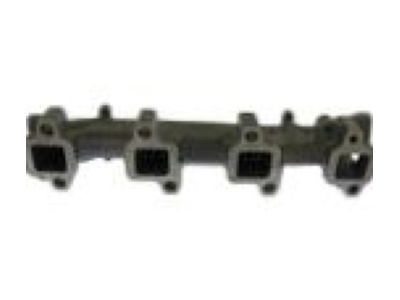
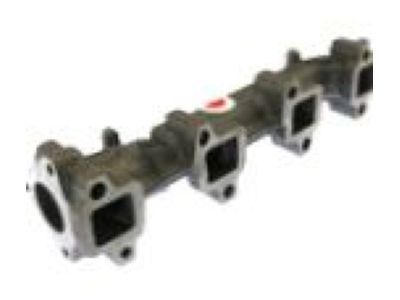
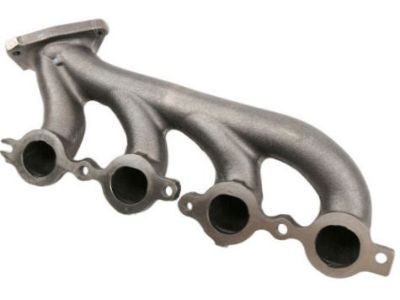
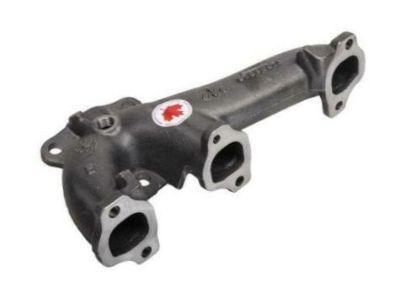
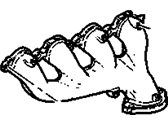
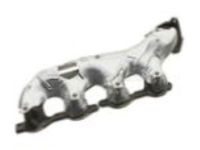
Genuine Chevrolet Exhaust Manifold
Engine Exhaust Manifold- Select Vehicle by Model
- Select Vehicle by VIN
Select Vehicle by Model
orMake
Model
Year
Select Vehicle by VIN
For the most accurate results, select vehicle by your VIN (Vehicle Identification Number).
340 Exhaust Manifolds found
- Product Specifications
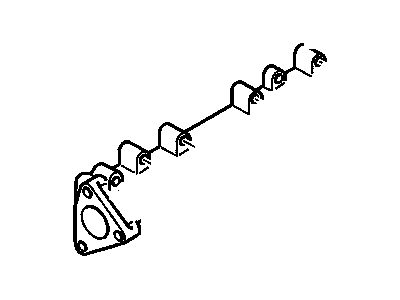
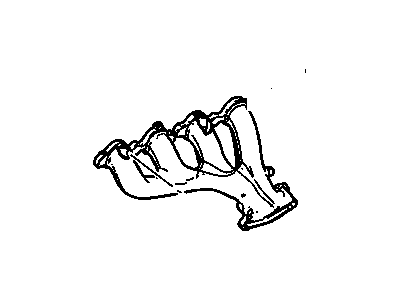
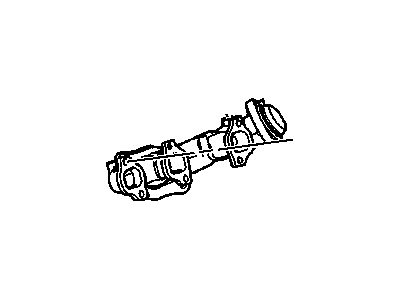
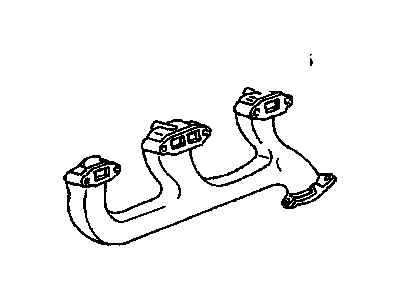
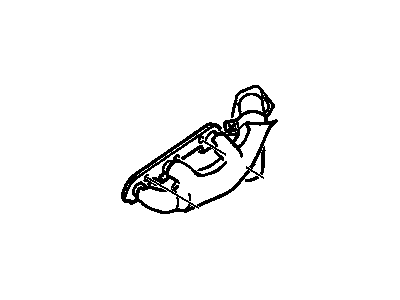
- Other Name: Manifold,Exhaust ; Manifold, Engine Exhaust Manifold; Exhaust Manifold, Manifold
- Replaces: 12602037, 12562235, 12571678, 12564155
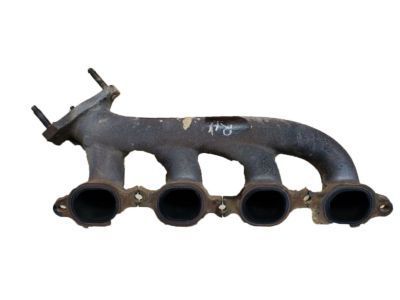
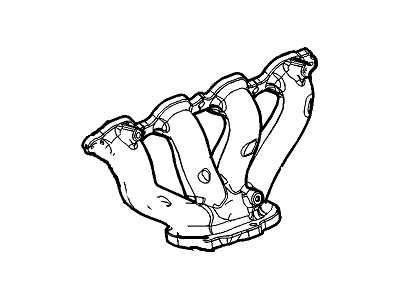
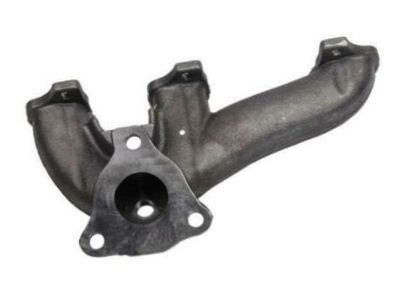
Chevrolet Exhaust Manifold
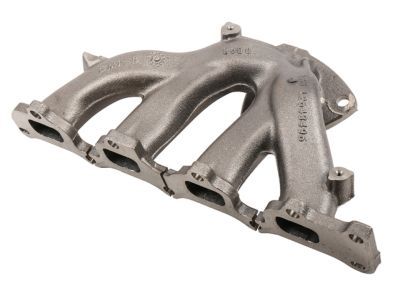
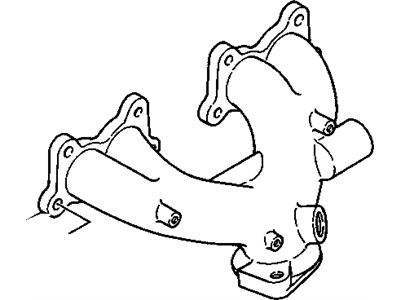
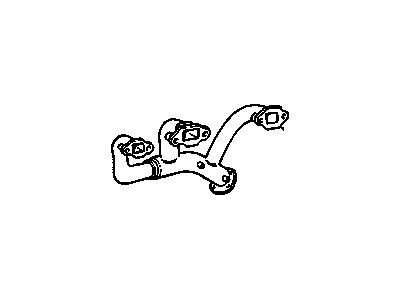
Part Number: 12672961$249.49 MSRP: $430.39You Save: $180.90 (43%)Ships in 1-3 Business DaysProduct Specifications- Other Name: Manifold, Exhaust
- Replaces: 12609823, 12633603
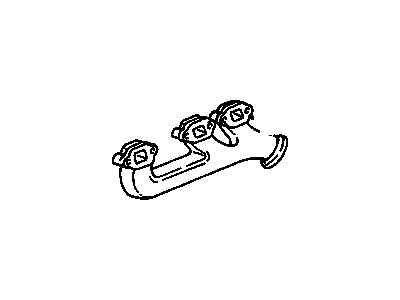
- Product Specifications
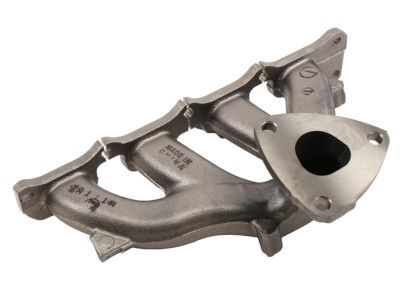
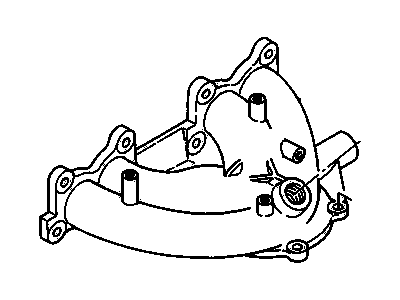
- Other Name: Manifold, Exhaust ; Manifold, Engine Exhaust Manifold; Exhaust Manifold
- Replaces: 97224586
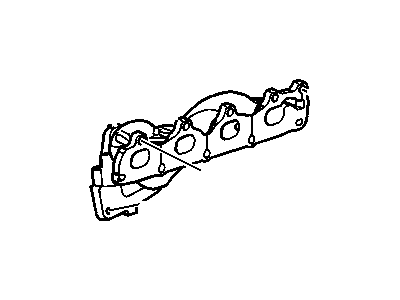
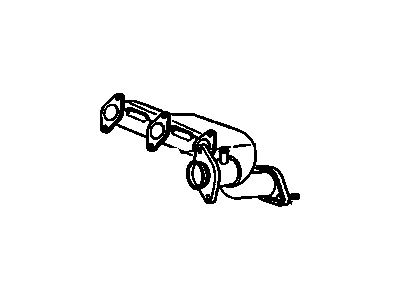
- Product Specifications
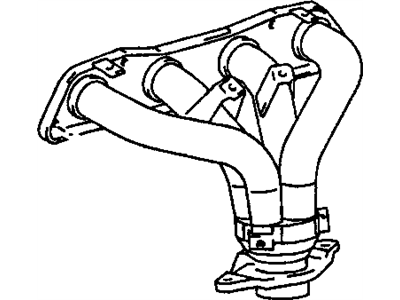
- Other Name: Manifold, Exhaust; Manifold
- Product Specifications
- Other Name: Manifold, Exhaust ; Manifold, Engine Exhaust Manifold; Exhaust Manifold, Manifold
- Replaces: 12567484
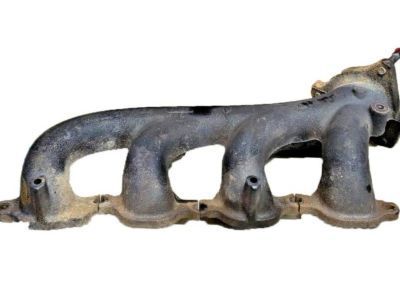
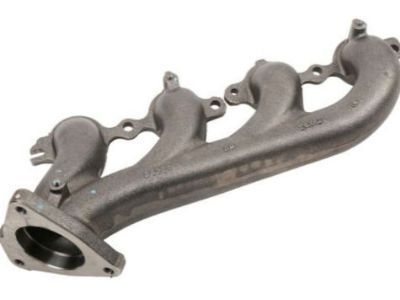
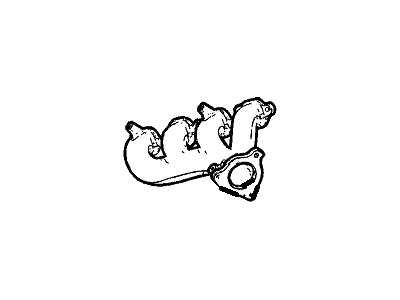
Chevrolet Engine Exhaust Manifold
Part Number: 12643496$180.87 MSRP: $306.60You Save: $125.73 (42%)Ships in 1-3 Business DaysProduct Specifications- Other Name: Manifold, Exhaust ; Manifold, Engine Exhaust Manifold; Exhaust Manifold
- Replaces: 12615133, 12630741
- Product Specifications
- Other Name: Manifold, Exhaust
- Replaces: 12656404
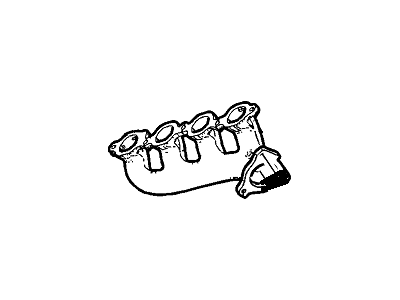
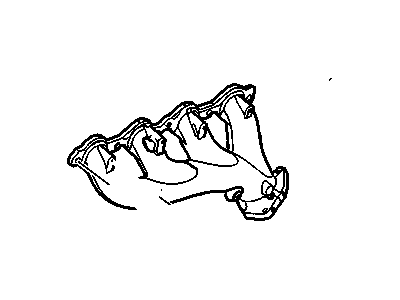
Chevrolet Engine Exhaust Manifold Rear
Part Number: 12615497$459.48 MSRP: $660.74You Save: $201.26 (31%)Ships in 1-2 Business DaysProduct Specifications- Other Name: Manifold, Exhaust Rear ; Manifold, Engine Exhaust Manifold; Exhaust Manifold, Manifold
- Position: Rear
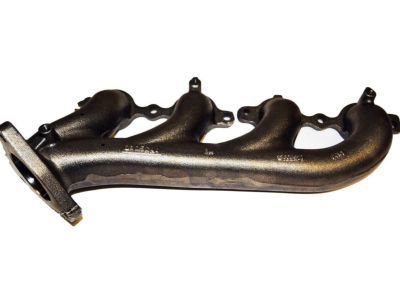
Chevrolet Exhaust Manifold
Part Number: 12629724$126.02 MSRP: $200.98You Save: $74.96 (38%)Ships in 1-2 Business DaysProduct Specifications- Other Name: Manifold, Exhaust
- Product Specifications
- Other Name: Manfold & Heat Stove Assembly, Exhaust /Rh
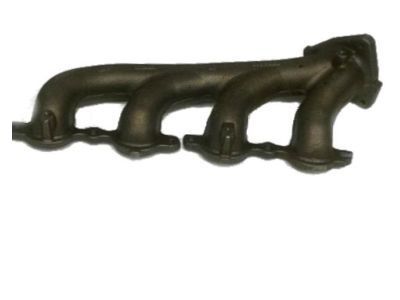
Chevrolet Manifold
Part Number: 14091886$176.38 MSRP: $251.30You Save: $74.92 (30%)Ships in 1-2 Business DaysProduct Specifications- Other Name: Exhaust Manifold
- Product Specifications
- Other Name: Manifold, Exhaust ; Manifold, Engine Exhaust Manifold; Exhaust Manifold, Manifold
- Product Specifications
- Other Name: Manifold,Exhaust; Exhaust Manifold, Manifold
- Product Specifications
- Other Name: Manifold,Exhaust
- Product Specifications
- Other Name: Manifold,Exhaust
Chevrolet Exhaust Manifold Assembly Right (W/Heat Shield)
Part Number: 24500681$196.58 MSRP: $393.04You Save: $196.46 (50%)Product Specifications- Other Name: Manifold Assembly, Exhaust Right (W/Heat Shield); Exhaust Manifold, Manifold
- Position: Passenger Side
Chevrolet Exhaust Manifold Welding Assembly
Part Number: 14094065$334.57 MSRP: $668.91You Save: $334.34 (50%)Product Specifications- Other Name: Manifold Welding Assembly, Exhaust
Chevrolet Exhaust Manifold
Part Number: 12629337$156.98 MSRP: $268.42You Save: $111.44 (42%)Ships in 1-2 Business DaysProduct Specifications- Other Name: Manifold, Exhaust; Manifold
Chevrolet Exhaust Manifold Assembly
Part Number: 12686302$471.96 MSRP: $807.01You Save: $335.05 (42%)Ships in 1-2 Business DaysProduct Specifications- Other Name: Manifold Assembly, Exh; Exhaust Manifold
- Replaces: 12677663, 12612084, 12647717
- Product Specifications
- Other Name: Manifold, Exhaust ; Manifold, Engine Exhaust Manifold; Exhaust Manifold, Manifold
| Page 1 of 17 |Next >
1-20 of 340 Results
Chevrolet Exhaust Manifold
At GMPartsGiant.com, we offer an extensive inventory of genuine Chevrolet Exhaust Manifolds at competitive prices in the market. All our OEM Chevrolet Exhaust Manifolds are backed by the manufacturer's warranty and will be shipped promptly to your doorstep. Rest assured, our hassle-free return policy is designed to support you throughout your shopping experience!
Chevrolet Exhaust Manifold Parts Questions & Experts Answers
- Q: How can you gain better access to the sides of the engine when removing the exhaust manifold in V6 engine on Chevrolet Astro?A:To gain better access to the sides of the engine, it may be easier to remove the front wheel and work through the wheel well in some situations. Begin by disconnecting the negative battery cable from the battery and removing the engine cover. Raise the vehicle and support it securely on jackstands. While working under the vehicle, apply penetrating oil to the exhaust pipe-to-manifold studs and nuts, which are usually rusty, and then remove the nuts holding the exhaust pipe(s) to the manifold(s). For the right side manifold on carbureted and TBI models, remove the air filter assembly and heat stove pipe, release the hose clamp, and separate the hose from the AIR system check valve. Detach the spark plug wires from the plugs and brackets and position them out of the way. For the left side manifold on 1986 through 1995 models, follow the oxygen sensor wiring harness to the connector and disconnect it. Detach the spark plug wires from the spark plugs and routing brackets, and position them out of the way. On 1985 through 1990 models, unscrew the AIR pipe fitting at the manifold, release the clamp, and disconnect the hose from the AIR system check valve, then unbolt the AIR pipe bracket from the manifold. For 1996 through 2002 models, unscrew the EGR pipe fittings at the intake and exhaust manifolds, remove the clamp bolt securing it to the intake manifold, and remove the EGR tube from the engine, applying penetrating oil to the pipe fittings to ease removal. Bend the lock tabs back, then remove the mounting bolts and separate the manifold from the head, allowing the heat shields to come off after the bolts are removed. Check the manifold for cracks and ensure the bolt threads are clean and undamaged, making sure the mating surfaces are clean before reinstalling the manifolds using a gasket scraper to remove all carbon deposits. Before installing the exhaust manifold, apply anti-seize compound to the threads of all fasteners, position the manifold, tab washers, and heat shields on the head, and install the mounting bolts. When tightening the mounting bolts, work from the center to the ends using a torque wrench, tightening the bolts in three equal steps until the specified torque is reached. The remaining installation steps are the reverse of removal, and finally, start the engine and check for exhaust leaks.
- Q: How to remove and install the exhaust manifold in V6 engine on Chevrolet Camaro?A:First, unplug the battery negative cable, lift the car with jackstands, and spray penetrating oil onto the catalytic converter connections for the manifold. Unscrew the bolts that keep the catalytic converter on the manifold. Loosen the oxygen sensor cables, then detach the wires from their socket. Carefully unplug the engine wiring cable and move it out of your way. Open the engine covers, then take off the bolts holding the manifold, outer shield, and follow by grabbing the ground wire from the bracket below the manifold. First push the coolant pipe down to reach the lower manifold bolts, then remove the bottom nut holding the pipe while keeping the exhaust manifold attached to the cylinder head. Start with the outside bolts,-working toward the center, remove the bolts to separate the exhaust manifold from the cylinder head, and finally remove the inner heat shields from the old manifold. Use the same steps to unscrew the mounting bolts on the left side manifold, season by season, and disconnect the exhaust manifold from the cylinder head while pulling out the internal heat protectors. Before putting it back together, look for cracks in the manifold. Make sure the bolt threads are still good and clean, then clean all mating surfaces where the parts will connect. Treat inner heat shield bolt threads with an anti-seize compound. Fix the inner shields in place, then put bolts and gaskets onto the manifold. Make sure the retaining tabs connect the assembly tightly during installation. Coat the bolts' threads with a medium thread locking glue 1/4 inch wide, position the manifold on the cylinder head, then tighten the bolts just by hand. For installing the engine manifolds, start in the middle with a torque wrench and work towards the ends. After tightening, push the end of the exhaust manifold gasket down against the cylinder head when necessary. Before screwing in the heat shield bolt, treat each thread with anti-seize compound, then fasten the bolts in place. Undo the steps precisely how you removed them. After that, start the engine to see if it's giving off smoke from any cracks in the exhaust system.
- Q: How to remove and install the exhaust manifold in 4.3L V6 and 5.0L,5.7L,7.4L V8 engine on Chevrolet Express?A:To remove the exhaust manifold, first disconnect the cable from the negative terminal of the battery and remove the engine cover. Raise the vehicle and support it securely on jackstands. Apply penetrating oil to the exhaust pipe-to-manifold studs and nuts, then remove the nuts retaining the exhaust pipe(s) to the manifold, accessing them from underneath the vehicle; on some models, it may be easier to remove the wheel and fender splash shield. For the right side manifold, remove the air filter housing, then the Secondary AIR bypass hoses and valves if equipped. Detach the spark plug wires and remove the plug wire retaining bracket, positioning the wires out of the way. Remove the oil dipstick and unbolt the dipstick tube bracket. On 2014 and earlier models, removing the inner splash shield from the fenderwell can provide easier access to the exhaust manifold. Bend the lock tabs back if equipped, then remove the mounting bolts and separate the exhaust manifold from the cylinder head, followed by removing the heat shields. For the left side manifold, remove the Secondary AIR injection pipe and the EGR pipe if equipped, then repeat the process of detaching the spark plug wires and removing the plug wire retaining bracket. Disconnect the electrical connector from the Engine Coolant Temperature sensor, bend the lock tabs back if equipped, and remove the mounting bolts to separate the exhaust manifold from the cylinder head, also removing the heat shields. For installation, check the manifold for cracks and ensure the bolt threads are clean and undamaged, making sure the mating surfaces are clean before reinstalling. Position the manifold on a bench to install the heat shields, bolts, and gaskets, then place the manifold on the cylinder head and install the mounting bolts finger tight. When tightening the mounting bolts, work from the center to the ends using a torque wrench, tightening in two steps. If equipped, bend the locking tabs back against the bolt heads. The remaining installation steps follow the reverse order of removal, and finally, start the engine to check for exhaust leaks.
Related Chevrolet Parts
Browse by Model
Astro Exhaust Manifold Avalanche Exhaust Manifold Aveo Exhaust Manifold Beretta Exhaust Manifold Blazer Exhaust Manifold C10 Exhaust Manifold C1500 Exhaust Manifold C20 Exhaust Manifold C2500 Exhaust Manifold C30 Exhaust Manifold C3500 Exhaust Manifold Cadet Exhaust Manifold Camaro Exhaust Manifold Caprice Exhaust Manifold Captiva Sport Exhaust Manifold Cavalier Exhaust Manifold Celebrity Exhaust Manifold Chevette Exhaust Manifold Citation Exhaust Manifold City Express Exhaust Manifold Cobalt Exhaust Manifold Colorado Exhaust Manifold Corsica Exhaust Manifold Corvette Exhaust Manifold Cruze Exhaust Manifold El Camino Exhaust Manifold Equinox Exhaust Manifold Express Exhaust Manifold G10 Exhaust Manifold G20 Exhaust Manifold G30 Exhaust Manifold HHR Exhaust Manifold Impala Exhaust Manifold K10 Exhaust Manifold K1500 Exhaust Manifold K20 Exhaust Manifold K2500 Exhaust Manifold K30 Exhaust Manifold K3500 Exhaust Manifold Lumina Exhaust Manifold Malibu Exhaust Manifold Metro Exhaust Manifold Monte Carlo Exhaust Manifold Nova Exhaust Manifold Orlando Exhaust Manifold P20 Exhaust Manifold P30 Exhaust Manifold Prizm Exhaust Manifold R10 Exhaust Manifold R20 Exhaust Manifold R2500 Exhaust Manifold R30 Exhaust Manifold R3500 Exhaust Manifold S10 Exhaust Manifold SS Exhaust Manifold SSR Exhaust Manifold Silverado Exhaust Manifold Sonic Exhaust Manifold Spark Exhaust Manifold Spectrum Exhaust Manifold Sprint Exhaust Manifold Storm Exhaust Manifold Suburban Exhaust Manifold Tahoe Exhaust Manifold Tracker Exhaust Manifold Trailblazer Exhaust Manifold Traverse Exhaust Manifold Trax Exhaust Manifold Uplander Exhaust Manifold V10 Exhaust Manifold V20 Exhaust Manifold V30 Exhaust Manifold V3500 Exhaust Manifold Venture Exhaust Manifold Volt Exhaust Manifold
