My Garage
My Account
Cart
Genuine Chevrolet Transfer Case
Speed Transfer Case- Select Vehicle by Model
- Select Vehicle by VIN
Select Vehicle by Model
orMake
Model
Year
Select Vehicle by VIN
For the most accurate results, select vehicle by your VIN (Vehicle Identification Number).
226 Transfer Cases found
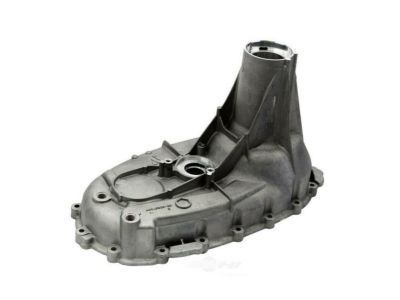
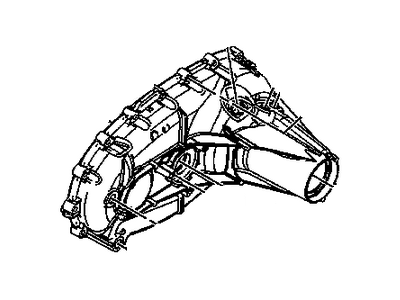
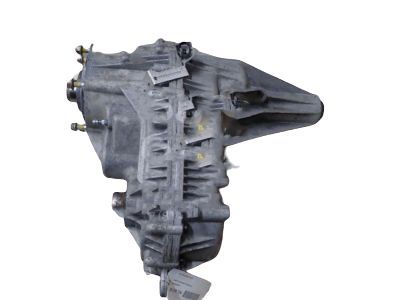
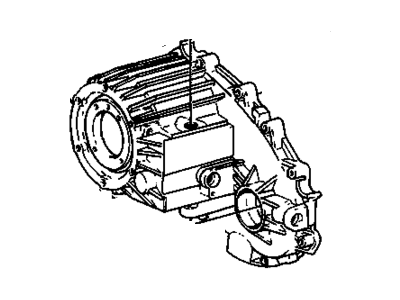
Chevrolet Transfer Case Rear Case
Part Number: 23253658$175.48 MSRP: $297.43You Save: $121.95 (41%)Ships in 1-2 Business DaysProduct Specifications- Other Name: Case Assembly, Transfer (Rear Half)
- Position: Rear
- Replaces: 19133141
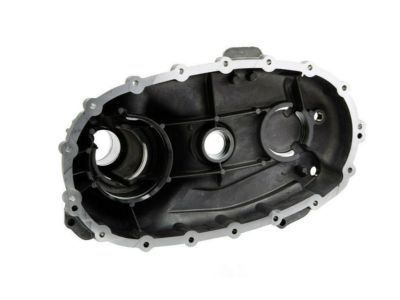
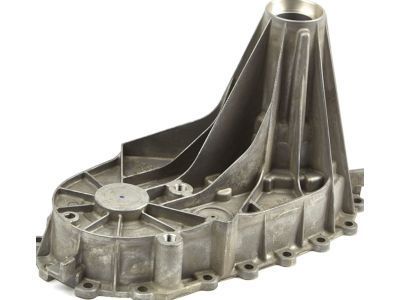
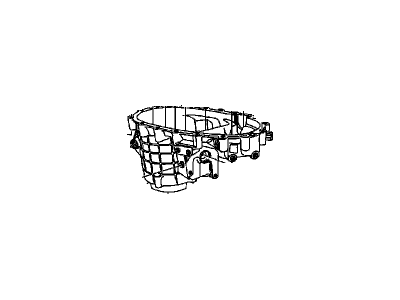
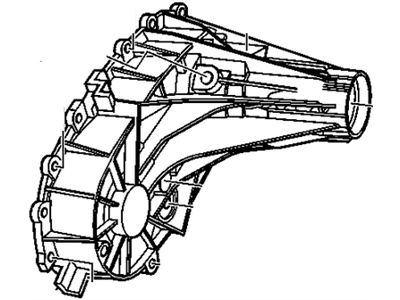
Chevrolet Transfer Case Assembly (Rear Half)
Part Number: 23253659$178.88 MSRP: $296.05You Save: $117.17 (40%)Ships in 1-2 Business DaysProduct Specifications- Other Name: Case Assembly, Transfer (Rear Half) ; Case Assembly, Trfer (Rr Half)
- Position: Rear
- Replaces: 19169067
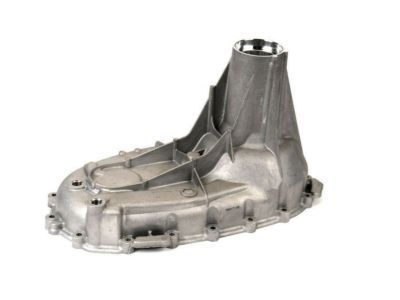
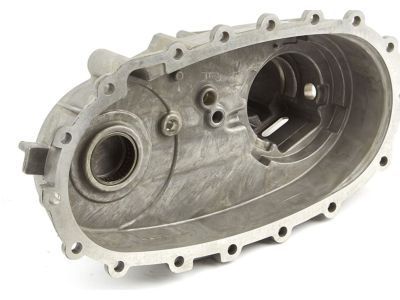
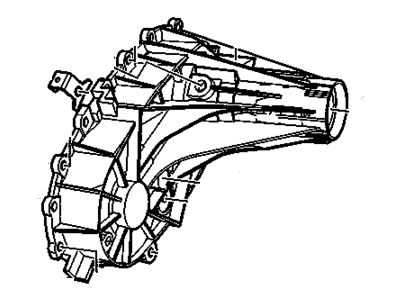
Chevrolet Rear Half Transfer Case
Part Number: 12474949$524.23 MSRP: $1134.23You Save: $610.00 (54%)Ships in 1-2 Business DaysProduct Specifications- Other Name: Case,Transfer(Rear Half)
- Position: Rear
- Replaces: 12547663
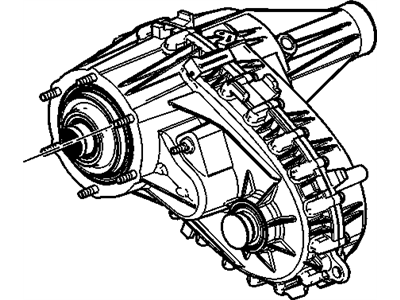
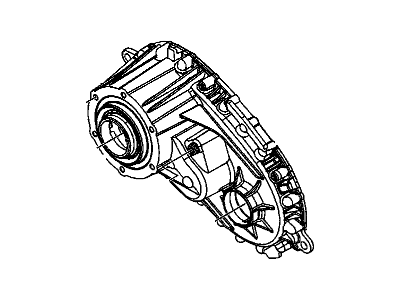
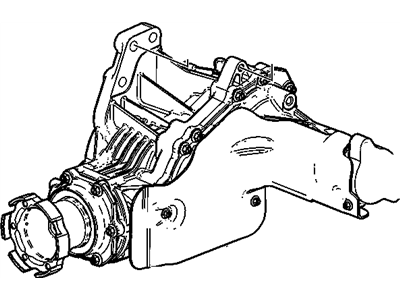
Chevrolet Transfer Case Assembly (Blackwall 4485)(Code Mm)
Part Number: 24246762$3093.25 MSRP: $3499.14You Save: $405.89 (12%)Ships in 1-3 Business DaysProduct Specifications- Other Name: Case Assembly, Transfer (Blackwall 4485)(Code Mm) ; Case, Transfer Case; Transfer Case
- Replaces: 12578118, 24238887, 24243314
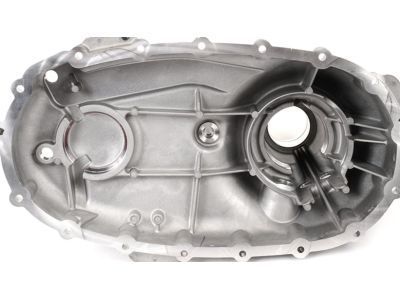
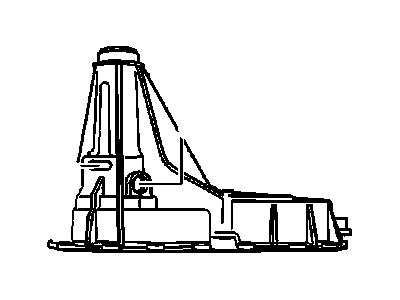
Chevrolet Transfer Case Rear Case
Part Number: 23254567$271.20 MSRP: $448.86You Save: $177.66 (40%)Ships in 1-2 Business DaysProduct Specifications- Other Name: Case Assembly, Transfer (Rear Half)
- Position: Rear
- Replaces: 23252401
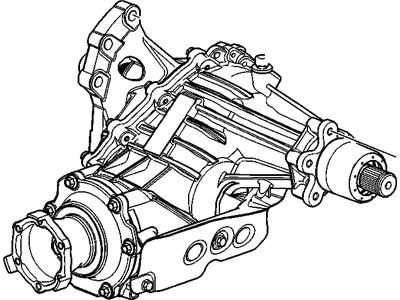
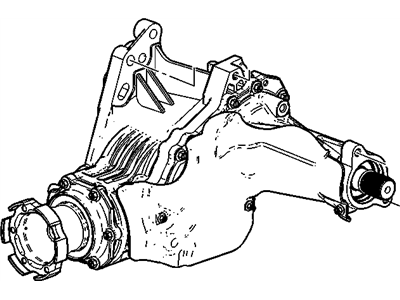
Chevrolet Power Transfer U Case Assembly
Part Number: 23245651$1723.72 MSRP: $2160.67You Save: $436.95 (21%)Product Specifications- Other Name: Case Assembly, Power Transfer U; Transfer Case
- Replaced by: 84953425
Chevrolet Transfer Case Assembly (Front Half)
Part Number: 12384944$381.77 MSRP: $763.66You Save: $381.89 (51%)Product Specifications- Other Name: Case Asm,Transfer (Front Half)
- Position: Front
Chevrolet Automatic Transmission Case
Part Number: 12545954$189.01 MSRP: $269.30You Save: $80.29 (30%)Ships in 1-2 Business DaysProduct Specifications- Other Name: F, Case,Trf
Chevrolet Transfer Case (Rear Half)
Part Number: 12473226$431.81 MSRP: $688.69You Save: $256.88 (38%)Ships in 1-2 Business DaysProduct Specifications- Other Name: Case,Transfer (Rear Half)
- Position: Rear
Chevrolet Transfer Case (Rear Half)
Part Number: 12478092$868.29 MSRP: $1484.72You Save: $616.43 (42%)Ships in 1-2 Business DaysProduct Specifications- Other Name: Case,Transfer (Rear Half)
- Position: Rear
Chevrolet Transfer Case Assembly (Front Half)
Part Number: 19132934$335.61 MSRP: $535.27You Save: $199.66 (38%)Ships in 1-3 Business DaysProduct Specifications- Other Name: Case Asm,Transfer (Front Half)
- Position: Front
Chevrolet Case Assembly, Pwr Trfer U
Part Number: 84953426$2009.22 MSRP: $2272.89You Save: $263.67 (12%)Product Specifications- Other Name: Transfer Case
- Replaces: 24255142, 24263580, 24242778, 23247709
- Product Specifications
- Replaces: 23164254, 84109398, 84260086, 84007378, 84346721, 84153006, 84467440, 84377719, 23311899, 84605824
Chevrolet Case Assembly, Pwr Trfer U
Part Number: 84953427$1672.35 MSRP: $1891.80You Save: $219.45 (12%)Product Specifications- Other Name: Transfer Case
- Replaces: 23247710, 24244573, 24263578, 24248012, 24257133, 24246665, 24254154, 24250405, 24258520
Chevrolet CASE ASM-TRFER
Part Number: 85580976$1261.40 MSRP: $1415.06You Save: $153.66 (11%)Ships in 1-3 Business DaysProduct Specifications- Other Name: Transfer Case
- Replaced by: 85843420
- Product Specifications
- Other Name: Transfer Case
- Replaces: 23188340, 23164314, 84109394, 84377715, 24250805, 24256217, 24256472, 23143114, 84153002, 24239189, 24261514, 24262510, 24250861, 23311900, 84605819, 84467435, 24252679
Chevrolet CASE ASM-PWR TRFER U
Part Number: 86533976$1460.51 MSRP: $1652.16You Save: $191.65 (12%)Ships in 1-2 Business DaysProduct Specifications- Other Name: Transfer Case
- Replaces: 84425923, 84622332, 84331394, 84715383, 85136879, 84893573, 84930554, 86805249, 84785332
- Product Specifications
- Replaces: 23311902, 24256221, 24262496, 24253505, 24256476, 84153004, 84467438, 23143110, 23164320, 24261560, 84260084, 84109396, 23188336, 84605822, 84377717
Chevrolet Transfer Case Assembly
Part Number: 84467434$2082.60 MSRP: $2348.75You Save: $266.15 (12%)Ships in 1-3 Business DaysProduct Specifications- Other Name: Case Assembly, Trfer; Transfer Case
- Replaced by: 85675346
Chevrolet CASE ASM,TRFER (REMAN)<SEE GUIDE/CONTACT BFO>
Part Number: 19125974$2931.24 MSRP: $3308.75You Save: $377.51 (12%)
| Page 1 of 12 |Next >
1-20 of 226 Results
Chevrolet Transfer Case
At GMPartsGiant.com, we offer an extensive inventory of genuine Chevrolet Transfer Cases at competitive prices in the market. All our OEM Chevrolet Transfer Cases are backed by the manufacturer's warranty and will be shipped promptly to your doorstep. Rest assured, our hassle-free return policy is designed to support you throughout your shopping experience!
Chevrolet Transfer Case Parts Questions & Experts Answers
- Q: Is overhauling a transfer case a challenging task for a do-it-yourselfer on Chevrolet Tracker?A:A reworking of a transfer case is definitely not something that can be done by a layman, as the numerous small parts need to be assembled and reassembled during this process, and the clearances which will need to be changed normally are measured in terms of thousandths of an inch with such tools used as select fit spacers and snap-rings. Although it can be accomplished by a competent person, the overhaul is probably best left to a shop specializing in transmission repair since the time and expense usually exceeds that of a rebuilt transfer case, which may be gotten through a dealer parts department or an auto parts store. First-time transfer case rebuild techniques What any mechanic with the right special tools and with a step-by-step approach that is highly systematic avoiding small things can do. A few of the specialized equipment needed with the overhaul are internal and external snap ring pliers, bearing puller, slide hammer, pin punch set, dial indicator and probably a hydraulic press, and strong workbench, vise or transmitting stand. When disassembling it is also important to ensure that notes are made on the location of each piece during assembly so as to ease the resembly stage. Knowledge of malfunctioning area also helps in the identification of specific issues since the examination and actual replacement of the parts is also easier.
- Q: How to disconnect and remove the transfer case on Chevrolet Trailblazer?A:Disconnect the cable from the negative terminal of the battery, then raise the vehicle and support it securely on jackstands. Remove the stone shields if equipped, and drain the transfer case lubricant. Next, remove the front and rear driveshafts, disconnect all electrical connectors, and detach the vent hose from the top of the transfer case. Free the wiring harnesses and fuel lines from the retainers on the transfer case, and remove any transmission-to-transfer case support braces. Raise the transmission enough to remove the transmission mount, then support the transmission on a jack or jackstands. Support the transfer case with a jack, preferably a special jack made for this purpose, using safety chains to help steady it. Remove the adapter-to-transfer case nuts, ensuring not to lose the washers. Make a final check that all wires and hoses have been disconnected from the transfer case, then move the transfer case and jack toward the rear of the vehicle until it is clear of the transmission, keeping it level during this process. Once the input shaft is clear, lower the transfer case and remove it from under the vehicle. Inspect the transfer case gasket and replace it if damaged, avoiding the use of silicone sealant as a substitute. Installation is the reverse of removal, ensuring to tighten the transmission-to-transfer case nuts to the specified torque.
Related Chevrolet Parts
Browse by Model
Astro Transfer Case Avalanche Transfer Case Blazer Transfer Case Captiva Sport Transfer Case Colorado Transfer Case Equinox Transfer Case Express Transfer Case K1500 Transfer Case K2500 Transfer Case K3500 Transfer Case S10 Transfer Case Silverado Transfer Case Suburban Transfer Case Tahoe Transfer Case Tracker Transfer Case Trailblazer Transfer Case Traverse Transfer Case Trax Transfer Case Uplander Transfer Case V3500 Transfer Case Venture Transfer Case
