My Garage
My Account
Cart
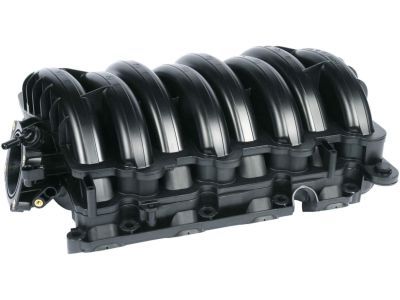
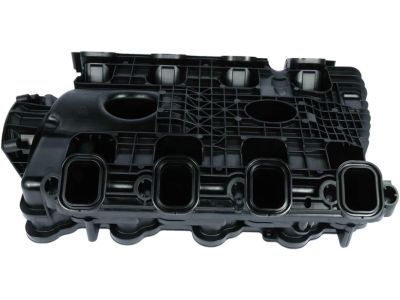
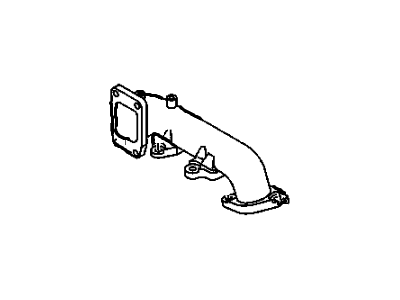
Genuine GMC Intake Manifold
Engine Intake Manifold- Select Vehicle by Model
- Select Vehicle by VIN
Select Vehicle by Model
orMake
Model
Year
Select Vehicle by VIN
For the most accurate results, select vehicle by your VIN (Vehicle Identification Number).
117 Intake Manifolds found
- Product Specifications
- Other Name: MANIFOLD, Engine Fuel Intake Manifold; Intake Manifold
- Replaces: 12637193, 12632227
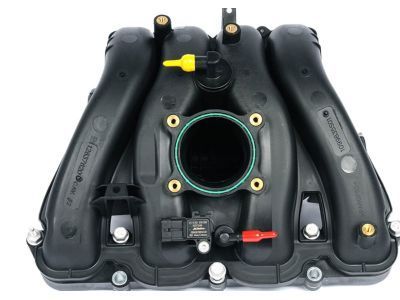
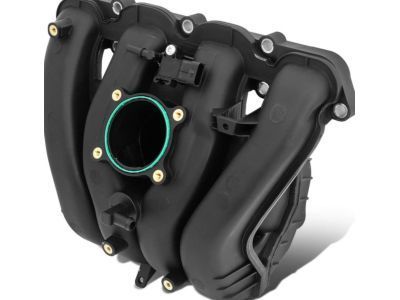
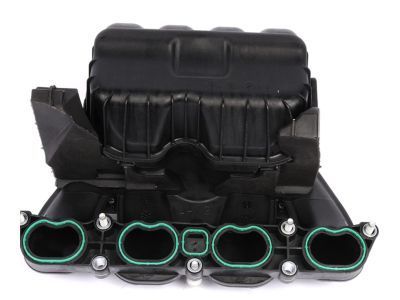
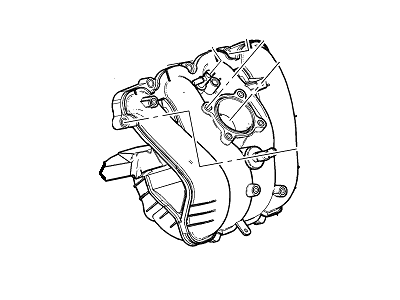
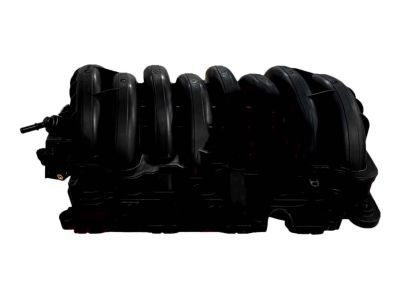
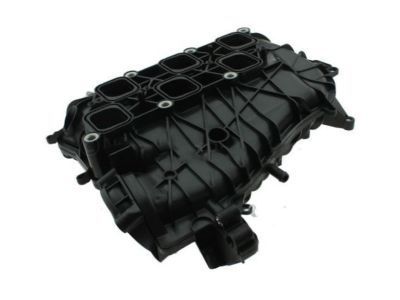
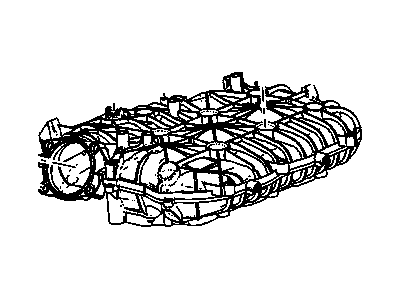
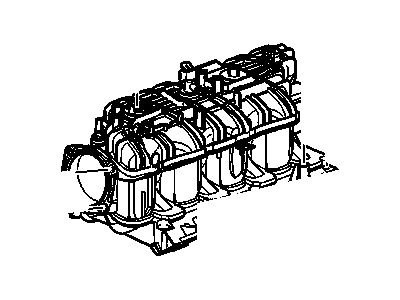
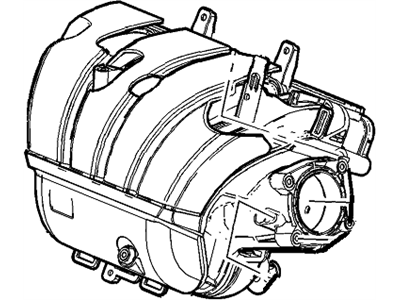
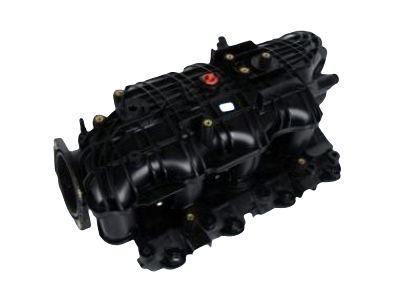
GMC Manifold, Intake
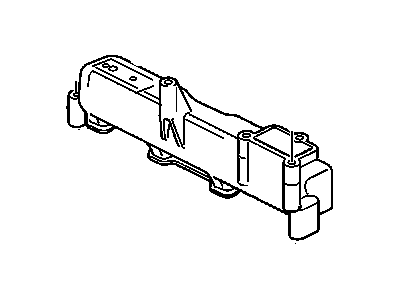
Part Number: 12623417$248.33 MSRP: $420.93You Save: $172.60 (41%)Ships in 1-2 Business DaysProduct Specifications- Other Name: MANIFOLD, Engine Fuel Intake Manifold; Intake Manifold, Manifold
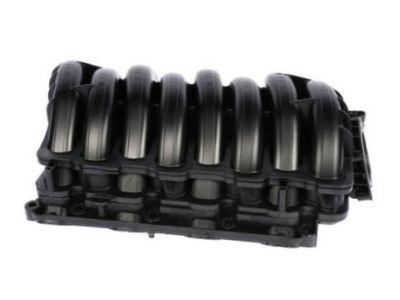
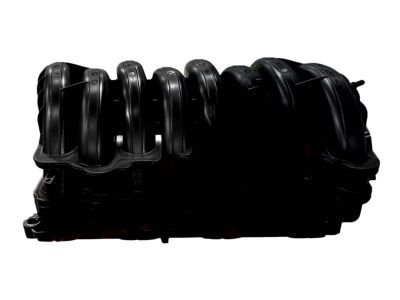
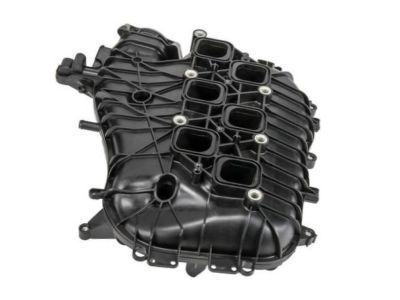
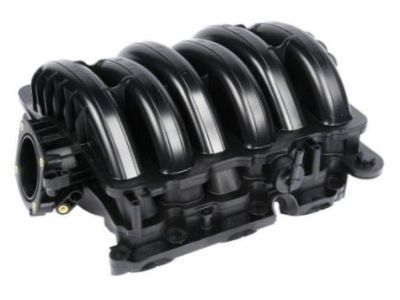
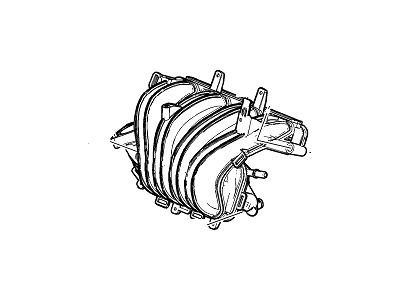
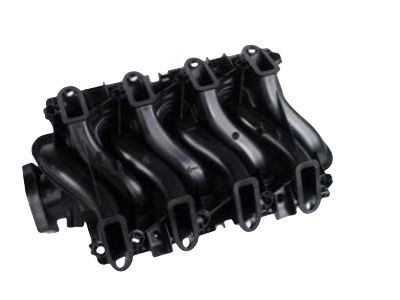
GMC Manifold, Intake
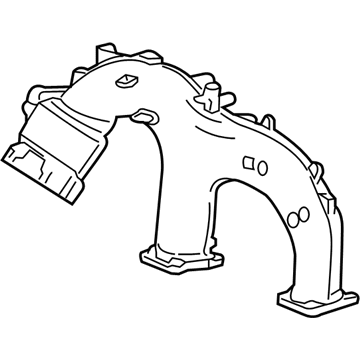
Part Number: 12639087$153.14 MSRP: $261.86You Save: $108.72 (42%)Ships in 1-2 Business DaysProduct Specifications- Other Name: MANIFOLD, Engine Fuel Intake Manifold; Intake Manifold, Manifold
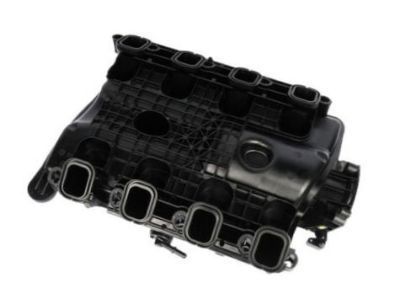
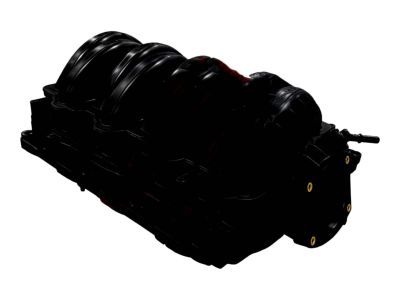
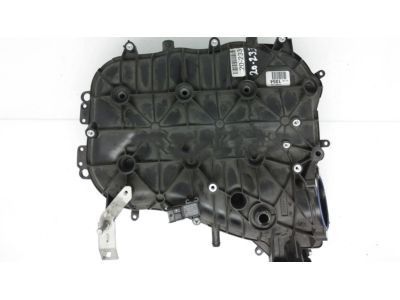
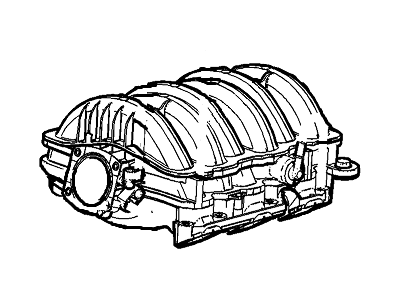
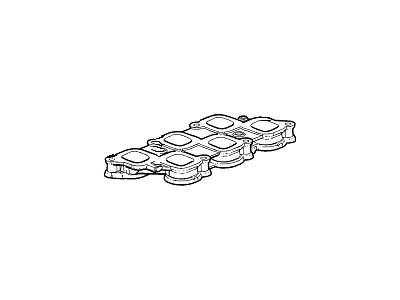
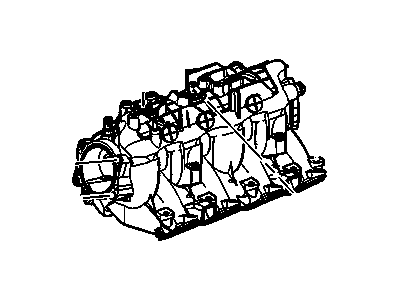
GMC Manifold Assembly, Upr Int
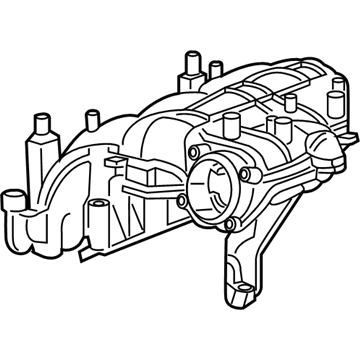
Part Number: 12699182$276.72 MSRP: $473.16You Save: $196.44 (42%)Ships in 1-2 Business DaysProduct Specifications- Other Name: Intake Manifold, Intake Plenum, Manifold
- Replaces: 12648915, 12635243
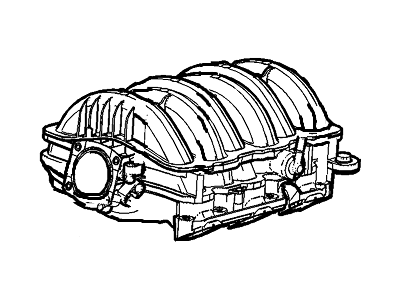
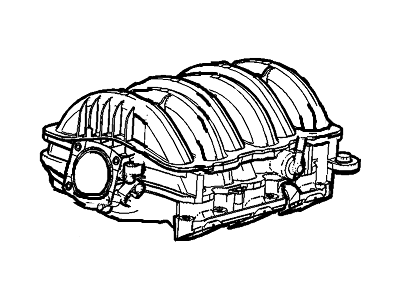
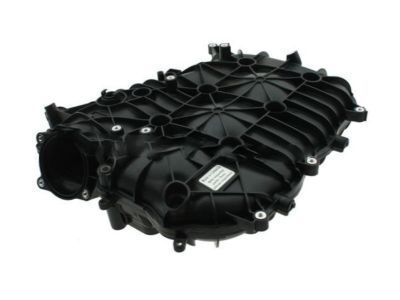
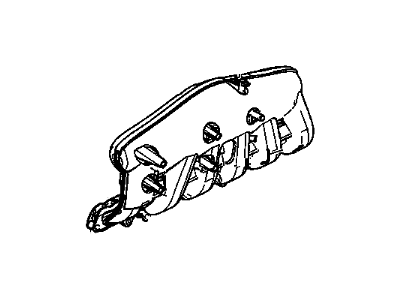
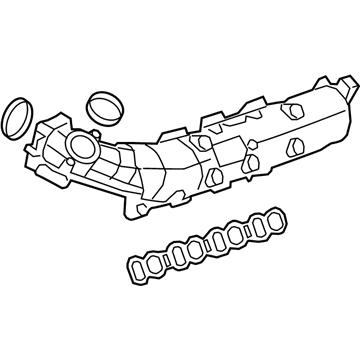
GMC Manifold, Intake
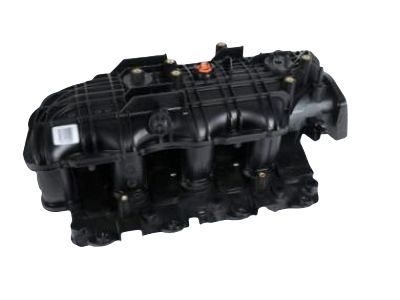
Part Number: 12630859$183.04 MSRP: $291.94You Save: $108.90 (38%)Ships in 1-3 Business DaysProduct Specifications- Other Name: MANIFOLD, Engine Fuel Intake Manifold; Intake Manifold, Manifold
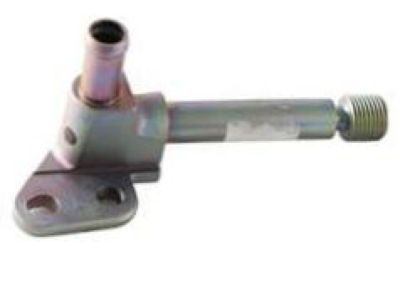
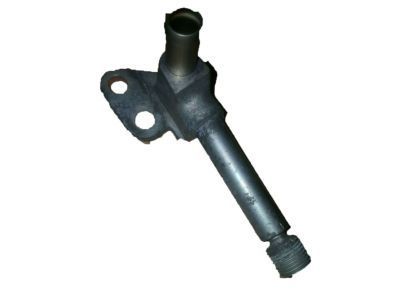
GMC Manifold Assembly, Fuel Injection Fuel Feed
Part Number: 12646725$27.00 MSRP: $44.67You Save: $17.67 (40%)Ships in 1-2 Business DaysProduct Specifications- Other Name: MANIFOLD, Engine Fuel Intake Manifold
- Replaces: 12639099
GMC Manifold, Intake
Part Number: 12597600$132.34 MSRP: $320.48You Save: $188.14 (59%)Ships in 1-2 Business DaysProduct Specifications- Other Name: MANIFOLD, Engine Fuel Intake Manifold; Intake Manifold, Manifold
GMC Manifold, Intake
Part Number: 12675740$179.96 MSRP: $307.68You Save: $127.72 (42%)Ships in 1-2 Business DaysProduct Specifications- Other Name: Manifold, Int; Intake Manifold
GMC Manifold, Intake
Part Number: 12638038$223.46 MSRP: $382.10You Save: $158.64 (42%)Ships in 1-2 Business DaysProduct Specifications- Other Name: MANIFOLD, Engine Fuel Intake Manifold; Intake Manifold, Manifold
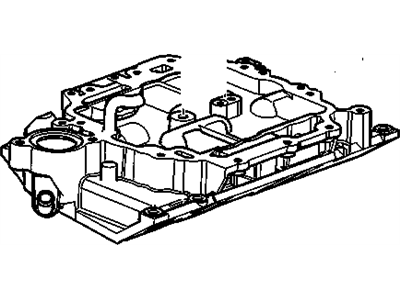
GMC Manifold, Lwr Int
Part Number: 12698169$232.82 MSRP: $371.30You Save: $138.48 (38%)Ships in 1-2 Business DaysProduct Specifications- Other Name: Intake Manifold, Manifold
- Position: Lower
- Replaces: 12595828
- Product Specifications
- Other Name: MANIFOLD, Engine Fuel Intake Manifold; Intake Manifold
GMC Manifold, Intake
Part Number: 12646130$190.93 MSRP: $326.40You Save: $135.47 (42%)Ships in 1-2 Business DaysProduct Specifications- Other Name: MANIFOLD, Engine Fuel Intake Manifold; Intake Manifold
GMC Manifold, Lower Intake (Machine)
Part Number: 12633365$341.84 MSRP: $545.20You Save: $203.36 (38%)Ships in 1-2 Business DaysProduct Specifications- Other Name: MANIFOLD, Engine Fuel Intake Manifold; Intake Manifold
- Position: Lower
GMC Manifold Asm,Intake (Service)
Part Number: 89017800$310.76 MSRP: $495.64You Save: $184.88 (38%)Ships in 1-2 Business DaysProduct Specifications- Other Name: MANIFOLD, Engine Fuel Intake Manifold; Intake Manifold
- Replaces: 12570882, 89017551
- Product Specifications
- Other Name: MANIFOLD, Engine Fuel Intake Manifold; Intake Manifold
GMC Manifold Assembly, Upr Int
Part Number: 12686016$140.54 MSRP: $224.08You Save: $83.54 (38%)Ships in 1-2 Business DaysProduct Specifications- Other Name: Intake Manifold, Manifold
- Replaces: 12681504
GMC Manifold, Intake
Part Number: 12674037$67.28 MSRP: $162.88You Save: $95.60 (59%)Ships in 1-2 Business DaysProduct Specifications- Other Name: MANIFOLD, Engine Fuel Intake Manifold; Intake Manifold
- Product Specifications
- Other Name: MANIFOLD, Engine Fuel Intake Manifold; Intake Manifold, Manifold
- Replaces: 12597598
- Product Specifications
- Other Name: Manifold Assembly, Int; Intake Manifold
- Replaces: 55508160, 55599799
GMC Manifold Assembly, Upper Intake
Part Number: 12629739$148.56 MSRP: $234.80You Save: $86.24 (37%)Product Specifications- Other Name: MANIFOLD, Engine Fuel Intake Manifold
- Position: Upper
- Replaces: 98024533
| Page 1 of 6 |Next >
1-20 of 117 Results
GMC Intake Manifold
You're in the right place for budget-friendly OEM GMC Intake Manifolds. Our extensive catalog features genuine GMC Intake Manifolds, each backed by a manufacturer's warranty and guaranteeing superior quality, dependability, and longevity. Discover how shopping with us can save you both time and money when investing in our auto parts.
GMC Intake Manifold Parts Questions & Experts Answers
- Q: What are the steps involved in the removal and installation of the intake manifold in 3.0L and 3.6L V6 engine on GMC Terrain?A:To begin the removal process, relieve the fuel pressure and disconnect the cable from the negative battery terminal. For 2009 and earlier 3.6L models, start by removing the engine cover and the air outlet tube from the air filter housing, then move the PCV tube from the air filter inlet. Disconnect the electrical connectors to the intake manifold tuning valve, throttle body, and MAP sensor, as well as the brake booster vacuum hose and wiring from the throttle body. Disconnect the PCV tube from the intake manifold and the quick-connect fitting at the tube from the EVAP canister purge solenoid, then move the EVAP tube aside. Remove the ECM bracket without disconnecting the connectors and place it out of the way, followed by disconnecting the fuel injector electrical connectors and moving them aside. Remove the fasteners from the engine wiring harness and ensure all interfering wiring and hoses are clear of the intake manifold, marking components for identification. Loosen the six mounting bolts from the upper intake manifold but do not remove them, then remove the manifold and gasket as a unit, discarding the gasket afterward. For the lower intake manifold, disconnect the fuel feed line from the fuel rail, then remove the fuel rail and injectors, followed by removing the lower intake manifold mounting bolts and lifting off the manifold. For 3.0L models and 2013 and later 3.6L models, remove the oil filler cap, lift the engine cover off the ballstuds, and reinstall the oil filler cap. Disconnect the air filter housing outlet duct and remove the air filter housing, then disconnect the brake booster hose vacuum and PCV hose from the manifold. Disconnect the electrical connectors to the EVAP purge solenoid valve and throttle body, then remove the hose from the EVAP solenoid. Remove the fuel line cover fasteners and cover, followed by the engine electrical harness clips and retainers from the intake manifold. Remove the intake manifold sound insulator if equipped, then remove the mounting bolts and the intake manifold, discarding the gasket. For installation, ensure the sealing surfaces of the intake manifold and cylinder heads are clean, removing all traces of old gasket material and wiping the mating surfaces with a solvent-saturated cloth. Use a tap to chase the threads in the bolt holes and compressed air to remove debris. Install new gaskets on the cylinder heads, ensuring correct alignment. For 2009 and earlier 3.6L models, install the lower intake manifold and evenly tighten all mounting bolts to the specified torque, then install new gaskets on the top of the lower intake manifold and replace the upper intake manifold, tightening the bolts evenly to the specified torque. The remainder of the installation follows the reverse order of removal, checking the coolant level and adding as necessary. For 3.0L models and 2013 and later 3.6L models, install the intake manifold and tighten the bolts in a criss-cross pattern to the specified torque, with the remainder of the installation also following the reverse order of removal and checking the coolant level as needed.
Related GMC Parts
Browse by Model
Acadia Intake Manifold C1500 Intake Manifold C2500 Intake Manifold C3500 Intake Manifold Canyon Intake Manifold Envoy Intake Manifold G1500 Intake Manifold G2500 Intake Manifold G3500 Intake Manifold Jimmy Intake Manifold K1500 Intake Manifold K2500 Intake Manifold K3500 Intake Manifold P2500 Intake Manifold P3500 Intake Manifold R1500 Intake Manifold R2500 Intake Manifold R3500 Intake Manifold S15 Intake Manifold Safari Intake Manifold Savana Intake Manifold Sierra Intake Manifold Sonoma Intake Manifold Suburban Intake Manifold Syclone Intake Manifold Terrain Intake Manifold Typhoon Intake Manifold V1500 Intake Manifold V2500 Intake Manifold V3500 Intake Manifold Yukon Intake Manifold
