My Garage
My Account
Cart
Genuine Oldsmobile Oil Pan
Oil Drain Pan- Select Vehicle by Model
- Select Vehicle by VIN
Select Vehicle by Model
orMake
Model
Year
Select Vehicle by VIN
For the most accurate results, select vehicle by your VIN (Vehicle Identification Number).
52 Oil Pans found
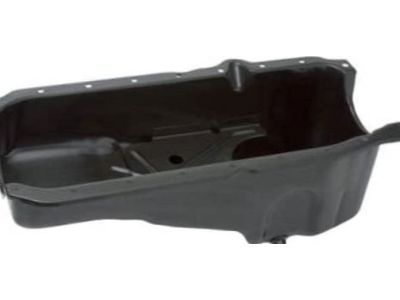
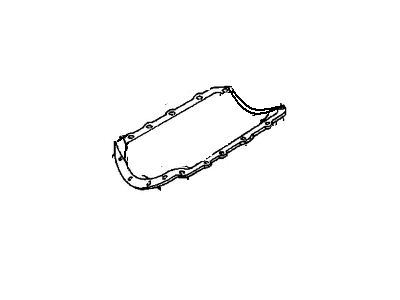
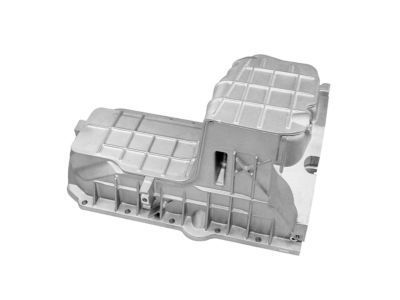
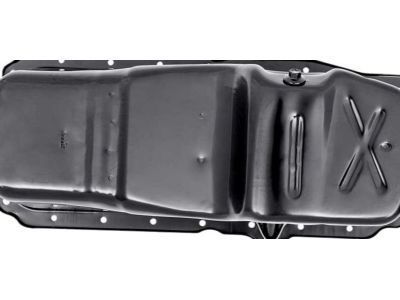
Oldsmobile Oil Pan
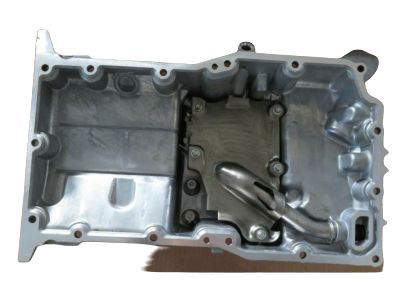
Part Number: 12557558$176.49 MSRP: $301.79You Save: $125.30 (42%)Ships in 1-3 Business DaysProduct Specifications- Other Name: PAN, Engine Oil; Oil Pan, Oil Pan Gasket
- Replaces: 12528916
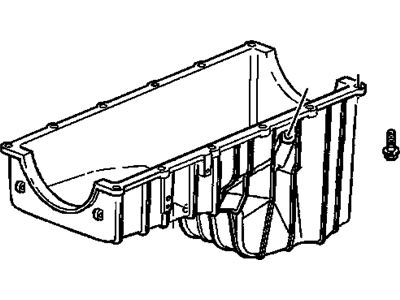
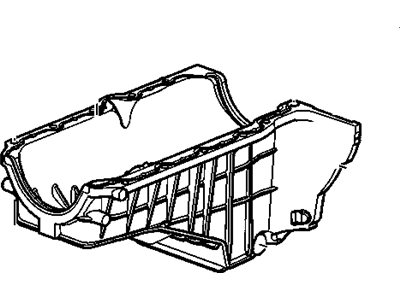
Oldsmobile Pan Asm,Oil
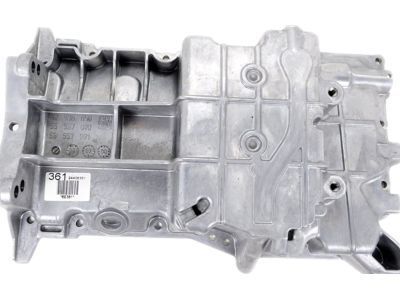
Part Number: 19256218$100.44 MSRP: $246.02You Save: $145.58 (60%)Ships in 1-2 Business DaysProduct Specifications- Other Name: PAN, Engine Oil; Oil Pan
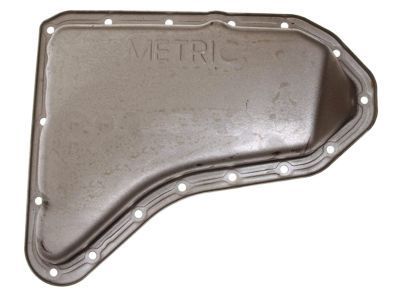
Oldsmobile Pan Kit,Automatic Transmission Oil (M6) *Includes Pan,Ma
Part Number: 24211988$57.66 MSRP: $154.10You Save: $96.44 (63%)Product Specifications- Other Name: PAN KIT, Automatic Transmission Fluid; Transmission Pan
- Product Specifications
- Other Name: Pan Assembly, Oil; Oil Pan
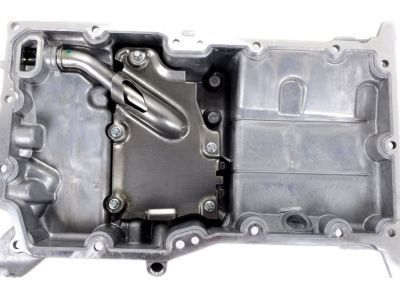
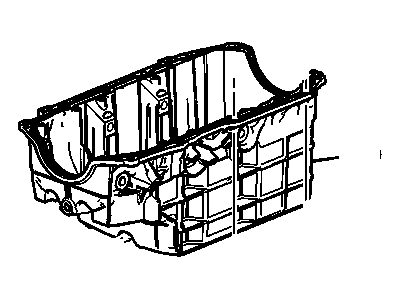
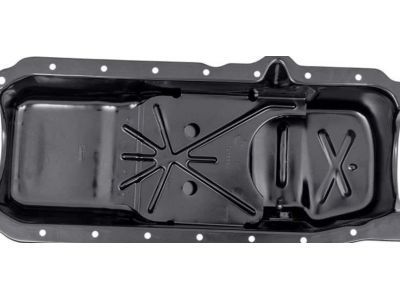
Oldsmobile Oil Pan Assembly
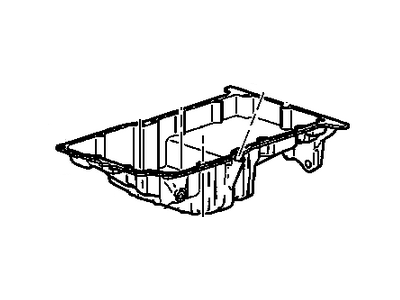
Part Number: 22531766$115.98 MSRP: $233.88You Save: $117.90 (51%)Ships in 1-2 Business DaysProduct Specifications- Other Name: Pan Assembly, Oil; Oil Pan
- Product Specifications
- Other Name: PAN, Engine Oil; Oil Pan
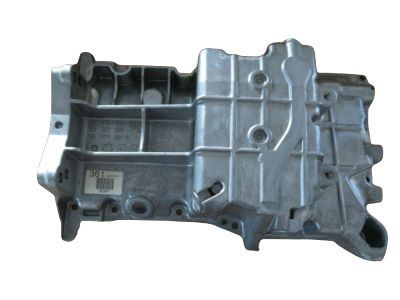
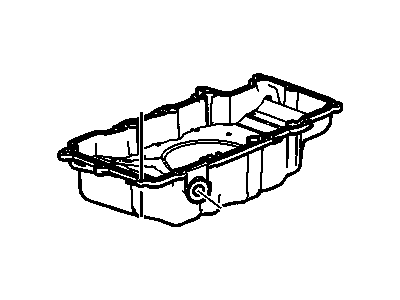
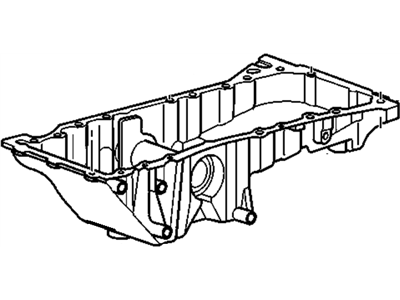
Oldsmobile Oil Pan Assembly
Part Number: 12597153$344.70 MSRP: $544.81You Save: $200.11 (37%)Ships in 1-3 Business DaysProduct Specifications- Other Name: PAN, Engine Oil; Oil Pan
- Replaces: 12558216
Oldsmobile Pan Asm,Oil
Part Number: 12512670$185.45 MSRP: $276.52You Save: $91.07 (33%)Ships in 1-2 Business DaysProduct Specifications- Other Name: PAN, Engine Oil; Oil Pan
Oldsmobile Pan Asm,Oil
Part Number: 24504719$48.11 MSRP: $136.14You Save: $88.03 (65%)Ships in 1-2 Business DaysProduct Specifications- Other Name: PAN, Engine Oil; Oil Pan
Oldsmobile Oil Pan
Part Number: 12564803$408.03 MSRP: $586.50You Save: $178.47 (31%)Ships in 1-2 Business DaysProduct Specifications- Other Name: PAN, Engine Oil; Oil Pan
- Replaces: 12604016, 03537183, 3537183
Oldsmobile Oil Pan Assembly
Part Number: 12577511$177.94 MSRP: $235.61You Save: $57.67 (25%)Ships in 1-2 Business DaysProduct Specifications- Other Name: PAN, Engine Oil; Oil Pan
- Replaces: 10223711
Oldsmobile Pan, Oil
Part Number: 24508996$186.37 MSRP: $294.57You Save: $108.20 (37%)Ships in 1-3 Business DaysProduct Specifications- Other Name: PAN, Engine Oil; Oil Pan
- Product Specifications
- Other Name: PAN, Engine Oil; Oil Pan
- Replaces: 12556541
- Product Specifications
- Other Name: PAN, Engine Oil
- Replaces: 12524503, 12527743
- Product Specifications
- Other Name: PAN, Transmission Oil Pan; Transmission Pan
- Product Specifications
- Other Name: PAN, Engine Oil; Oil Pan
- Product Specifications
- Other Name: PAN, Engine Oil; Oil Pan
- Product Specifications
- Other Name: PAN, Transmission Oil
- Replaces: 08648349, 8648349
- Product Specifications
- Other Name: PAN, Transmission Oil Pan
- Product Specifications
- Other Name: PAN, Transmission Oil Pan
| Page 1 of 3 |Next >
1-20 of 52 Results
Oldsmobile Oil Pan
Looking to acquire brand new parts? Consider exploring our extensive inventory of genuine Oldsmobile Oil Pans. Our offering of OEM Oldsmobile Oil Pans not only comes with competitive prices but also includes a manufacturer's warranty. For added convenience, we provide a hassle-free return policy and rapid delivery service. Shop with confidence on our platform.
Oldsmobile Oil Pan Parts Questions & Experts Answers
- Q: How to remove and install an oil pan in V8 engine on Oldsmobile Cutlass?A:Having instilled the engine into a vehicle, follow the procedures of How to Start, by removing the negative BAT cable and air cleaner assembly. Then, remove the distributor cap in order to avoid damaging it when lifting the engine and then unbolt the radiator shroud from the radiator support and hook it on the cooling fan. Lift the vehicle and place it on jack stands; further, dismantle the oil dipstick and dipstick tube. Siphon the engine oil and flush the engine and then remove the exhaust crossover pipe at the exhaust manifold flanges and drop the exhaust pipes and hold them with wire on the frame. In the case that the vehicle has automatic transmission, then the first parts to be taken off include the converter underpan, starter and the flywheel cover. Turn the engine counterclockwise with a bolt at the middle of the torsional damper so that the favourite timing mark points to the number 1 cylinder which means that the engine is now at top dead centre, although this will give some clearance at the front of the oil pan. Loosen and take out the through bolt of every engine mount followed by lifting the engine with the aid of an engine hoist or cherry picker to enable you to slide the oil pan away from the cross-member. Another procedure rely on the use of a floor jack with a piece of wood placed underneath the oil pan to avoid any scratching. Lift the engine further until wood blocks can be wedged in between the frame front crossmember and the engine block; reference should be made to clearance round the engine, especially with distributor and cooling fan. Place the engine on the wooden blocks such that it is well balanced and then remove the oil pan bolts, and if necessary the heads as well, considering the sizes and positions. Lower the rear of the oil pan down and wiggle the front free of the crossmember; use a rubber mallet if you need to apply serious amounts of force. Before installation the gasket sealing surfaces must be free from sealer and gasket materials, clean them properly. Place the new side gaskets to the engine block, be sure that the bolt holes align then spread a thin layer of sealer on the gaskets. Set the front and rear seals into the sealer and jam the ends of these to the side gaskets ends. Place the pan in the required position and fit all bolts loosely up to the position when they can be tightened using fingers, and then tighten the end bolts. Lower the engine onto its mounts and install the through bolts tightening them to the standard torque. Work in reverse, adding the proper grade and amount of oil, turn on the engine, and you are required to check if there is any leakage. If the engine has been pulled out from the vehicle, then most of the steps pertaining to above will not come into the picture and the pan will simply bolted and can be lifted off from the engine block in the process discussed earlier, while the installation process will involve cleaning and sealing steps described above.
