My Garage
My Account
Cart
Genuine Saturn Oil Pump
Oil Fluid Pump- Select Vehicle by Model
- Select Vehicle by VIN
Select Vehicle by Model
orMake
Model
Year
Select Vehicle by VIN
For the most accurate results, select vehicle by your VIN (Vehicle Identification Number).
8 Oil Pumps found
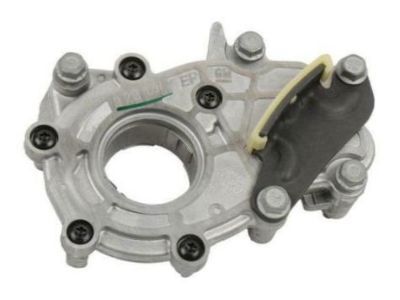
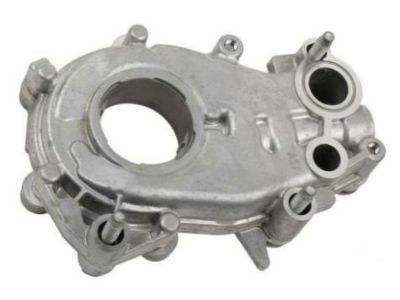
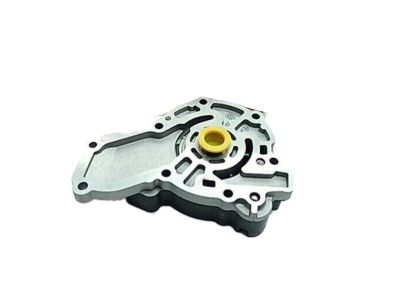
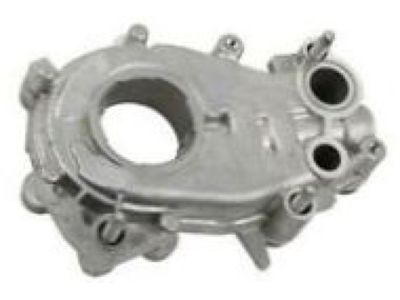
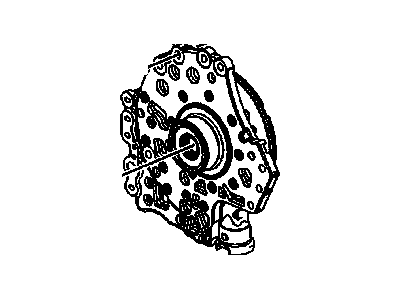
Saturn Pump,Oil
Part Number: 12640448$134.39 MSRP: $229.80You Save: $95.41 (42%)Ships in 1-2 Business DaysProduct Specifications- Other Name: PUMP, Engine Oil Pump; Oil Pump, Water Pump
- Replaces: 12590152, 12584298, 12590016
- Product Specifications
- Other Name: PUMP, Transmission Oil Pump
- Product Specifications
- Other Name: PUMP, Engine Oil Pump; Oil Pump, Water Pump
- Replaces: 10229785, 12593581
- Product Specifications
- Other Name: PUMP, Engine Oil Pump; Oil Pump
- Replaces: 12590048
- Product Specifications
- Other Name: PUMP, Engine Oil Pump; Oil Pump
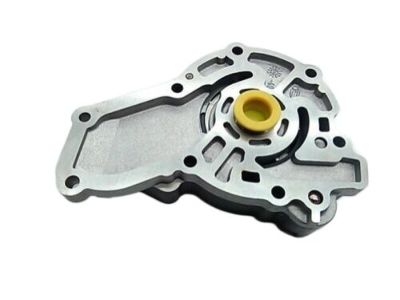
Saturn Pump,Automatic Transmission Fluid
Part Number: 24256951$202.02 MSRP: $317.64You Save: $115.62 (37%)Product Specifications- Other Name: PUMP, Transmission Oil Pump
- Replaces: 24243647
- Product Specifications
- Other Name: PUMP, Engine Oil Pump; Oil Pump
- Product Specifications
- Other Name: PUMP, Transmission Oil Pump
Saturn Oil Pump
In need of new Saturn Oil Pumps? We suggest you explore our vast collection of genuine Saturn Oil Pumps, all available at competitive prices. Furthermore, every OEM part we provide is backed by a manufacturer's warranty and comes with the promise of swift delivery and a hassle-free return policy.
Saturn Oil Pump Parts Questions & Experts Answers
- Q: How to replace an oil pump in V6 engine on Saturn LS?A:Raise the front of the vehicle and support it securely on jackstands. Disconnect the cable from the negative terminal of the battery. Drain the engine oil. Remove the drivebelt. Remove the timing belt cover and the timing belt. Remove the rear timing belt cover. Remove the air conditioning compressor and tie it out of the way with a piece of wire. Remove the alternator. Remove the oil pan-to-oil pump mounting bolts. Remove the crankshaft sprocket. Remove the oil pump mounting bolts and separate the pump from the engine block. Working on the backside of the oil pump, loosen the oil pump cover mounting bolts gradually and evenly. Loosen each bolt in several steps. Remove the oil pump cover. Note any identification marks on the rotors and withdraw the rotors from the pump body. Thoroughly clean and dry the components. Inspect the rotors for obvious wear or damage. If either rotor, the pump body or the cover is scored or damaged, the complete oil pump assembly must be replaced. If the oil pump components are in acceptable condition, dip the rotors in clean engine oil and install them into the pump body with any identification marks positioned as noted during disassembly. Remove the oil pressure relief valve components from the oil pump body. Thoroughly clean and dry the components. Inspect the components for obvious wear or damage. Install them in the correct order. Using a seal driver, install a new seal into the bore of the pump. Install a new gasket onto the engine block. Coat the oil pump side of the gasket with an aerobic sealant. Be careful to apply a thin layer of sealant and keep any sealant from entering the oil passageways. Prime the oil pump prior to installation. Pour clean oil into the pick-up port and turn the pump by hand. Install the oil pump to the engine. Apply a thread locking compound to the oil pump bolts and tighten the bolts to the specific torque. The oil pump mounting bolts must be retorqued after the alternator bracket has been installed onto the oil pump/engine block. The remainder of installation is the reverse of removal procedure. Reconnect the battery. Fill the engine with the correct type and quantity of oil. Start the engine and check for leaks.
- Q: How to remove and install the oil pump assembly in four cylinder engine on Saturn Vue?A:Loosen the right-front wheel lug nuts, raise the front of the vehicle, and support it securely on jackstands before removing the right front wheel. Next, remove the drivebelt and drain the engine oil. Proceed to remove the engine front cover by taking out the four bolts retaining the round gerotor cover from the engine cover. On the rear of the engine cover, loosen the oil pump cover screws gradually until they are all loose, then remove the cover. Note any identification marks on the rotors and withdraw them from the pump body; if no marks are visible, use a permanent marker to create your own for correct installation. Clean and dry the components thoroughly, inspecting the rotors for wear or damage. If any rotor, the pump body, or the cover is scored or damaged, replace the complete oil pump assembly. Check the inner-to-outer rotor tip clearance, the outer rotor-to-housing clearance, and the rotor-to-cover side clearance. If the oil pump components are acceptable, dip the rotors in clean engine oil and install them into the pump body with the identification marks positioned as noted during disassembly. Remove the oil pressure relief valve components from the front cover, clean and dry them, and inspect for wear or damage before installing them in the correct order. Install the rotors into the housing with the hub of the inner rotor facing the engine front cover, ensuring the inner rotor hub is installed correctly for proper fastening of the engine front cover/gerotor cover. Install the oil pump cover and screws, tightening them by hand until snug, then gradually and evenly to the specified torque, followed by the installation of the oil pressure relief valve components. Fill the engine with fresh engine oil and install a new oil filler. Start the engine and check for leaks, ensuring that oil pressure comes up to normal quickly; if it doesn't, stop the engine and investigate the cause to prevent severe engine damage from insufficient oil pressure.
