My Garage
My Account
Cart
Genuine Saturn Vue Flywheel
Clutch Flywheel- Select Vehicle by Model
- Select Vehicle by VIN
Select Vehicle by Model
orMake
Model
Year
Select Vehicle by VIN
For the most accurate results, select vehicle by your VIN (Vehicle Identification Number).
7 Flywheels found
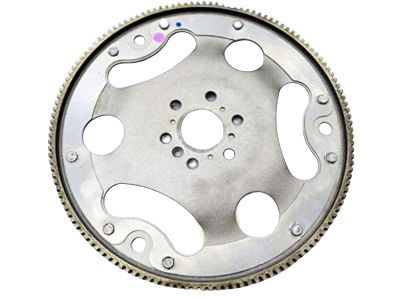
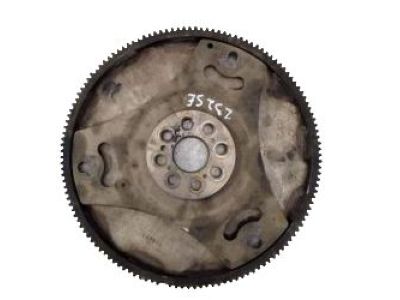
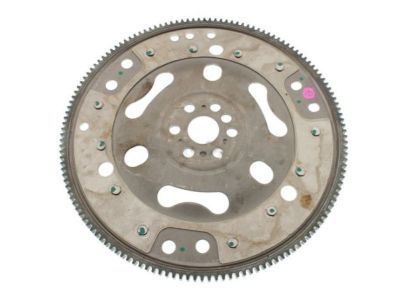
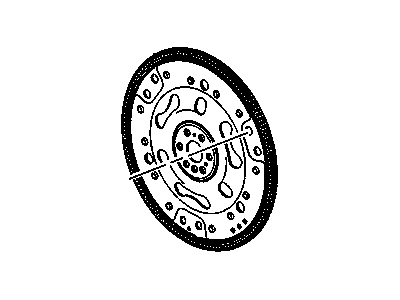
Saturn Vue Automatic Transmission Flexible Plate Assembly
Part Number: 12647333$130.49 MSRP: $215.96You Save: $85.47 (40%)Ships in 1-3 Business DaysSaturn Vue Automatic Transmission Flexible Plate Assembly
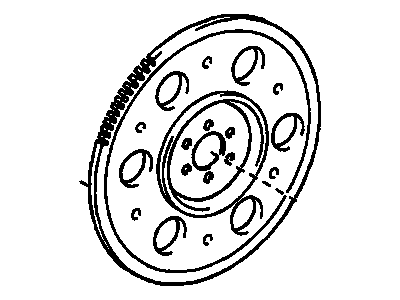
Part Number: 12597026$63.26 MSRP: $100.90You Save: $37.64 (38%)Ships in 1-2 Business DaysSaturn Vue Automatic Transmission Flexible Plate Assembly
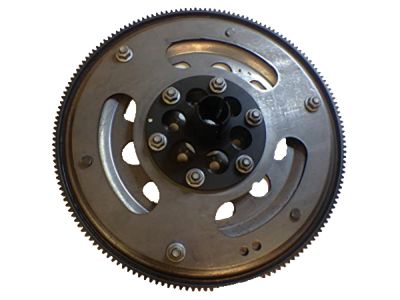
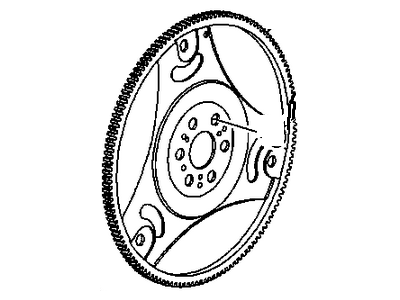
Part Number: 24410097$78.98 MSRP: $124.26You Save: $45.28 (37%)Ships in 1-3 Business DaysSaturn Vue Engine Crankshaft Flywheel
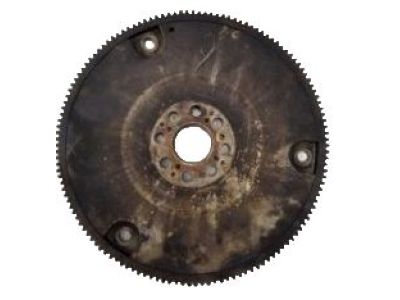
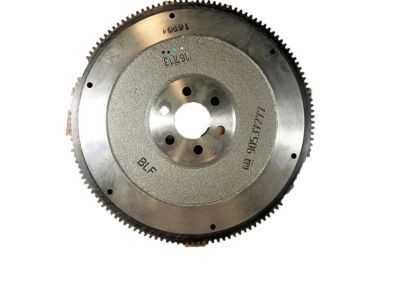
Part Number: 90537283$114.57 MSRP: $182.74You Save: $68.17 (38%)Ships in 1-3 Business DaysSaturn Vue Engine Crankshaft Flywheel
Part Number: 12581309$52.52 MSRP: $70.89You Save: $18.37 (26%)Ships in 1-2 Business Days
Saturn Vue Flywheel
Each OEM Saturn Vue Flywheel we offer is competitively priced and comes with the assurance of the manufacturer's warranty for the part. Furthermore, we guarantee the speedy delivery of your orders right to your doorstep. Our hassle-free return policy is also in place for your peace of mind.
Saturn Vue Flywheel Parts Questions & Experts Answers
- Q: How to remove and reinstall a Flywheel in four cylinder engine on Saturn Vue?A:In case of removal of transaxle the vehicle should first be lifted and supported on jackstands and then the removal should be done as given below. If there is any leak, it may be useful to replace the front pump seal or O-ring of automatic transaxles at this time. For the manual transaxle vehicles, remove the pressure plate together with the clutch disc; it is advisable to inspect or replace the clutch parts. Place visible alignment spots on the flywheel or driveplate and the crankshaft to ease alignment during the reassembly process and this could be done by marking with a center punch or painting. Then, take out the bolts of the flywheel or driveplate to the crankshaft; if the crankshaft continues to turn, wedge it with a flat screwdriver into the flywheel between the teeth of the ring gear. Remove the old bolts and then use new ones during the process of installing them. While doing this, one must be very slow especially when mortising the last bolt as you support the flywheel or drive plate, also if there is a spacer, one should note the direction of the spacer to be fitted. In order to examine the flywheel for crack, Rivet groves, burnt area and score marks, the flywheel should be cleaned to remove grease and oil, light score marked can be smoothed by use of emery cloth. Ensure that the ring gear teeth are not cracked or broken and the flywheel is flat that can be done by placing a straight edge on it. Check and, if necessary clean the mating faces of flywheel or drive plate and crankshaft, also, replacing the crankshaft rear seal , if it was found to be leaking. Align the crankshaft and flywheel or driveplate to meet the marks taken before removing the unit, and put back any spacer that may have been removed. It may be possible to assist the alignment of some engine types through the use of alignment dowels or staggered bolt holes. To those threads that do not already have a layer of thread locking compound, apply some now before wedging a screwdriver into the ring gear teeth of the sprocket with just enough pressure to prevent the bolts following tightening from moving back out again, and tighten the bolts to the specified torque value, increasing gradually over about three or four turns. The rest of the installation steps will take place in the reverse order to that of the removal steps listed above.
