My Garage
My Account
Cart
Genuine Chevrolet Instrument Cluster
Speedometer Instrument Cluster- Select Vehicle by Model
- Select Vehicle by VIN
Select Vehicle by Model
orMake
Model
Year
Select Vehicle by VIN
For the most accurate results, select vehicle by your VIN (Vehicle Identification Number).
2117 Instrument Clusters found
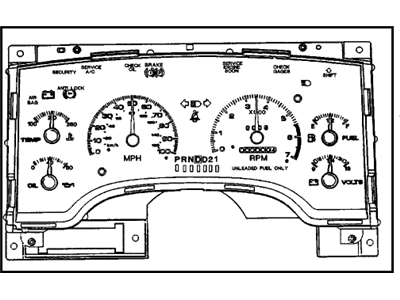
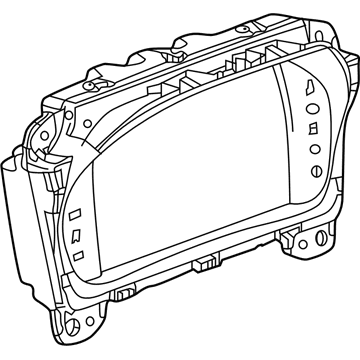
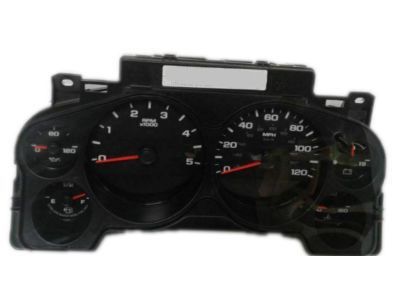
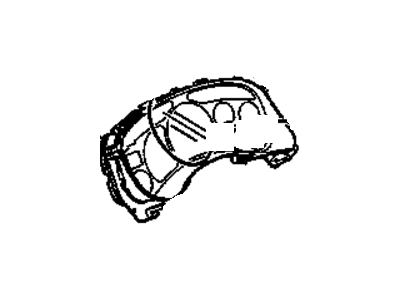
Chevrolet Instrument Panel Gage Cluster
Part Number: 16197939$137.09 MSRP: $204.04You Save: $66.95 (33%)Product Specifications- Other Name: Cluster
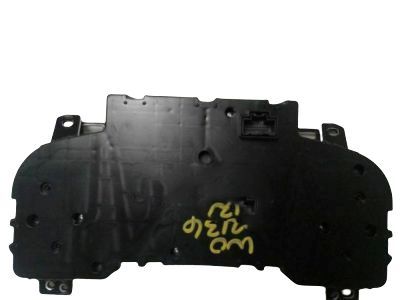
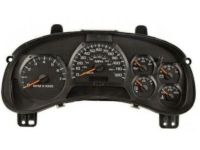
Chevrolet Instrument Cluster Assembly
Part Number: 16219071$122.64 MSRP: $281.92You Save: $159.28 (57%)Product Specifications- Other Name: Cluster Assembly, Instrument
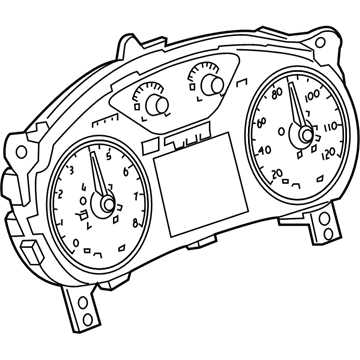
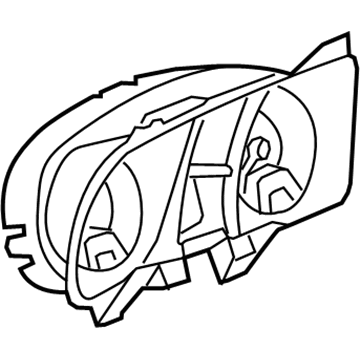
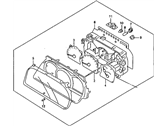
Chevrolet INST CLUST
Part Number: 25045312$24.35 MSRP: $36.24You Save: $11.89 (33%)Ships in 1-2 Business DaysProduct Specifications- Other Name: Fuel Gauge
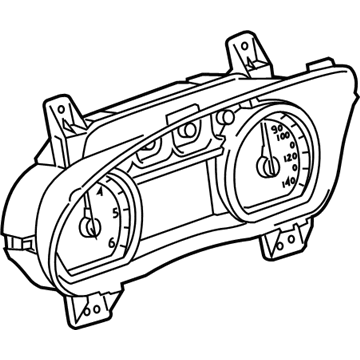
Chevrolet Instrument Cluster Assembly
Part Number: 84594412$168.60 MSRP: $255.51You Save: $86.91 (35%)Ships in 1-3 Business DaysProduct Specifications- Other Name: Cluster Assembly, Inst
Chevrolet Instrument Panel Gage Cluster
Part Number: 15806463$212.19 MSRP: $321.50You Save: $109.31 (34%)Ships in 1-3 Business DaysProduct Specifications- Other Name: Cluster Assembly, Instrument ; Cluster, Instrument Panel Gage; Instrument Cluster
Chevrolet Instrument Panel Gage Cluster
Part Number: 15238346$143.45 MSRP: $300.71You Save: $157.26 (53%)Ships in 1-2 Business DaysProduct Specifications- Other Name: Cluster,Instrument
Chevrolet Instrument Cluster Assembly
Part Number: 42705617$407.62 MSRP: $617.60You Save: $209.98 (34%)Ships in 1-3 Business DaysProduct Specifications- Other Name: Cluster Assembly, Inst; Cluster, Instrument Cluster
- Replaces: 42688712
Chevrolet Instrument Cluster Assembly *Black
Part Number: 22876296$202.02 MSRP: $306.13You Save: $104.11 (35%)Ships in 1-3 Business DaysProduct Specifications- Other Name: Cluster Assembly, Instrument *Black; Cluster Assembly
- Replaces: 22761047
Chevrolet Instrument Cluster Assembly
Part Number: 84310883$411.05 MSRP: $622.93You Save: $211.88 (35%)Ships in 1-3 Business DaysProduct Specifications- Other Name: Cluster Assembly, Instrument
- Replaces: 84266108
Chevrolet Instrument Cluster Assembly
Part Number: 84624950$205.17 MSRP: $310.86You Save: $105.69 (34%)Ships in 1-3 Business DaysProduct Specifications- Other Name: Cluster Assembly, Inst
- Replaces: 84398584
Chevrolet Instrument Cluster Assembly
Part Number: 84505119$537.82 MSRP: $815.06You Save: $277.24 (35%)Ships in 1-3 Business DaysProduct Specifications- Other Name: Cluster Assembly, Inst
Chevrolet Instrument Panel Gage Cluster
Part Number: 25894033$73.78 MSRP: $116.00You Save: $42.22 (37%)Ships in 1-2 Business DaysProduct Specifications- Other Name: Cluster Assembly, Instrument ; Cluster, Instrument Panel Gage; Cluster Assembly, Instrument Cluster
- Replaces: 15890998
Chevrolet Instrument Cluster Assembly
Part Number: 84682069$134.79 MSRP: $204.24You Save: $69.45 (34%)Ships in 1-3 Business DaysProduct Specifications- Other Name: Cluster Assembly, Inst; Instrument Cluster
- Replaced by: 85043788
Chevrolet Instrument Cluster Assembly
Part Number: 22838400$208.03 MSRP: $312.42You Save: $104.39 (34%)Product Specifications- Other Name: Cluster Assembly, Instrument ; Cluster, Instrument Panel Gage; Instrument Cluster
- Replaces: 20964175, 20958761, 20895734
Chevrolet Instrument Cluster Assembly
Part Number: 23295406$258.71 MSRP: $388.45You Save: $129.74 (34%)Product Specifications- Other Name: Cluster Assembly, Instrument; Cluster Assembly
- Replaces: 23134057
Chevrolet Instrument Cluster Assembly
Part Number: 84597918$240.65 MSRP: $361.33You Save: $120.68 (34%)Product Specifications- Other Name: Cluster Assembly, Inst; Instrument Cluster
- Replaces: 84298031, 84390804
Chevrolet Instrument Panel Gage Cluster
Part Number: 15135673$236.19 MSRP: $354.64You Save: $118.45 (34%)Product Specifications- Other Name: Cluster Assembly, Instrument ; Cluster, Instrument Panel Gage
Chevrolet Instrument Cluster Assembly
Part Number: 84560527$320.00 MSRP: $480.49You Save: $160.49 (34%)Product Specifications- Other Name: Cluster Assembly, Inst; Cluster, Instrument Cluster
- Replaces: 84338169, 84257746
Chevrolet Instrument Cluster Assembly
Part Number: 84273567$234.68 MSRP: $352.45You Save: $117.77 (34%)Product Specifications- Other Name: Cluster Assembly, Instrument
- Replaces: 84174429, 84142076, 84037516
| Page 1 of 106 |Next >
1-20 of 2117 Results
Chevrolet Instrument Cluster
At GMPartsGiant.com, we offer an extensive inventory of genuine Chevrolet Instrument Clusters at competitive prices in the market. All our OEM Chevrolet Instrument Clusters are backed by the manufacturer's warranty and will be shipped promptly to your doorstep. Rest assured, our hassle-free return policy is designed to support you throughout your shopping experience!
Chevrolet Instrument Cluster Parts Questions & Experts Answers
- Q: What challenges do home mechanics face when attempting to remove the instrument cluster on Chevrolet Camaro?A:This process is impractical for home mechanical work since some of the fasteners are well hidden, awkward places to access, and numerous electrical connectors that have to be labelled and disconnected. It is recommended for only those people who have some experience in do-it-yourself legal work. When any part of the instrument panel is removed careful must be taken to note how the part is removed, where it was situated and how it was fixed and this is very important because most of the times the panel has to be reconstructed. In case of a need of removing the tie-bar, the windshield needs also to be unbolted to access the upper attachment bolts, which are best done by a professional auto glass workshop. It begins with the removal of the steering wheel, interior trim panels of the dashboard, the glove box, and air conditioning and heater control assembly, the instrument cluster, radio and speakers' panels and the headlamp switch assembly together with the instrument panel dimmer switch, the fog light switch if the car has one, Registers, defrost grill, front seats as they will improve access and Center floor console. Next you will need to carefully take out left and right A-pillar trim panels, then weather strip sill and the kick panel fastener will be removed. If present remove the communication interface module and battery cover next remove the module and battery. Remove the DLC connector and the hood release handle, disconnect all electrical connections and clips of wiring harness between the front seats, and any other connection on the car to the instrument panel. Make sure that all the wiring is free from all the connections, thereafter, remove the steering column and the instrumental panel dash trims screws. Remove all the in-vehicles temperature sensor aspirator hoses and with the help of your assistant remove the instrument panel. If needed, it is required to detach the fastening elements of the heads-up-display unit and to lift the display unit from the instrument panel. For the tie-bar, first need to extract the instrument panel, next need to have the windshield done professionally, disconnect all the electrical harness connectors on the firewall side and the interior of the vehicle. Take off the brake and clutch pedal assembly, tie-bar brace fasteners near the windshield, left side fasteners, centre fasteners, and right corner bolts. With assistance, ease the tie-bar brace out from the vehicle, and fitting is completed using the steps below those described above.
- Q: Is instrument cluster removal recommended for the home mechanic on Chevrolet Trailblazer?A:This procedure is lengthy and difficult, even for an experienced mechanic, and due to the number of electrical connections, fasteners, and various safety systems involved, instrument panel removal is not recommended for the home mechanic. Begin by turning the front wheels to the straight-ahead position and locking the steering column, then disconnect the negative battery cable and disable the airbag system. Use a trim tool to remove the windshield post interior trim strips, carefully pull up the trim clips along the upper trim pad, and locate the ambient light sensor in the center of the trim pad, rotating it 1/4-turn counterclockwise to disengage it before lifting the pad off the dash. Installation is the reverse of removal. Next, disable the airbag system again, remove the instrument panel upper trim pad, and the center console, followed by all panels and the instrument cluster. Detach the steering column from the dash and lower it, or remove it completely if planning to take out the instrument panel support structure. Remove the left heater duct, the radio, and the heater/AC control module, freeing its wiring harness from the retainer. Remove the access cover from each end of the instrument panel, then the screws securing each end, along with the headlight switch assembly from the left end and the screw for the side window defogger outlet from the right end. Remove the lower mounting bolts from the right side, the center of the panel, and the instrument cluster recess, followed by the bolts along the top of the instrument panel. Ensure nothing is still connected and carefully remove the instrument panel with assistance. Installation is the reverse of removal. The instrument panel carrier is a complicated, unitized structure that supports the steering column, heating/air conditioning modules, and other components, and it is removed together with the HVAC assembly containing the evaporator and heater core.
- Q: How to disconnect and remove the instrument cluster on Chevrolet Tracker?A:First, remove the negative battery cable. Then unfasten and pry out the bezel, before taking out the cluster screws. Take off the wiring, pull out the cluster, disconnect the speedometer wire, and take it from behind the instrument panel. Installation is the reverse of removal.
Related Chevrolet Parts
Browse by Model
Astro Instrument Cluster Avalanche Instrument Cluster Aveo Instrument Cluster Beretta Instrument Cluster Blazer EV Instrument Cluster Blazer Instrument Cluster Bolt EUV Instrument Cluster Bolt EV Instrument Cluster C10 Instrument Cluster C1500 Instrument Cluster C20 Instrument Cluster C2500 Instrument Cluster C30 Instrument Cluster C3500 Instrument Cluster Cadet Instrument Cluster Camaro Instrument Cluster Caprice Instrument Cluster Captiva Sport Instrument Cluster Cavalier Instrument Cluster Celebrity Instrument Cluster City Express Instrument Cluster Cobalt Instrument Cluster Colorado Instrument Cluster Corsica Instrument Cluster Corvette Instrument Cluster Cruze Instrument Cluster Equinox EV Instrument Cluster Equinox Instrument Cluster Express Instrument Cluster G10 Instrument Cluster G20 Instrument Cluster G30 Instrument Cluster HHR Instrument Cluster Impala Instrument Cluster K10 Instrument Cluster K1500 Instrument Cluster K20 Instrument Cluster K2500 Instrument Cluster K30 Instrument Cluster K3500 Instrument Cluster Lumina Instrument Cluster Malibu Instrument Cluster Metro Instrument Cluster Monte Carlo Instrument Cluster Orlando Instrument Cluster P30 Instrument Cluster Prizm Instrument Cluster R10 Instrument Cluster R20 Instrument Cluster R2500 Instrument Cluster R30 Instrument Cluster R3500 Instrument Cluster S10 Instrument Cluster SS Instrument Cluster SSR Instrument Cluster Silverado EV Instrument Cluster Silverado Instrument Cluster Sonic Instrument Cluster Spark EV Instrument Cluster Spark Instrument Cluster Spectrum Instrument Cluster Sprint Instrument Cluster Storm Instrument Cluster Suburban Instrument Cluster Tahoe Instrument Cluster Tracker Instrument Cluster Trailblazer Instrument Cluster Traverse Instrument Cluster Trax Instrument Cluster Uplander Instrument Cluster V10 Instrument Cluster V20 Instrument Cluster V30 Instrument Cluster V3500 Instrument Cluster Venture Instrument Cluster Volt Instrument Cluster
