My Garage
My Account
Cart
Genuine Chevrolet Universal Joint
U-Joint- Select Vehicle by Model
- Select Vehicle by VIN
Select Vehicle by Model
orMake
Model
Year
Select Vehicle by VIN
For the most accurate results, select vehicle by your VIN (Vehicle Identification Number).
44 Universal Joints found
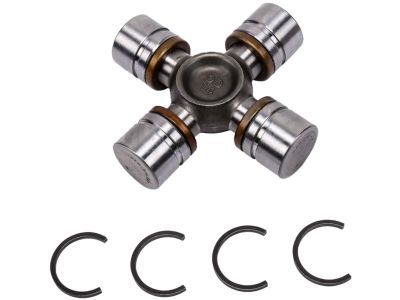
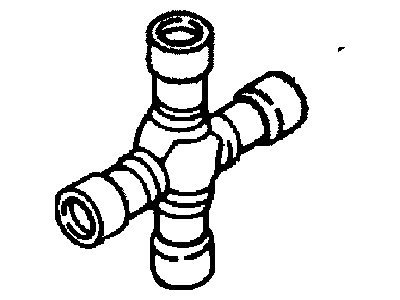
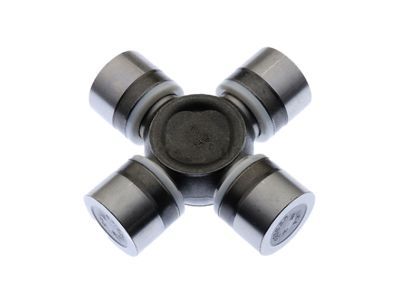
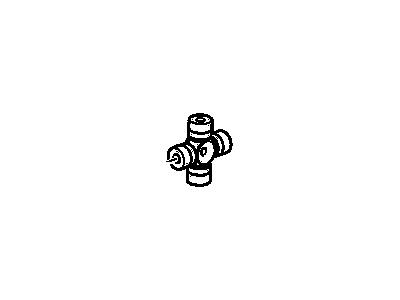
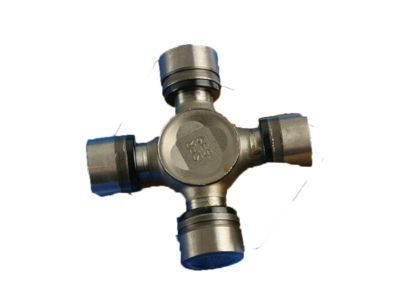
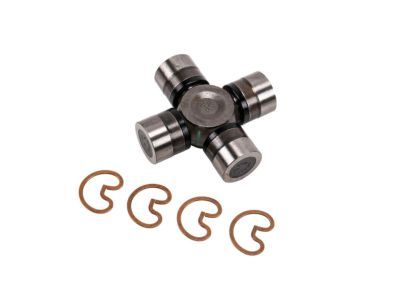
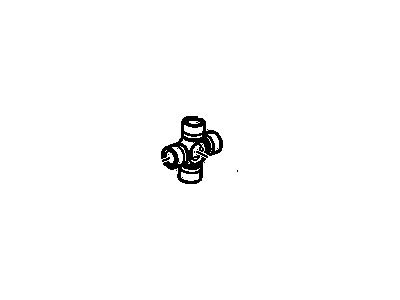
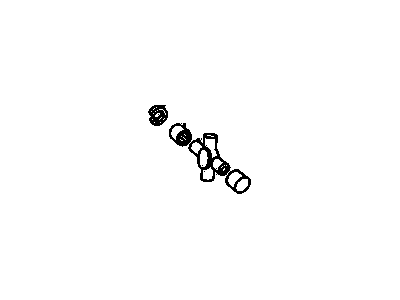
Chevrolet Joint Kit, Front Axle Propeller Shaft Front Universal
Part Number: 23104840$51.58 MSRP: $88.98You Save: $37.40 (43%)Ships in 1-2 Business DaysProduct Specifications- Other Name: JOINT KIT, Propeller Shaft Universal Joint; Universal Joint
- Position: Front
- Replaces: 12471502, 12479126, 26042371
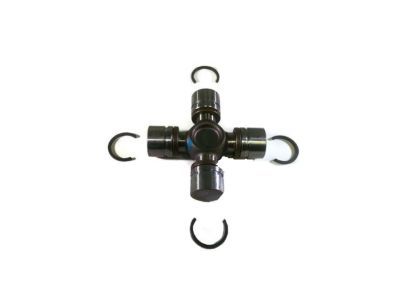
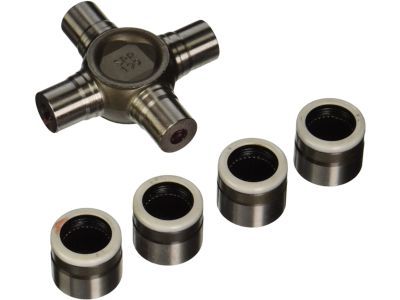
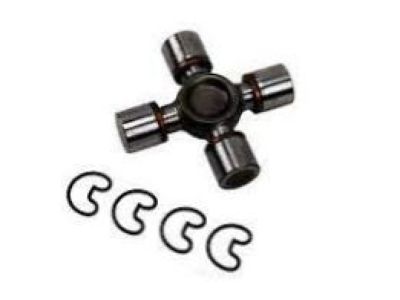
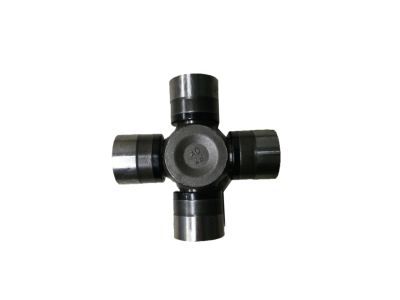
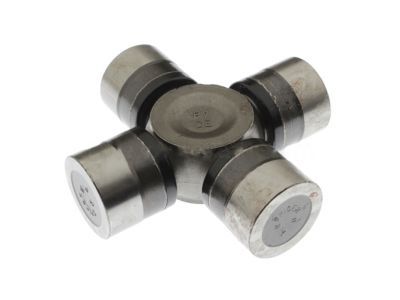
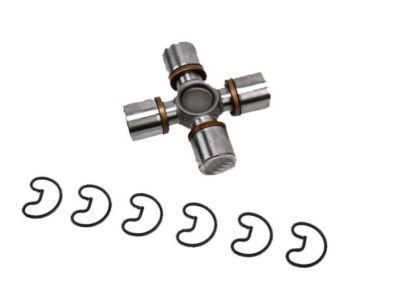
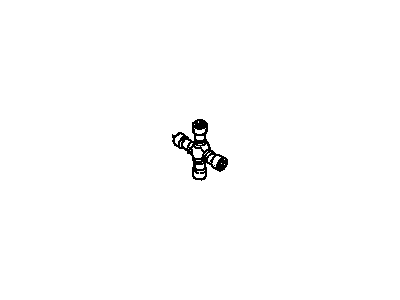
Chevrolet Joint Kit,Front Axle Propeller Shaft Universal
Part Number: 89059111$163.11 MSRP: $273.43You Save: $110.32 (41%)Ships in 1-2 Business DaysProduct Specifications- Other Name: JOINT KIT, Propeller Shaft Universal Joint; Slip Yoke, Universal Joint
- Position: Front
- Replaces: 12472409, 12476231, 12471503, 12522048, 26049843, 88982758, 88964507, 94772179, 12476230
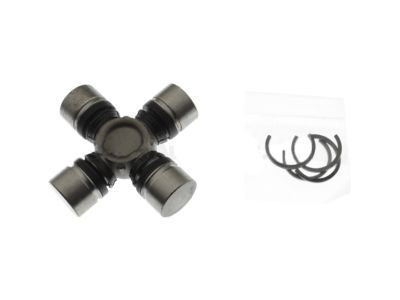
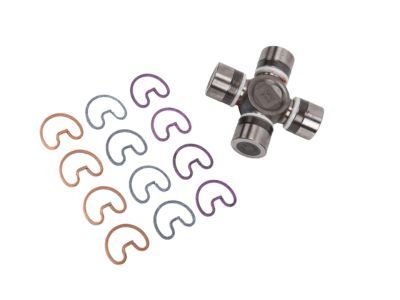
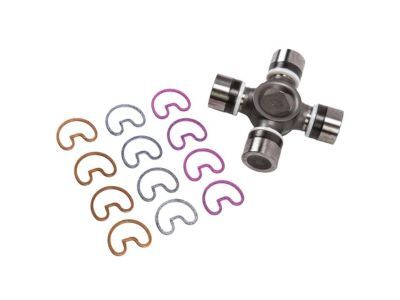
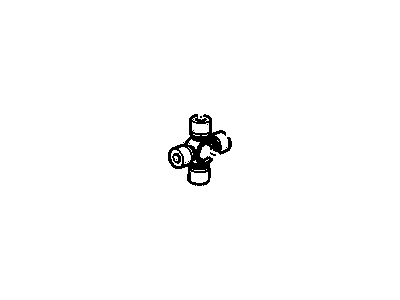
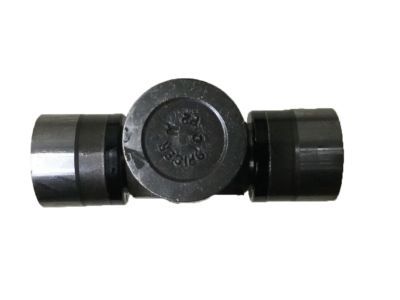
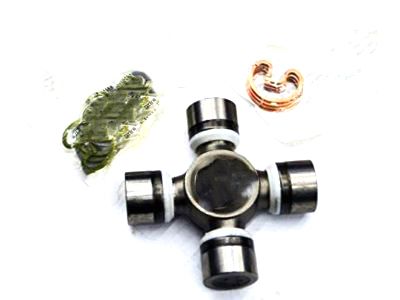
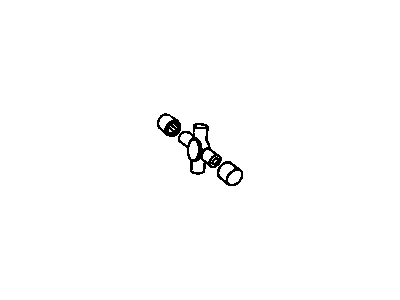
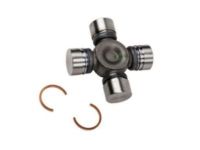
Chevrolet Joint Kit,Front Axle Propeller Shaft Universal
Part Number: 88964413$197.48 MSRP: $328.19You Save: $130.71 (40%)Ships in 1-2 Business DaysProduct Specifications- Other Name: JOINT KIT, Propeller Shaft Universal Joint; Universal Joint
- Position: Front
- Replaces: 12385742, 12472406, 15599179, 19256729, 88982759, 12478057, 12471510, 12476310
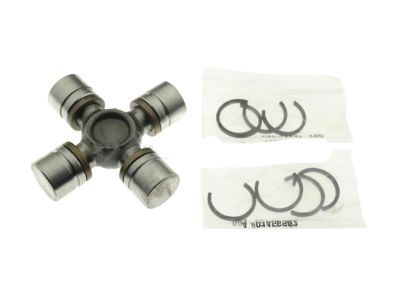
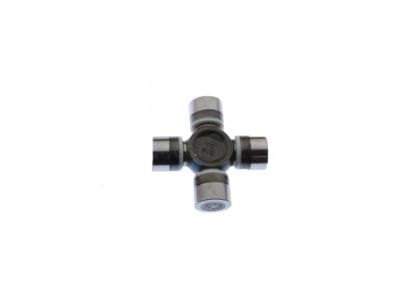
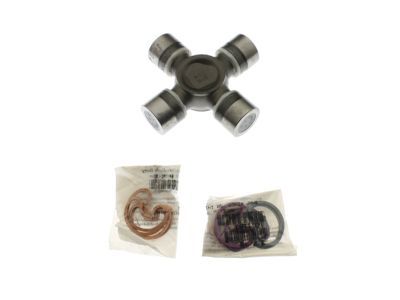
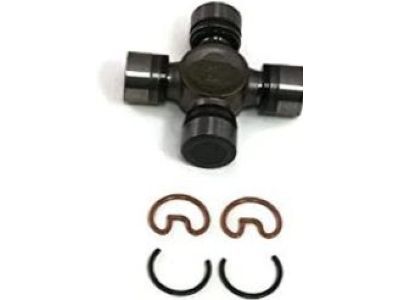
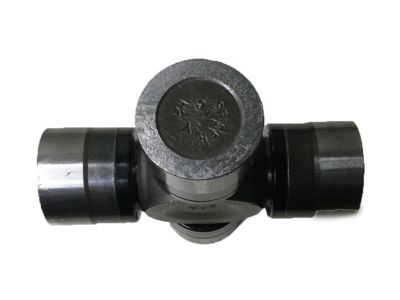
Chevrolet Joint Kit,Propeller Shaft Universal (1415 Series)
Part Number: 19256729$197.48 MSRP: $328.19You Save: $130.71 (40%)Ships in 1-2 Business DaysProduct Specifications- Other Name: JOINT KIT, Propeller Shaft Universal Joint; Universal Joint
- Replaced by: 88964413
Chevrolet Joint Kit,Propeller Shaft Rear Universal
Part Number: 89040245$106.93 MSRP: $180.82You Save: $73.89 (41%)Ships in 1-2 Business DaysProduct Specifications- Other Name: JOINT KIT, Propeller Shaft Universal Joint; Universal Joint
- Position: Rear
- Replaces: 12472402, 12543576, 15577432, 12476136
Chevrolet Propeller Shaft Universal Joint Kit
Part Number: 19121436$119.85 MSRP: $285.31You Save: $165.46 (58%)Ships in 1-2 Business DaysProduct Specifications- Other Name: JOINT KIT, Propeller Shaft Universal Joint; Universal Joint
- Replaces: 15515792, 19256890, 15898097, 88934794, 88935919
Chevrolet Joint Kit,Propeller Shaft Front Universal
Part Number: 89040243$108.10 MSRP: $179.64You Save: $71.54 (40%)Ships in 1-2 Business DaysProduct Specifications- Other Name: JOINT KIT, Propeller Shaft Universal Joint; Universal Joint
- Position: Front
- Replaces: 12543573, 12473124, 12476135
Chevrolet Joint Kit, Front Axle Propeller Shaft Front Universal
Part Number: 94772179$164.54 MSRP: $273.43You Save: $108.89 (40%)Ships in 1-3 Business DaysProduct Specifications- Other Name: JOINT KIT, Propeller Shaft Universal Joint; Universal Joint
- Position: Front
- Replaced by: 89059111
- Product Specifications
- Other Name: JOINT KIT, Propeller Shaft Universal Joint
Chevrolet Joint Kit, Prop Shf Universal
Part Number: 84922957$159.15 MSRP: $253.81You Save: $94.66 (38%)Ships in 1-3 Business DaysProduct Specifications- Other Name: U-Joint, Universal Joint
- Replaces: 84272144
Chevrolet Joint Kit,Front Axle Propeller Shaft Universal
Part Number: 15617319$18.90 MSRP: $38.11You Save: $19.21 (51%)Product Specifications- Other Name: JOINT KIT, Propeller Shaft Universal Joint
- Position: Front
Chevrolet Propeller Shaft Universal Joint Kit
Part Number: 91173316$56.84 MSRP: $114.62You Save: $57.78 (51%)Product Specifications- Other Name: JOINT KIT, Propeller Shaft Universal Joint; Universal Joint
- Replaces: 96069180
Chevrolet Joint Kit, Prop Shf Universal
Part Number: 84712242$124.21 MSRP: $212.40You Save: $88.19 (42%)Ships in 1 Business DayProduct Specifications- Other Name: U-Joint, Universal Joint
- Replaced by: 84807275
Chevrolet Joint Kit, F/Axl Prop Shf Rr Universal
Part Number: 84526285$34.55 MSRP: $59.11You Save: $24.56 (42%)Ships in 1-3 Business DaysProduct Specifications- Other Name: Universal Joint
- Position: Rear
Chevrolet Joint Kit, Prop Shf Universal
Part Number: 84679955$43.98 MSRP: $72.79You Save: $28.81 (40%)Ships in 1-3 Business DaysProduct Specifications- Other Name: U-Joint, Universal Joint
Chevrolet Joint Kit, Prop Shf Universal
Part Number: 84922956$146.19 MSRP: $233.17You Save: $86.98 (38%)Ships in 1-3 Business DaysProduct Specifications- Other Name: U-Joint, Universal Joint
- Replaces: 84272143
Chevrolet Joint Kit, Prop Shf Universal
Part Number: 84679948$58.86 MSRP: $93.89You Save: $35.03 (38%)Ships in 1-3 Business DaysProduct Specifications- Other Name: U-Joint, Universal Joint
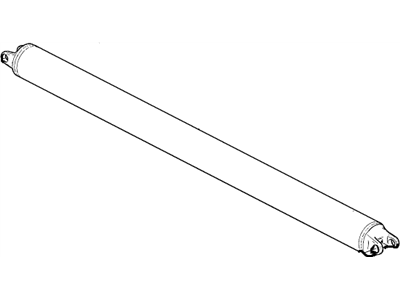
Chevrolet Joint Kit, Rear Wheel Drive Shaft Inner
Part Number: 84210651$72.45 MSRP: $114.00You Save: $41.55 (37%)Ships in 1-3 Business DaysProduct Specifications- Other Name: Joint Kit, Rear Whl Drv Shf Inr
- Position: Rear Inner
- Product Specifications
- Other Name: JOINT KIT, Propeller Shaft Universal Joint
- Product Specifications
- Other Name: JOINT KIT, Propeller Shaft Universal Joint
| Page 1 of 3 |Next >
1-20 of 44 Results
Chevrolet Universal Joint
At GMPartsGiant.com, we offer an extensive inventory of genuine Chevrolet Universal Joints at competitive prices in the market. All our OEM Chevrolet Universal Joints are backed by the manufacturer's warranty and will be shipped promptly to your doorstep. Rest assured, our hassle-free return policy is designed to support you throughout your shopping experience!
Chevrolet Universal Joint Parts Questions & Experts Answers
- Q: How to perform a Universal Joint repair on Chevrolet Caprice?A:To perform a Cleveland type joint repair, start by cleaning the ends of the bearings on the yokes and removing the snap-rings using snap-ring pliers. If the snap-rings are tight, tap the bearing cup to relieve pressure. Support the trunnion yoke and press out the trunnion using a vise and a socket. Grip the bearing cup in a vise to fully remove it, and repeat for the remaining cups. Ensure the vent hole on the slip yoke is not blocked. Use a universal joint repair kit to replace the trunnion, seals, bearings, cups, and snap-rings. Begin reassembly by packing lubricant into the trunnion ends. Place the dust seals correctly on the trunnion and insert one bearing cup into the yoke, followed by needle rollers. Insert the trunnion into the cup and stick needle bearings into the opposite cup. Press both cups fully home in the vise and install new snap-rings. Repeat for the other bearing cups. If the bearing cup housings are excessively worn, replace the entire driveshaft assembly. Always check the wear in the sliding sleeve splines and replace if necessary. For a Saginaw type joint, follow a similar procedure, removing snap-rings if necessary and removing plastic material from the yoke after removing the trunnion. Reassembly is the same, with snap-rings installed inside the yoke. If needed, strike the yoke with a hammer to assist in seating.
- Q: What is the function and maintenance of the Drive Shaft and Universal Joint on Chevrolet Astro?A:The driveshaft in the model is a tube running from the transmission to the rear end of the car and containing universal joints at both ends so that it can deliver power to the rear wheels regardless of the angles. It has a split yoke in the front, which engages into the extension housing of the transmission so that it can move back and forth as required during its use. An oil seal seals the compartment additionally and acts as a barrier to prevent the leakage of the fluid as well as the entry of contaminants into the transmission. Engine drive shaft does not require much maintenance as the joints are of type universal joints and are lubricated for life and are considered for replacement only if certain problems surface compelling the removal of the whole assembly from the car. The balance of the driveshaft must be preserved, and so it has to not be covered with undercoating or mud and has to be checked for damage as well as the proper attachment of the balancing weights each time it is to be removed. Problems associated with the driveshaft are generally heralded by noises or vibration feel while the car is in motion, which can be establish through a road test to pinpoint if the root cause is the driveshaft or another part. Forcing an engine speed during the test also navigates to the root of the problem, and if the noise, or the vibration, is reduced when the transmission is in different gears, the driveshaft may not be the problem. Regarding checking for worn universal joints the first symptom is a clunking noise heard while coasting, say from a stop sign and accelerating to proceed; the second is abnormal driveline noise while coasting in Neutral. Furthermore, if the vehicle is jacked and the driveshaft is rotated while examining the universal joints for end play is another method of determining the wear level.
- Q: What should you do before beginning the procedure for replacing a universal joint on Chevrolet Trailblazer?A:Before starting this procedure, one should always purchase a Universal Joint Service Kit for your model vehicle and, at least, skim over the outline of the method. First of all, it is necessary to get rid of the driveshaft. Hold up the driveshaft on a bench on which you have placed a vise, and thereafter use a small pair of pliers to untie the snap-rings which are on the two ends of the universal joint yokes. It is mounted on a short pipe or a large socket and the second socket is pressed out of the cross by closing the vise. Drive the cross through until it is flush with the mating surface, and then, with pliers, extract the bearing cap. A universal joint repair kit will therefore include a new cross, seals, bearings, caps and snap-rings. Check the bearing cap bores in the yokes for wear and damage; if they are so worn that the caps can be roughly shaken off, the driveshaft will have to be renewed. Make sure that the dust seals are in the right position on the cross After this place one of the bearing cap using the vise to be pressed in the yoke up to 1/4 inch deep. Squeeze chassis grease to keep the needle rollers fitted into the caps, then, put the cross into the partially fixed bearing cap and ensure that the needle rollers do not come off. Maintain equal distance from the arms of the cross and insert both caps in their respective position by slowly tightening the jaws of the vise. Push the caps into the yoke with a socket slightly smaller in diameter than the caps in one side; install the snap-ring; then push the other side to move the cross assembly closer to the installed snap-ring and fix the other snap-ring. Perform the same on the other two bearing caps. If this joint has ever been rebuilt and you will be using new snap-rings, then you will need to take off two snap-rings fixed at the interior part of each bearing cap. This must be done if this is the first time the joint is being rebuilt since the pressing operation will shear the molded plastic retaining material so that it will not be necessary to pull out snap-rings. The U-joint is usually reinforced with a plastic material and it may be required to heat the U-joint to over 500 degrees to melt the material and apply force to separate the elements. Cut the bearing caps, take off the cross, before washing all of the plastic material from the yoke especially round the injection holes use a punch. The reassembly here is the same with outer snap ring joint only that, the snap rings are located at the internal side of each bearing cap. After fixing the position of the bearing cap it is pressed until the snap ring can be fitted. If the joint remains slightly rigid after assembly, it is recommended to strike the yoke with a hammer to 'spring' the yoke ears so that the joint will open.
Related Chevrolet Parts
Browse by Model
Astro Universal Joint Avalanche Universal Joint Blazer Universal Joint C10 Universal Joint C1500 Universal Joint C2500 Universal Joint C3500 Universal Joint Camaro Universal Joint Caprice Universal Joint Chevette Universal Joint Colorado Universal Joint Corvette Universal Joint Equinox Universal Joint Express Universal Joint G10 Universal Joint G20 Universal Joint G30 Universal Joint Impala Universal Joint K10 Universal Joint K1500 Universal Joint K20 Universal Joint K2500 Universal Joint K30 Universal Joint K3500 Universal Joint P20 Universal Joint P30 Universal Joint R10 Universal Joint R20 Universal Joint R30 Universal Joint S10 Universal Joint SSR Universal Joint Silverado Universal Joint Suburban Universal Joint Tahoe Universal Joint Tracker Universal Joint Trailblazer Universal Joint Traverse Universal Joint V10 Universal Joint V20 Universal Joint V30 Universal Joint Volt Universal Joint
