My Garage
My Account
Cart
Genuine GMC Oil Pan
Oil Drain Pan- Select Vehicle by Model
- Select Vehicle by VIN
Select Vehicle by Model
orMake
Model
Year
Select Vehicle by VIN
For the most accurate results, select vehicle by your VIN (Vehicle Identification Number).
96 Oil Pans found
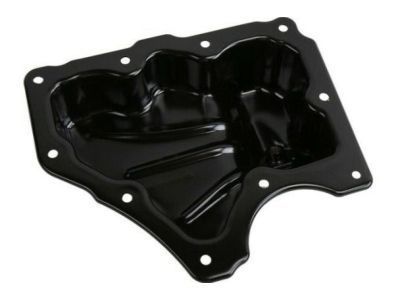
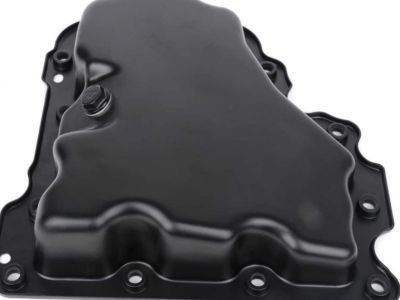
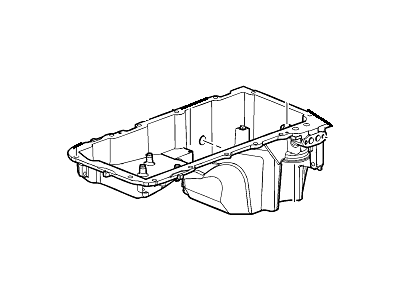
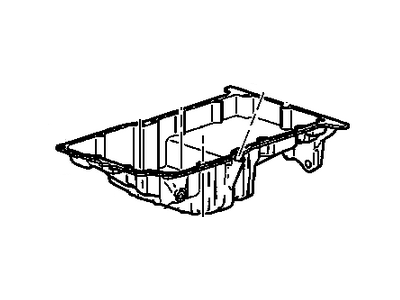
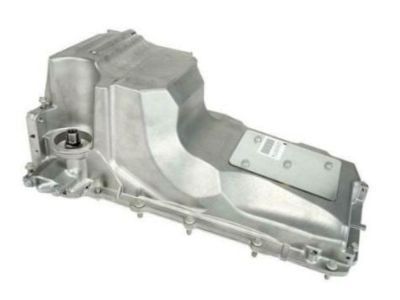
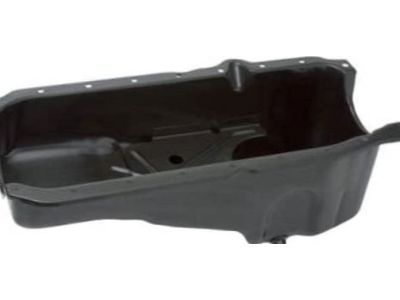
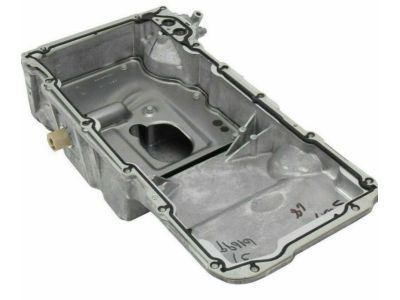
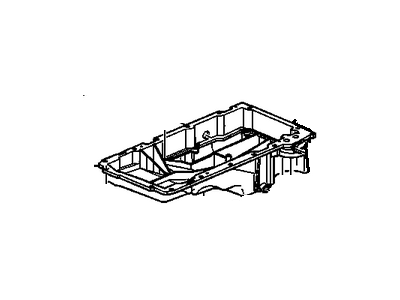
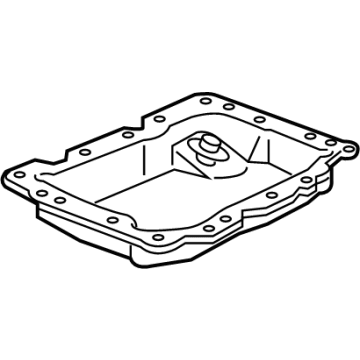
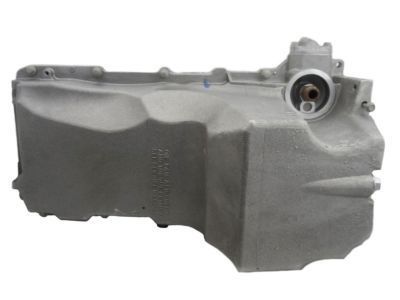
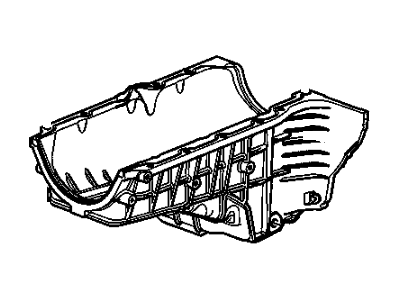
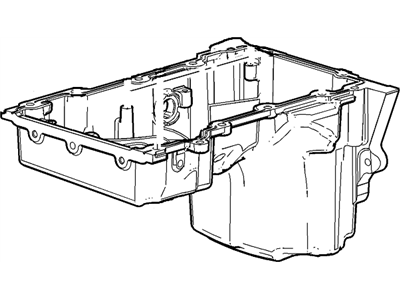
GMC Lower Engine Oil Pan
Part Number: 12669909$46.70 MSRP: $79.14You Save: $32.44 (41%)Ships in 1-2 Business DaysProduct Specifications- Other Name: Pan Lower Oil, Pan Lwr Oil; Oil Pan
- Position: Lower
- Replaces: 12659686, 12623115
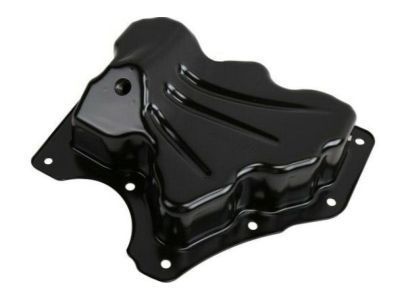
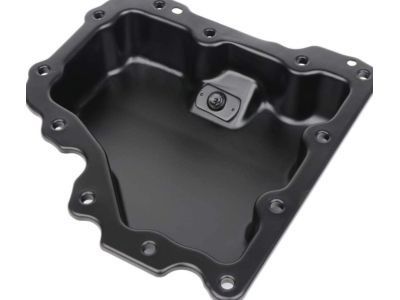
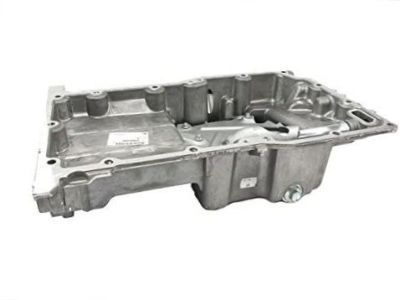
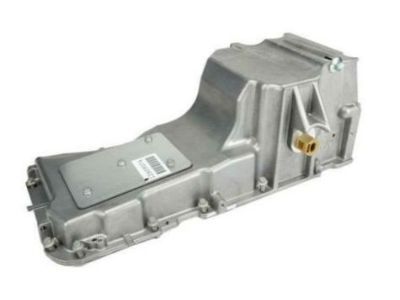
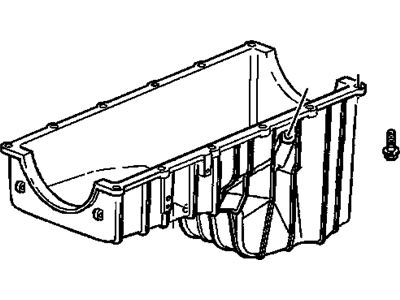
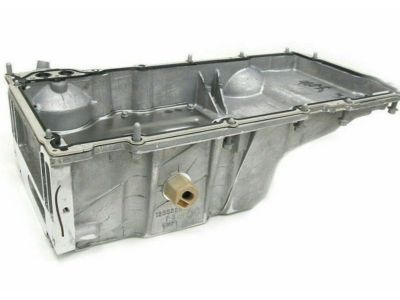
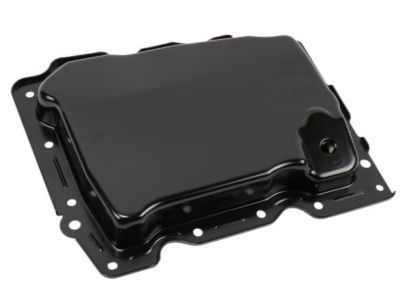
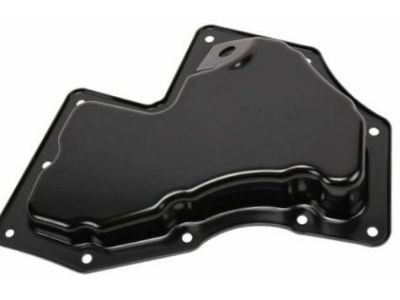
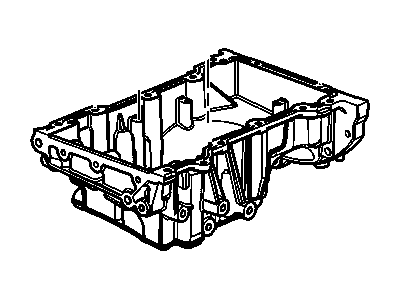
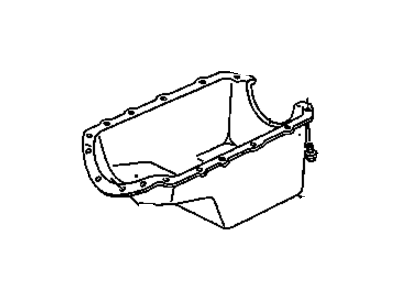
GMC Pan Assembly, Lower Oil
Part Number: 12637773$37.98 MSRP: $65.49You Save: $27.51 (43%)Ships in 1-2 Business DaysProduct Specifications- Other Name: PAN, Engine Oil; Lower Oil Pan, Oil Pan
- Position: Lower
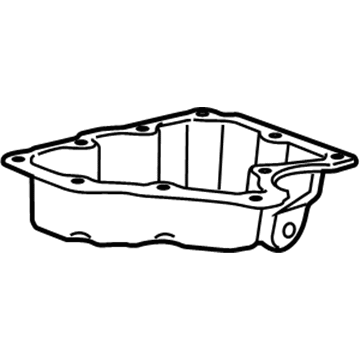
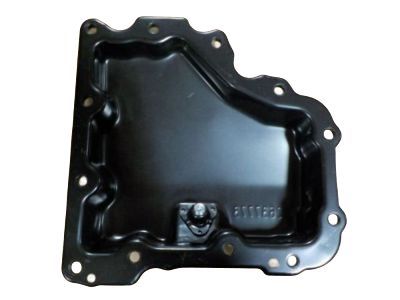
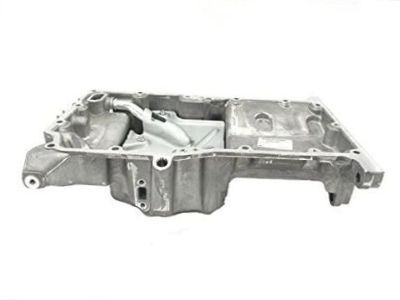
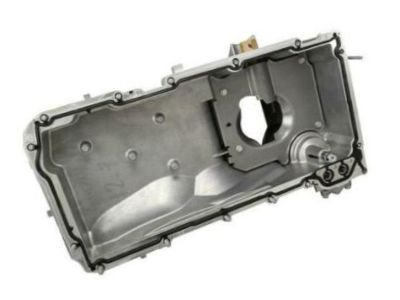
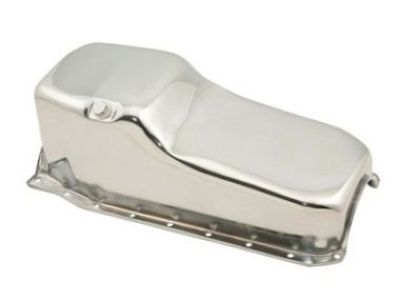
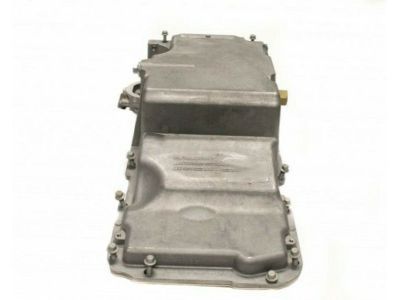
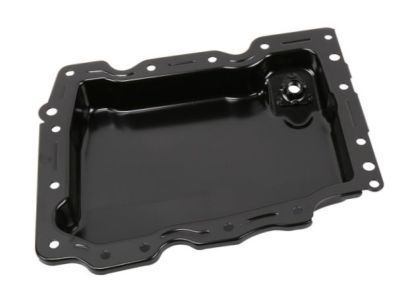
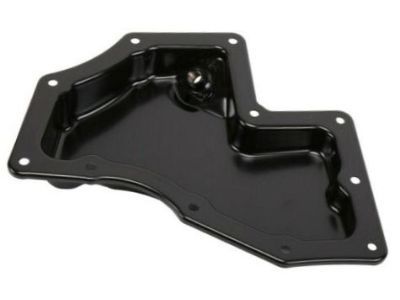
GMC Pan Assembly, Oil
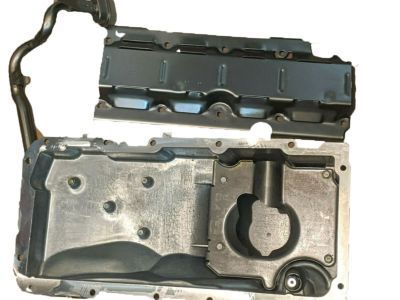
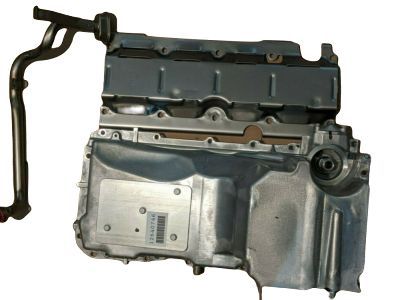
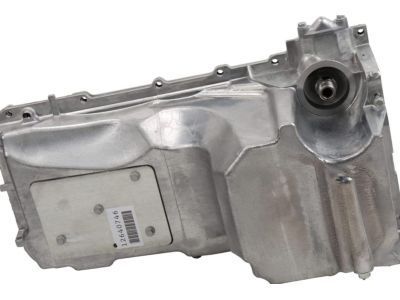
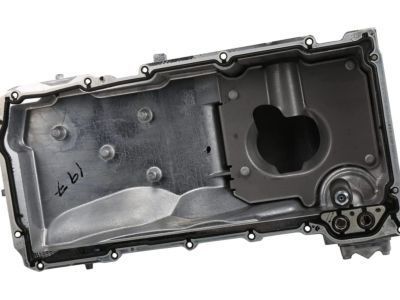
Part Number: 12640746$224.03 MSRP: $383.11You Save: $159.08 (42%)Ships in 1-2 Business DaysProduct Specifications- Other Name: PAN, Engine Oil; Oil Pan
- Replaces: 12627903, 12619776
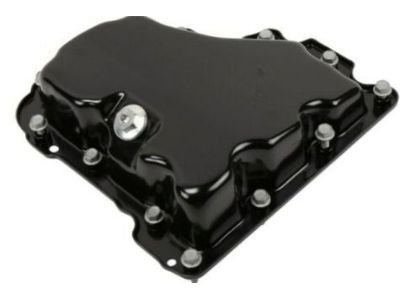
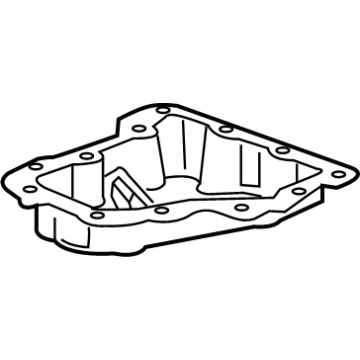
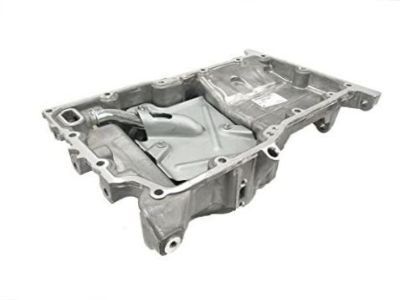
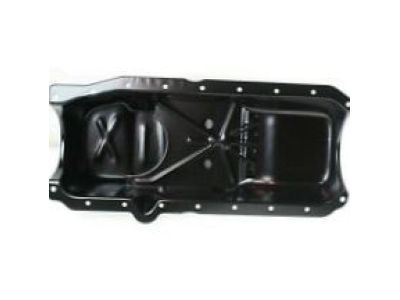
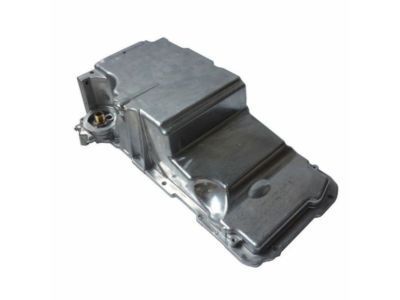
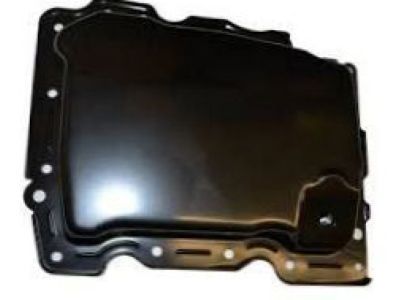
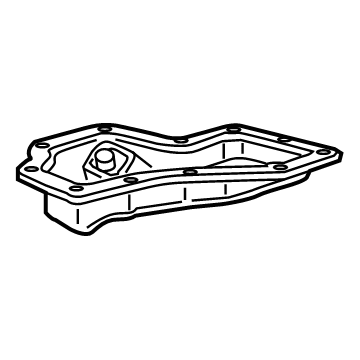
GMC Oil Pan
Part Number: 12601240$154.90 MSRP: $267.21You Save: $112.31 (43%)Ships in 1-2 Business DaysProduct Specifications- Other Name: PAN, Engine Oil; Oil Pan
- Replaces: 12578193
GMC Oil Pan Assembly
Part Number: 12609074$202.60 MSRP: $349.48You Save: $146.88 (43%)Ships in 1-2 Business DaysProduct Specifications- Other Name: PAN, Engine Oil; Oil Pan
- Replaces: 12594603
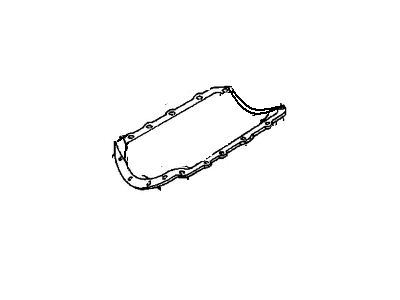
GMC Oil Pan
Part Number: 12557558$174.95 MSRP: $301.79You Save: $126.84 (43%)Ships in 1-3 Business DaysProduct Specifications- Other Name: PAN, Engine Oil; Oil Pan, Oil Pan Gasket
- Replaces: 12528916
GMC Pan Kit, Oil(W/Gasket)
Part Number: 12528916$174.95 MSRP: $301.79You Save: $126.84 (43%)Ships in 1-3 Business DaysProduct Specifications- Other Name: PAN, Engine Oil
- Replaced by: 12557558
GMC Oil Pan
Part Number: 12628771$324.36 MSRP: $559.52You Save: $235.16 (43%)Ships in 1-2 Business DaysProduct Specifications- Other Name: PAN, Engine Oil; Oil Pan
- Replaces: 12558762, 12598151
GMC Pan, Lower Oil
Part Number: 12676340$25.50 MSRP: $42.19You Save: $16.69 (40%)Ships in 1-2 Business DaysProduct Specifications- Other Name: Pan, Lwr Oil; Lower Oil Pan, Oil Pan
- Position: Lower
GMC Pan, Lower Oil
Part Number: 12647615$26.52 MSRP: $43.88You Save: $17.36 (40%)Ships in 1-3 Business DaysProduct Specifications- Other Name: PAN, Engine Oil; Lower Oil Pan, Oil Pan
- Position: Lower
GMC Oil Pan Assembly
Part Number: 12599806$121.56 MSRP: $294.34You Save: $172.78 (59%)Ships in 1-3 Business DaysProduct Specifications- Other Name: PAN, Engine Oil; Oil Pan
- Replaces: 12599805
GMC Pan,Oil (W/Filt Bypass)
Part Number: 12579273$299.07 MSRP: $511.38You Save: $212.31 (42%)Ships in 1-2 Business DaysProduct Specifications- Other Name: PAN, Engine Oil; Oil Pan
- Replaces: 12573695, 12560393
- Product Specifications
- Other Name: Oil Pan, Transmission Pan
- Replaces: 24293671
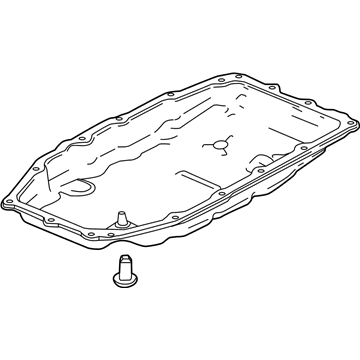
GMC Pan Assembly, A/Trns Fluid
Part Number: 24045035$30.90 MSRP: $48.61You Save: $17.71 (37%)Ships in 1-2 Business DaysProduct Specifications- Other Name: Oil Pan, Transmission Pan
- Replaces: 24273680, 24272989, 24278774, 24274614
GMC Pan Assembly, Oil
Part Number: 93800961$140.50 MSRP: $242.38You Save: $101.88 (43%)Ships in 1-2 Business DaysProduct Specifications- Other Name: PAN, Engine Oil; Oil Pan
GMC Oil Pan Assembly
Part Number: 12666371$179.63 MSRP: $297.31You Save: $117.68 (40%)Ships in 1-2 Business DaysProduct Specifications- Other Name: PAN, Engine Oil; Oil Pan
- Replaces: 12648946
GMC PAN ASM-A/TRNS FLUID
Part Number: 24045034$31.91 MSRP: $52.45You Save: $20.54 (40%)Ships in 1-2 Business DaysProduct Specifications- Other Name: Oil Pan, Transmission Pan
- Replaces: 24274734, 24274616
- Product Specifications
- Other Name: Pan Assembly, Oil; Oil Pan
- Product Specifications
- Other Name: Oil Pan
- Replaces: 12666375, 12649901
- Product Specifications
- Other Name: Oil Pan
| Page 1 of 5 |Next >
1-20 of 96 Results
GMC Oil Pan
You're in the right place for budget-friendly OEM GMC Oil Pans. Our extensive catalog features genuine GMC Oil Pans, each backed by a manufacturer's warranty and guaranteeing superior quality, dependability, and longevity. Discover how shopping with us can save you both time and money when investing in our auto parts.
GMC Oil Pan Parts Questions & Experts Answers
- Q: How to remove and install an oil pan in 2.4L four cylinder engine on GMC Terrain?A:Before you can get the oil pan, you have to drop the engine oil and the drivebelt as well. Turn the right-front wheel lug nuts slightly counterclockwise, lift the front of the car, and set it on jackstands, then remove the right front wheel. Then pull the splash shield with bolts and nuts from under the right side of the engine compartment; now unbolt the lower air conditioning compressor mounting bolt but do not detach the other bolts. Take off the dipstick and dipstick tube which is located on the intake manifold by being bolted on it. Suspend an engine support which works across the top of the engine on the fender edges and must be securely bolted together. Disconnect the right engine mount and the bolts for the secondary air injection pump, lift the pump off the side of the oil pan and set aside, suspend. Unfasten the four bolts joining the oil pan to transaxle and the rest of the oil pan bolts in a reversal of the tightening pattern and after doing that detach the oil pan from the lower crankcase using a rubber mallet if necessary. For installation, counter sunk and cleaned all the old gasket material in the lower crankcase and the oil pan with a gasket scraper and solvent. Squirt a 2 mm thick layer of RTV sealant along the margin of the oil pan, inside the circles defined by the bolt holes and around the oil suction port prior to the installation of the oil pan. Substitute the oil pan and bolts to engage them as tightly as possible in a sequence as recommended within the torque limits. The rest of the installation is done in the reverse order to the removal and it is important to tighten the wheel lug nuts to the proper torque. Last but not the least, the amounts of oil in the engine should be replenished, an oil filter should be changed and the engine should be started to check if there is any leakage.
Related GMC Parts
Browse by Model
Acadia Oil Pan C1500 Oil Pan C2500 Oil Pan C3500 Oil Pan Canyon Oil Pan Envoy Oil Pan G1500 Oil Pan G2500 Oil Pan G3500 Oil Pan Jimmy Oil Pan K1500 Oil Pan K2500 Oil Pan K3500 Oil Pan P2500 Oil Pan P3500 Oil Pan R1500 Oil Pan R2500 Oil Pan R3500 Oil Pan S15 Oil Pan Safari Oil Pan Savana Oil Pan Sierra Oil Pan Sonoma Oil Pan Suburban Oil Pan Syclone Oil Pan Terrain Oil Pan Typhoon Oil Pan V1500 Oil Pan V2500 Oil Pan V3500 Oil Pan Yukon Oil Pan
