My Garage
My Account
Cart
Genuine Chevrolet Piston
Engine Pistons- Select Vehicle by Model
- Select Vehicle by VIN
Select Vehicle by Model
orMake
Model
Year
Select Vehicle by VIN
For the most accurate results, select vehicle by your VIN (Vehicle Identification Number).
373 Pistons found
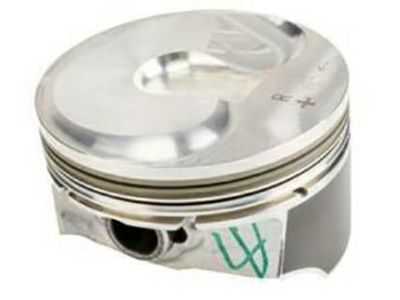
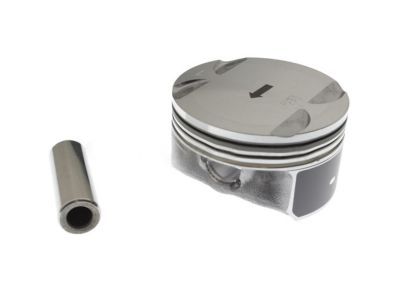
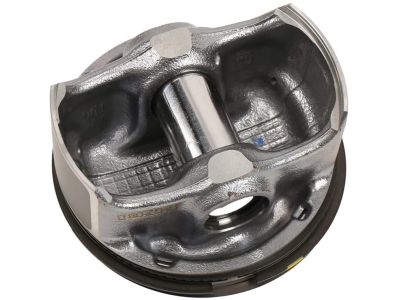
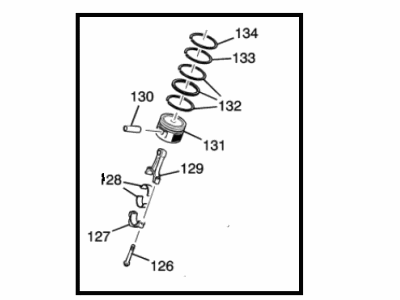
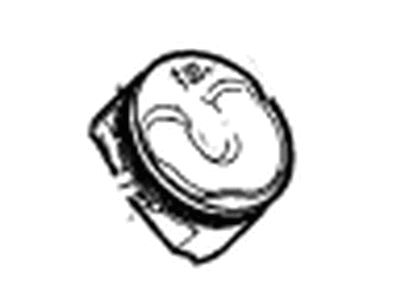
Chevrolet Piston Kit (Std RH)
Part Number: 12656874$52.84 MSRP: $91.13You Save: $38.29 (43%)Ships in 1-3 Business DaysProduct Specifications- Other Name: PISTON KIT, Engine Piston; Piston
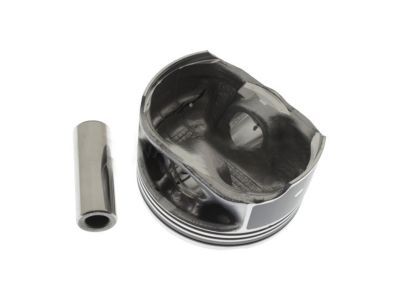
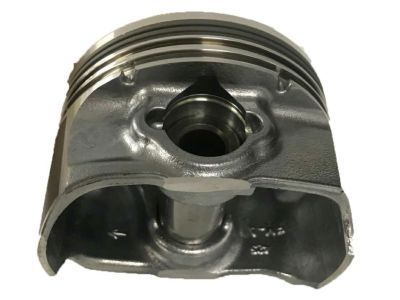
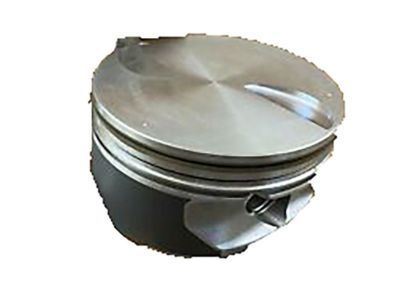
Chevrolet Piston Asm,(W/ Pinion & Retainer) (Std)
Part Number: 89017849$68.29 MSRP: $116.80You Save: $48.51 (42%)Ships in 1-2 Business DaysProduct Specifications- Other Name: PISTON, Engine Piston; Piston
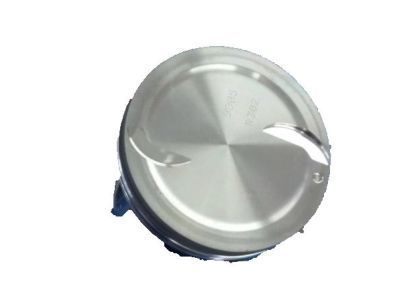
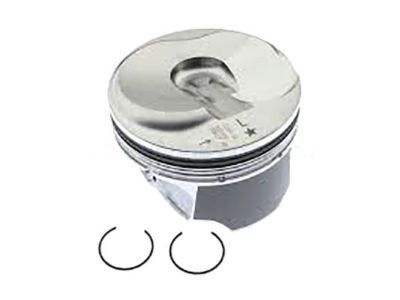
Chevrolet Piston Kit
Part Number: 12646457$52.80 MSRP: $127.82You Save: $75.02 (59%)Ships in 1-3 Business DaysProduct Specifications- Other Name: PISTON KIT, Engine Piston; Piston
- Replaces: 12608531, 12631102, 19180835, 89018112
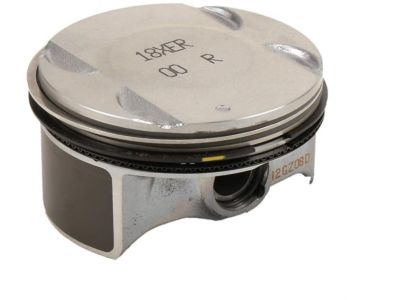
Chevrolet Piston Asm,(W/ Pinion & Retainer) (0.5Mm Outside)
Part Number: 89017850$70.17 MSRP: $169.95You Save: $99.78 (59%)Ships in 1-3 Business DaysProduct Specifications- Other Name: PISTON, Engine Piston; Piston
Chevrolet Piston Kit
Part Number: 12652807$45.95 MSRP: $76.05You Save: $30.10 (40%)Ships in 1-3 Business DaysProduct Specifications- Other Name: PISTON KIT, Engine Piston; Piston
Chevrolet Piston, (W/Pinion)
Part Number: 19180413$63.30 MSRP: $104.78You Save: $41.48 (40%)Ships in 1-3 Business DaysProduct Specifications- Other Name: PISTON, Engine Piston; Piston
Chevrolet Piston Kit (Rh, Std)
Part Number: 12656876$26.10 MSRP: $43.19You Save: $17.09 (40%)Ships in 1-2 Business DaysProduct Specifications- Other Name: PISTON KIT, Engine Piston; Piston
- Product Specifications
- Other Name: PISTON; Pistons
- Replaces: 55576441, 25192716, 55567934, 55558392
Chevrolet Piston Assembly, (W/ Connect Rod)
Part Number: 12674549$47.20 MSRP: $75.28You Save: $28.08 (38%)Ships in 1-2 Business DaysProduct Specifications- Other Name: Piston Assembly, (W/ Conn Rod); Piston
- Replaced by: 25204267
- Replaces: 12671063, 12678189
Chevrolet Piston, (W/Pinion)
Part Number: 19207287$60.21 MSRP: $145.79You Save: $85.58 (59%)Ships in 1-3 Business DaysProduct Specifications- Other Name: PISTON, Engine Piston; Piston
- Replaces: 19168089
Chevrolet Piston Kit (Right Hnd .5Mm Outside)
Part Number: 12658744$261.54 MSRP: $416.97You Save: $155.43 (38%)Ships in 1-3 Business DaysProduct Specifications- Other Name: PISTON KIT, Engine Piston; Piston
- Position: Passenger Side
- Product Specifications
- Other Name: PISTON, Engine Piston; Piston
- Replaces: 89017578
Chevrolet Piston, (W/Pinion)
Part Number: 19208472$135.03 MSRP: $326.88You Save: $191.85 (59%)Ships in 1-3 Business DaysProduct Specifications- Other Name: PISTON, Engine Piston; Piston
Chevrolet Piston Assembly, (W/ Connect Rod)
Part Number: 12578021$50.12 MSRP: $101.06You Save: $50.94 (51%)Product Specifications- Other Name: PISTON, Engine Piston; Piston
- Replaces: 12578023, 24508727, 24508302, 10217820, 12564668, 12564669
Chevrolet Piston Asm
Part Number: 96476298$11.25 MSRP: $17.70You Save: $6.45 (37%)Ships in 1-3 Business DaysProduct Specifications- Other Name: PISTON, Engine Piston; Piston
Chevrolet Piston Assembly, (W/ Pinion)
Part Number: 12578023$50.12 MSRP: $101.06You Save: $50.94 (51%)Product Specifications- Other Name: PISTON, Engine Piston; Piston
- Replaced by: 12578021
Chevrolet Piston Assembly, (W/ Connect Rod)
Part Number: 12575630$200.16 MSRP: $312.14You Save: $111.98 (36%)Ships in 1-2 Business DaysProduct Specifications- Other Name: PISTON, Engine Piston; Piston
- Product Specifications
- Other Name: PISTON, Engine Piston; Piston
- Product Specifications
- Other Name: PISTON KIT, Engine Piston; Piston
- Product Specifications
- Other Name: PISTON, Engine Piston
- Replaces: 89017238
| Page 1 of 19 |Next >
1-20 of 373 Results
Chevrolet Piston
At GMPartsGiant.com, we offer an extensive inventory of genuine Chevrolet Pistons at competitive prices in the market. All our OEM Chevrolet Pistons are backed by the manufacturer's warranty and will be shipped promptly to your doorstep. Rest assured, our hassle-free return policy is designed to support you throughout your shopping experience!
Chevrolet Piston Parts Questions & Experts Answers
- Q: What steps should be followed before installing the piston and connecting rod assemblies on Chevrolet Astro?A:Before the piston and its respective connecting rods are fixed on the engine, it is required to check if the cylinder walls are free from deposits, the top edges of each cylinder are peened, and the crankshaft is inserted into the engine block. Bolt off the cap of the No 1 connecting rod, and replace the bearing inserts with the new ones, and clean the bearing surface of the rod lightly with a clean cloth. Clean the back side of the new upper bearing half and bring it into the connecting rod in such way that the tab should fit into the recess without hammering the tab into position and damaging the bearing face. Do this same thing with the other bearing insert that sits in the rod cap also ensure that all mating surfaces are clean and free from oil. Make sure that positions of the gap of the piston rings are at intervals of every 120 degrees, apply a few drops of clean engine oil at the land of the piston and the ring, fit the piston ring compressor in such way that ¼ inch of the piston skirt comes out. Turn the crankshaft such that the number one connecting rod journal is at the bottom dead centre, then apply a liberal coat of oil on the cylinder walls. Place the piston/connecting rod assembly into the cylinder bore, so that to the notch would look forward and the ring compressor should be in contacting the block. Hit the piston lightly with wooden hammer handle and ease the connecting rod over the crankshaft journal carefully if one feels any rigidity. When the connecting rod is in position, it is recommended that one should check the bearing oil clearance before finally tightening the cap of the rod. Place a thin layer of Plastigage on the journal of the connecting rod, apply clean oil on the rod cap bearing face and finally screw and align the cap against the marks on the journals. Make up the nuts to the required torque in that sequence while the crankshaft is immobilated. The upper part of the check rod was also protected with Plastigage and lifting the rod cap cautiously allowed getting a clearance on this scale as no dirt or oil would appear to have influenced the width on the Plastigage. Scrape of any Plastigage material from the rod journal surface and bearing face, spread a fresh layer of moly-base grease or engine assembly lube on the rod journal and fit the rod again on the journal. Anchoring the rod cap nuts to the appropriate amplitude of torque, do the same for the other staying assemblies while at the same time ensuring that all the components are free from dirt. It is only possible to do this after next all the assemblies are installed, rotate the crankshaft manually, and at the end of this process, measure the connecting rod end play and adjust, if it has deviations from the norm.
- Q: What are the considerations for replacing pistons in V8 engine on Chevrolet Caprice?A:It is often long mileages where original pistons must be changed because of bores enlarged for normal wear and for connecting rods, although old pistons may be utilized occasionally if the cylinder walls require little more than final finishing and are still in satisfactory state. Connecting rods and pistons must be cleaned with cleaning solvent and blow with compressed air not to use wire brushes or any abrasive tool on any part of the piston. The ring grooves of the piston must be cleaned using a groove cleaner tool; where oil ring holes or slots are found and or present they must be clean. Care should be taken when inspecting the rods to ensure that they do not display signs of twist, bending, nicking or crack; in such cases they should be replaced. This covering should be checked for cracked ring lands, skirts or pin bosses, as well as worn or damaged areas and damaged pistons have to be replaced. Grooves on rings should be inspected for nicks which if present could slow the ring down. When the piston is still attached to the connecting rod, the piston should be rocked side to side to determine the degree of effort as compared between all pinston/rod assemblies; if the rods are loose on the piston pins with or with no drag, the pins are worn and should be replaced. If in any case the cylinder block requires some machine work to be done, such as finish honing, it is always best to bring the pistons to check the piston to bore clearance and this is better done in the machine shop.
- Q: How to remove piston/connecting rod assemblies on Chevrolet Tracker?A:The piston/connecting rod assemblies should be removed after the cylinder head, the oil pan and the oil pickup have been taken out. Use your fingernail to determine if there is a ridge or not at the upper limit of ring travel (about 1/4-inch down from the top of each cylinder). If a ridge has formed due to carbon deposits or cylinder wear it must be removed completely with a special ridge reamer tool. Follow all directions given by the manufacturer of the tool. It is important to remove these ridges before attempting to remove piston/connecting rod assemblies as failure to do so may cause piston breakage. Turn engine upside down so that crankshaft faces upwards once all ridges are removed from cylinders. Check end play with feeler gauges before removing connecting rods. Slide them between first connecting rod and crankshaft throw until play is removed from feeler gauge(s). End play equals thickness of feeler gauge(s). When end play exceeds its service limit, new rods will have to be used. The installation of new rods (or new crankshaft) may cause this value to fall below minimum specified. Repeat steps for other connecting rods. Look for identification marks on the connecting rods and caps. If they are not marked clearly then use a small center punch to make an appropriate number of indentations on each rod and cap (1, 2, 3 or 4 depending on which cylinder it belongs to). Loosen each nut on the connecting rod cap nut by half-turns until they can be unscrewed by hand safely. Remove bearing insert and number one connecting rod cap. Do not let bearing insert slip out of cap. To prevent nicking or gouging the crankshaft journal and cylinder wall while piston is being removed, place a short length of plastic or rubber hose over each connecting rod cap bolt. Through the top of engine push out both bearing insert and connecting rod/piston assembly. Use a wooden hammer handle to push on the upper bearing surface in the connecting rod. If ridge is still present in a cylinder, repeat steps for other cylinders. After removal, reassemble connecting rod caps and bearing inserts in their respective connecting rods and install cap nuts finger tight. The old bearing inserts should be left in place until reassembly to prevent accidental nicking or gouging of the connecting rod bearing surfaces. Don't separate the pistons from their connecting rods.
Related Chevrolet Parts
Browse by Model
Astro Piston Avalanche Piston Aveo Piston Beretta Piston Blazer Piston C10 Piston C1500 Piston C20 Piston C2500 Piston C30 Piston C3500 Piston Cadet Piston Camaro Piston Caprice Piston Captiva Sport Piston Cavalier Piston Celebrity Piston Citation Piston City Express Piston Cobalt Piston Colorado Piston Corsica Piston Corvette Piston Cruze Piston El Camino Piston Equinox Piston Express Piston G10 Piston G20 Piston G30 Piston HHR Piston Impala Piston K10 Piston K1500 Piston K20 Piston K2500 Piston K30 Piston K3500 Piston Lumina Piston Malibu Piston Metro Piston Monte Carlo Piston Nova Piston Orlando Piston P20 Piston P30 Piston Prizm Piston R10 Piston R20 Piston R2500 Piston R30 Piston R3500 Piston S10 Piston SS Piston SSR Piston Silverado Piston Sonic Piston Spark Piston Spectrum Piston Sprint Piston Storm Piston Suburban Piston Tahoe Piston Tracker Piston Trailblazer Piston Traverse Piston Trax Piston Uplander Piston V10 Piston V20 Piston V30 Piston V3500 Piston Venture Piston Volt Piston
